Manage participants
On This Page
Add Users
For most institutions, student enrollment for registered courses is handled automatically through integration with the institutional student information system. However, if your institution allows site owners to add other participants such as TAs, Designers, etc., this article will walk you through the steps on how to add users.
-
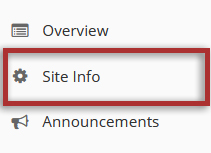
Select Site Info from the Tool Menu in the site.

-
Click the Add Participants tab.

-
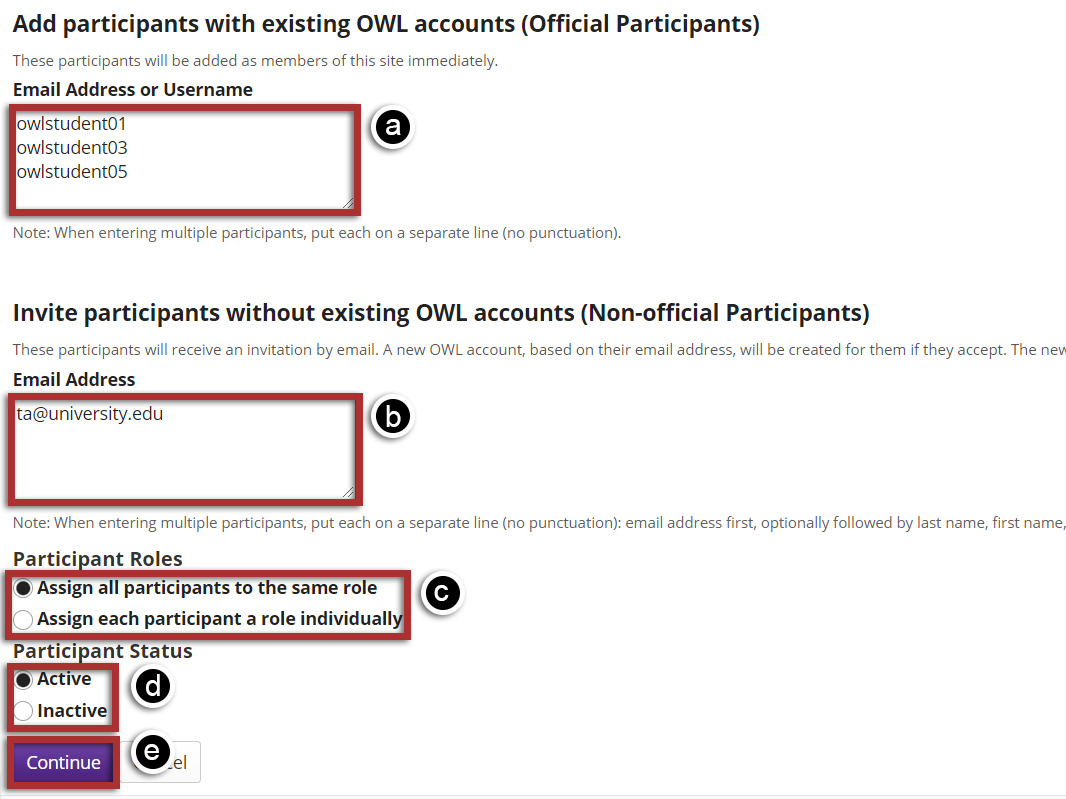
Add participant information.

-
Choose participant role.
For the default option of "Assign all participants the same role", select the radio button for the desired role and then click the Continue button.
If you chose to "Assign each participant a role individually", use the drop-down menus to the right of the participants' names to select each participant's role, and then click the Continue button.

Select a role for all participants.

Select individual participant roles.
-
Choose to send or not send a notification email.
You may choose the "Send Now" option to send a notification email to participants if desired. The default setting is "Don't send".
Click the Continue button.

-
Confirm addition of participants.
Review the list of site participants and their roles to confirm that they will be added to your site.
If the information is correct, click the Finish button.

Remove Users
Note: OWL does not destructively delete user data when removing users from a site. Therefore, if you remove a user from your site, and then later reinstate that user, all of the user's activity within the site will remain intact once you add the user back into the course or project.
-
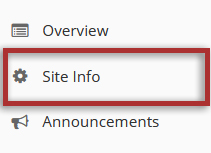
Select Site Info from the Tool Menu in the site.

-
Select user(s) to remove.
Remove user(s) individually:
In the "Remove" column, check the box in the row for the user(s) you want to remove from your site.Bulk remove users:
You can remove all users from the site by clicking the checkbox at the top of the column, right beside "Remove".Warning: Be sure to uncheck your username so that you do not remove your own access to the site.

-
Click the Update Participants button.

User Audit Log
The User Audit Log displays manual enrollment and user update information for your site. If anyone adds a user, removes a user, or changes a user's role in the site, a
Note: Currently this log displays add/remove/update events, for manually updated events only. It does not display automated course enrollment activity such as events handled via Web Services or other SIS integration.
-
Select Site Info from the Tool Menu in the site.

-
Click User Audit Log.

View event information.
View the user account name, user id, user role, event (i.e. add user, remove user or update user role), date and time change was made and the source account (the name and user id of the account who made the changes).
Note: You may sort by any of the columns by clicking on the column heading. Click on the heading again to sort in the opposite direction (ascending/descending).

