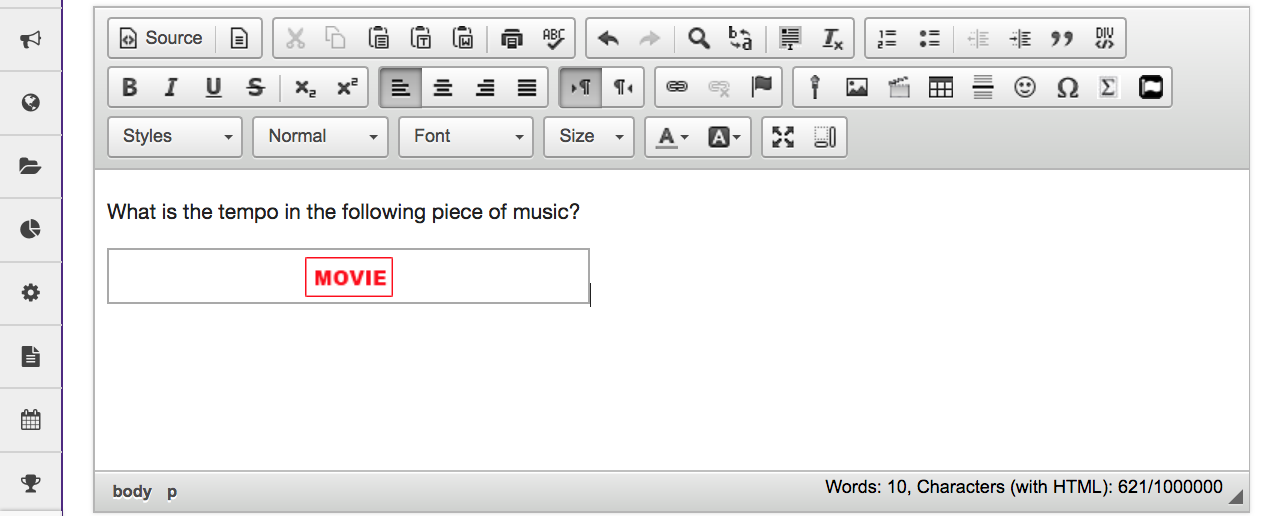
Insert Media
Insert an Image
-
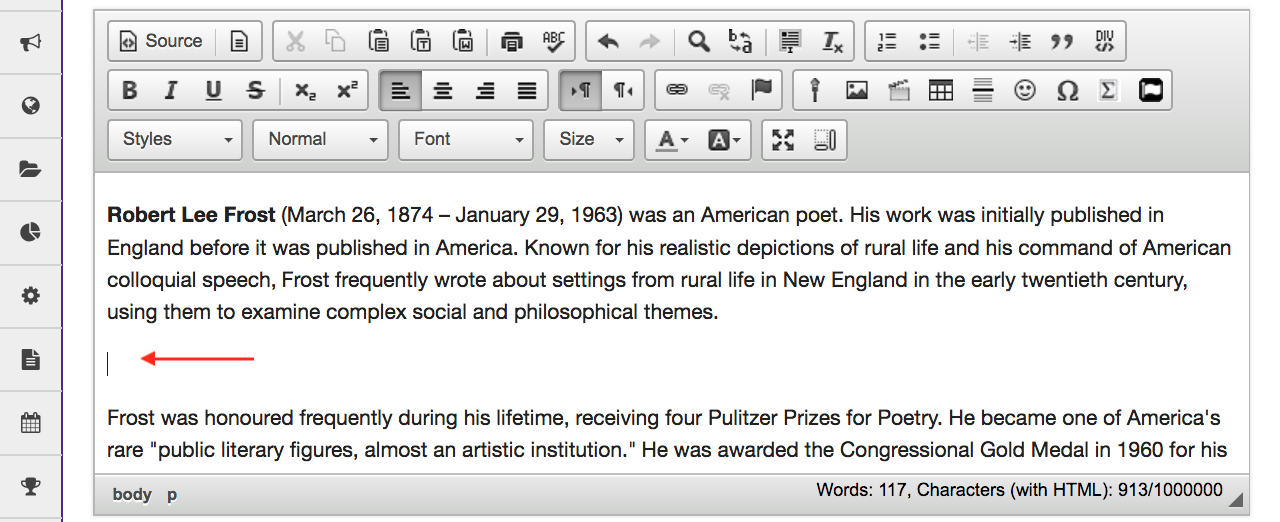
Position the cursor.
Position your cursor in the text box at the point you want to embed the image.
-
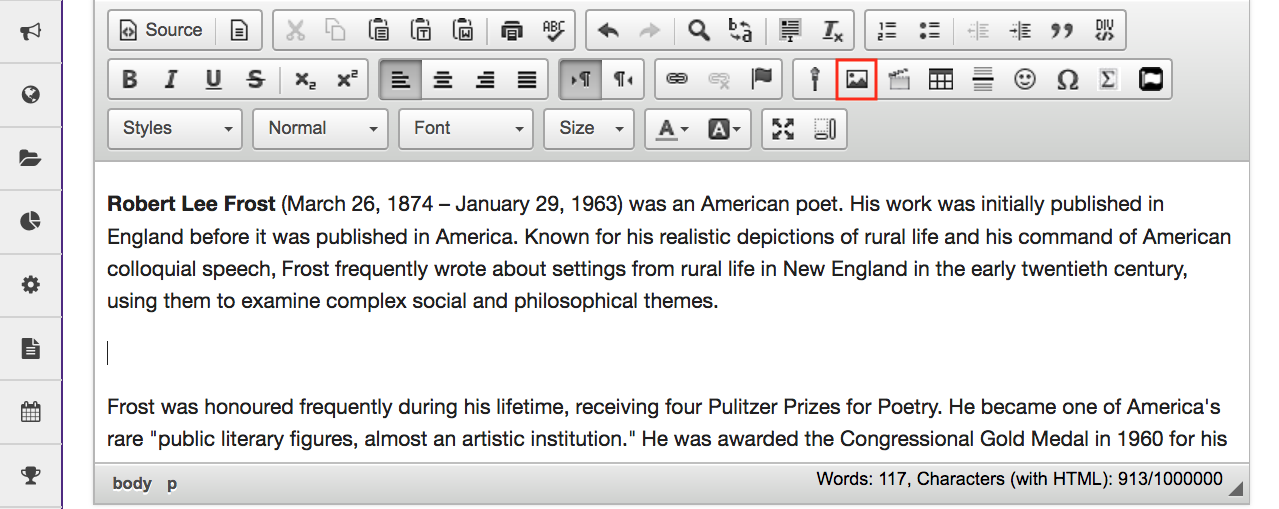
Click on the Insert/Edit Image icon.
This displays the image properties dialog box
-
Select the image file or paste the image URL.
Upload & embed an image file
Embed a web image
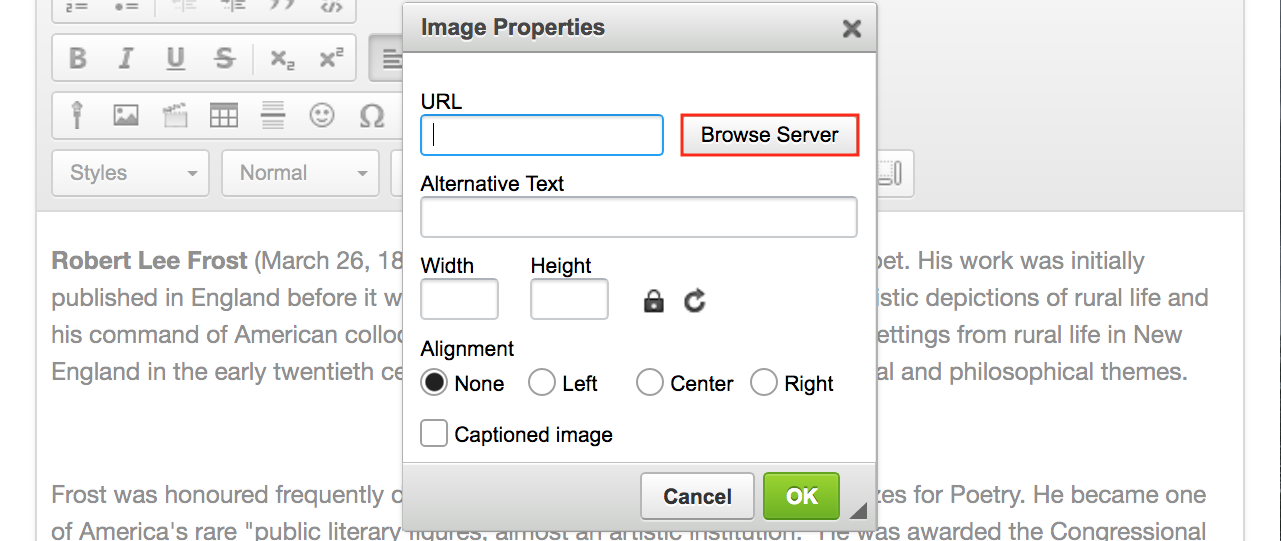
Click Browse Server to embed an image file.
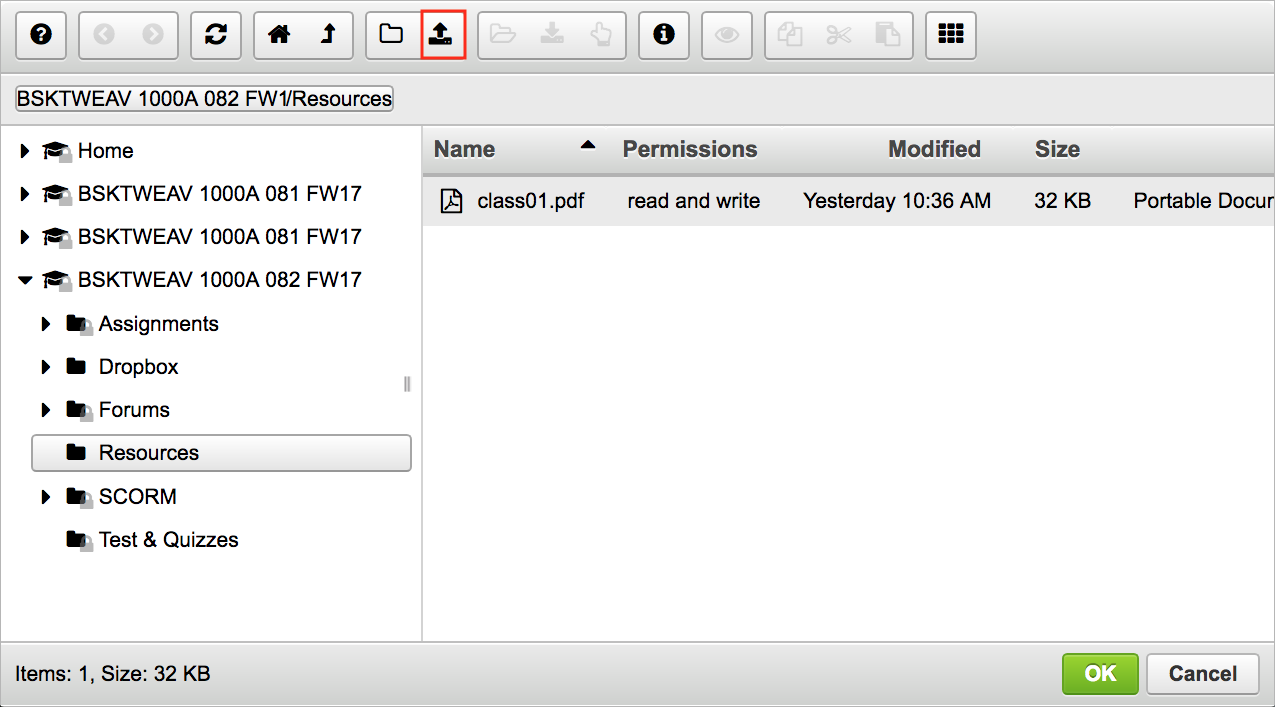
Click the upload icon.

Locate and select the image file on your computer, then click Open.
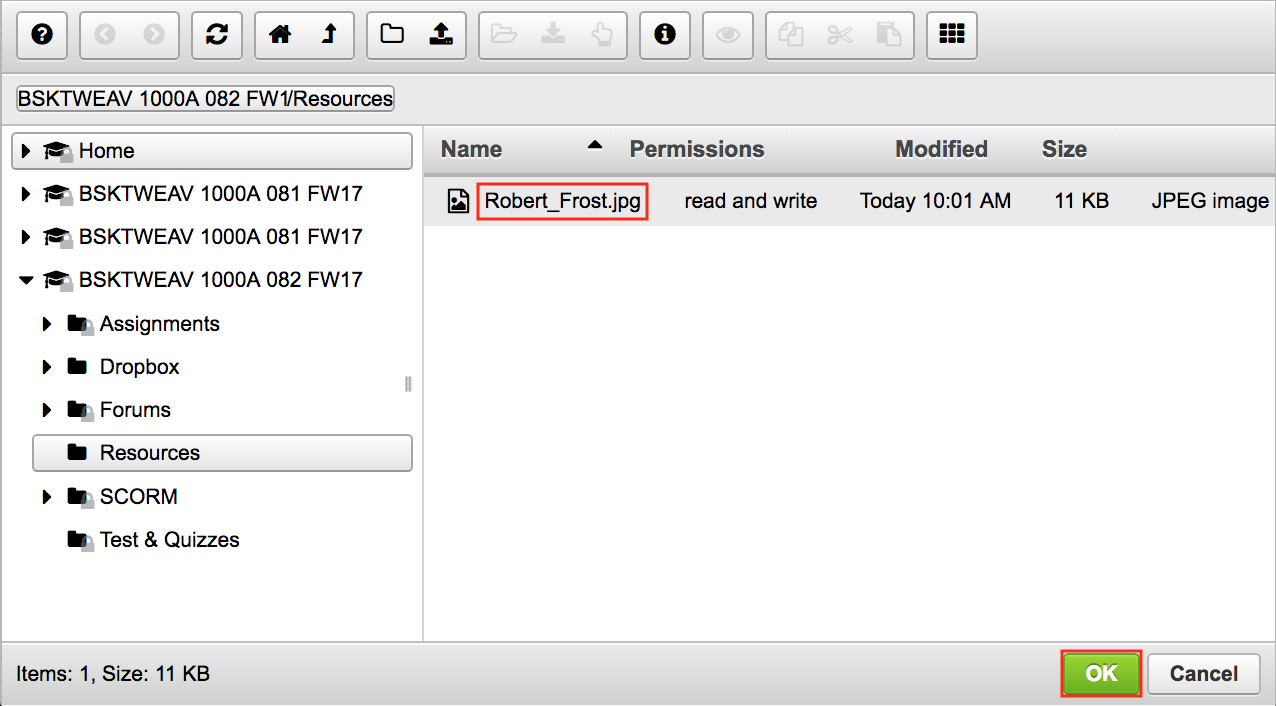
Click OK.
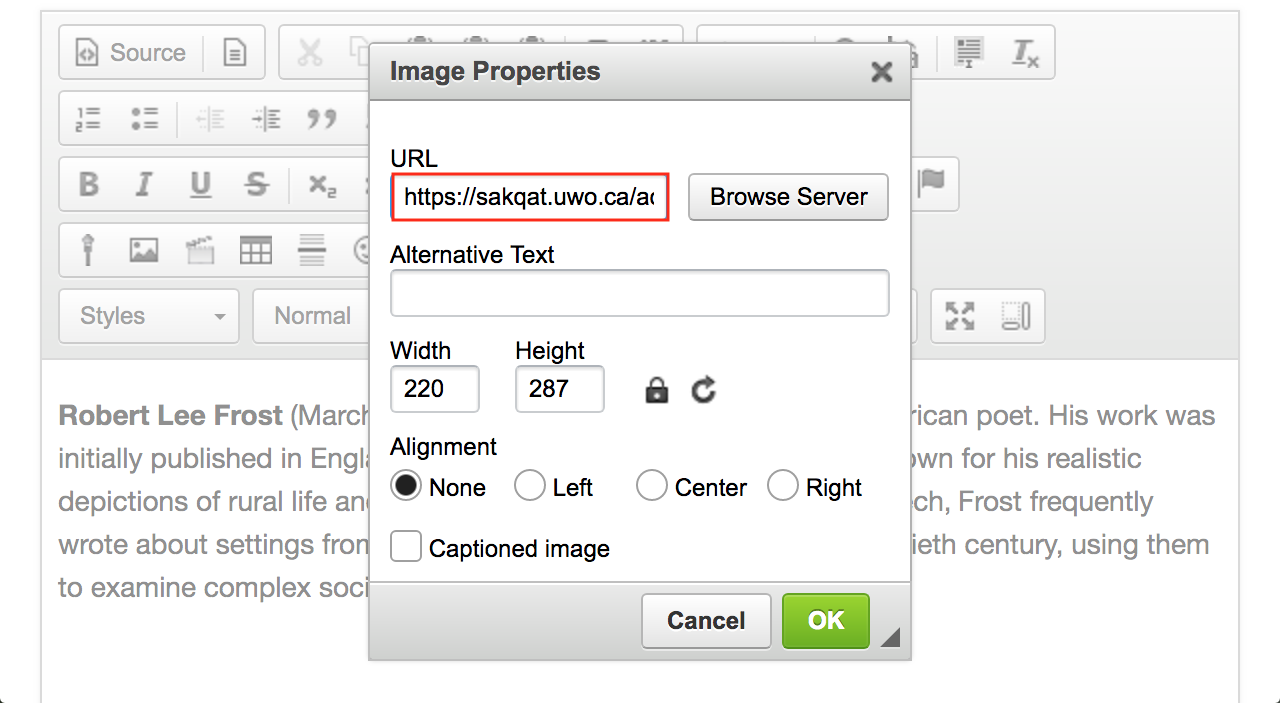
Paste image URL to embed a web image.
-
Modify image properties. (Optional)
Adjust the image width and height if needed and add an alternative text for screen readers.
Set the Alignment (left or right) for the image if you want to surround the image with text.
This returns the display to the text box with the embedded image.
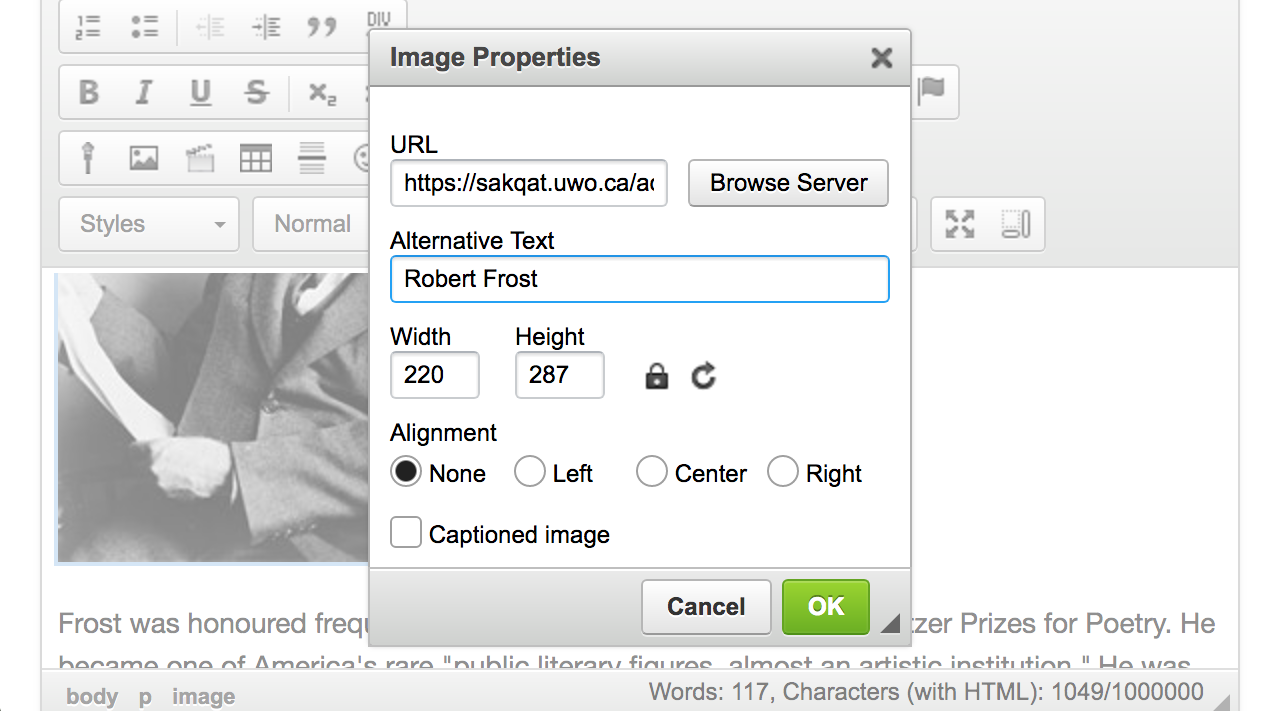
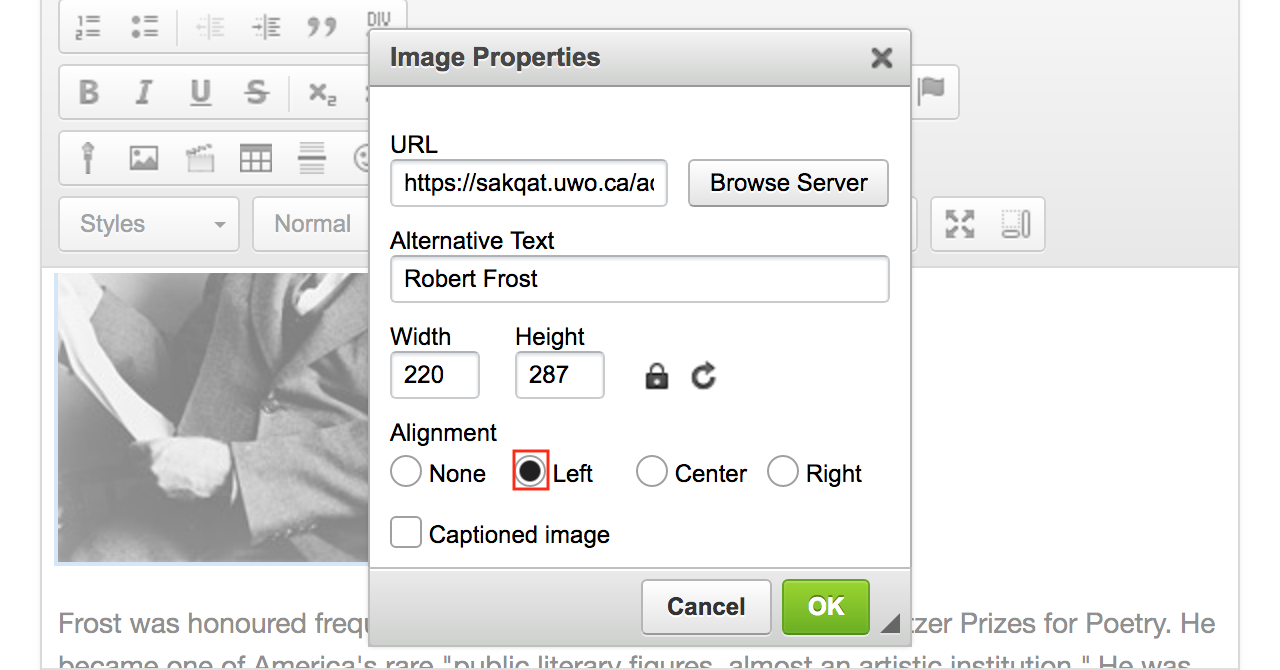
Set the Alignment.
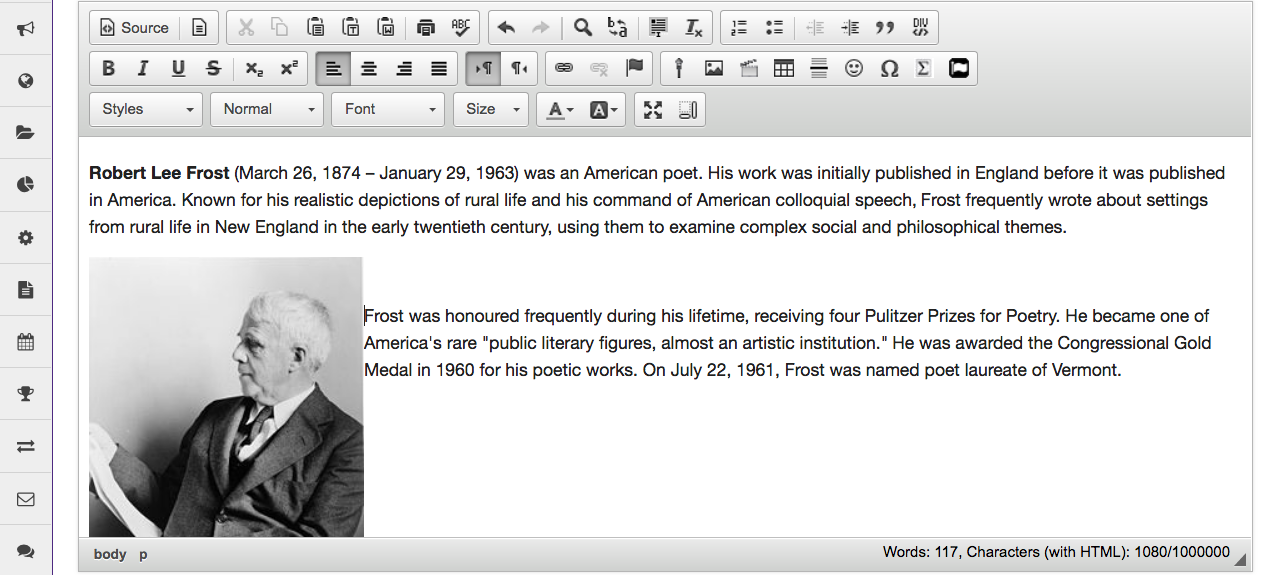
Example of additional text displayed next to a left-aligned image.
Insert a video file
Videos can be embedded into a text-box using the Rich Text Editor. Currently, supported video file types include .MP4, .FLA, .F4V, .3GPP, .M4V and .MOV.
-
In the text box, position your cursor where you want to embed the video.

-
Click the Insert/Edit Movie icon.
This displays the Movie Properties dialog box.

-
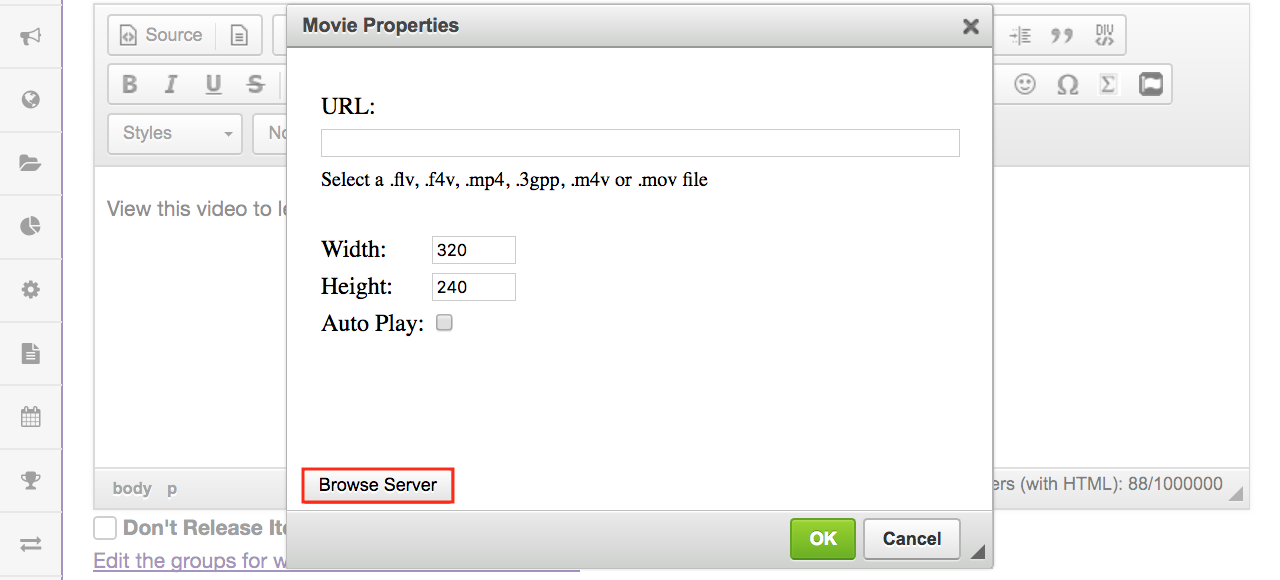
Click Browse Server.
This displays the Entity Picker dialog box.
-
Click the Upload file icon.

-
Locate and select the video file that you want to embed in the text box.
Once you have located and selected the file, click Open to upload it.

-
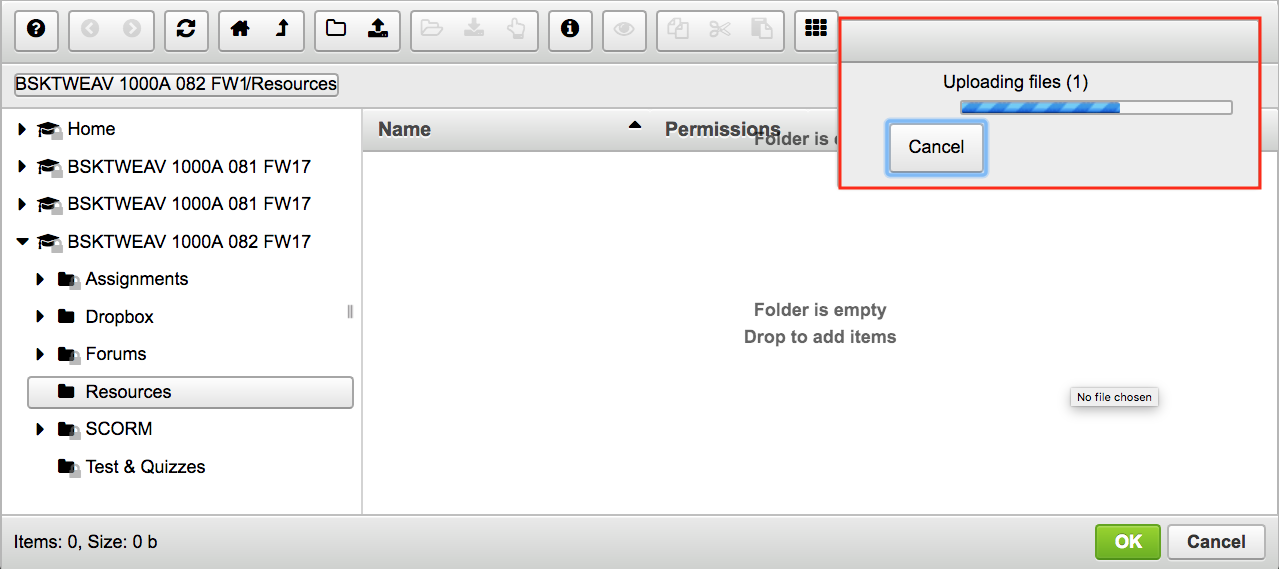
The file will upload.
Your file will be uploaded to the server. This may take a while if it is a large file.
-
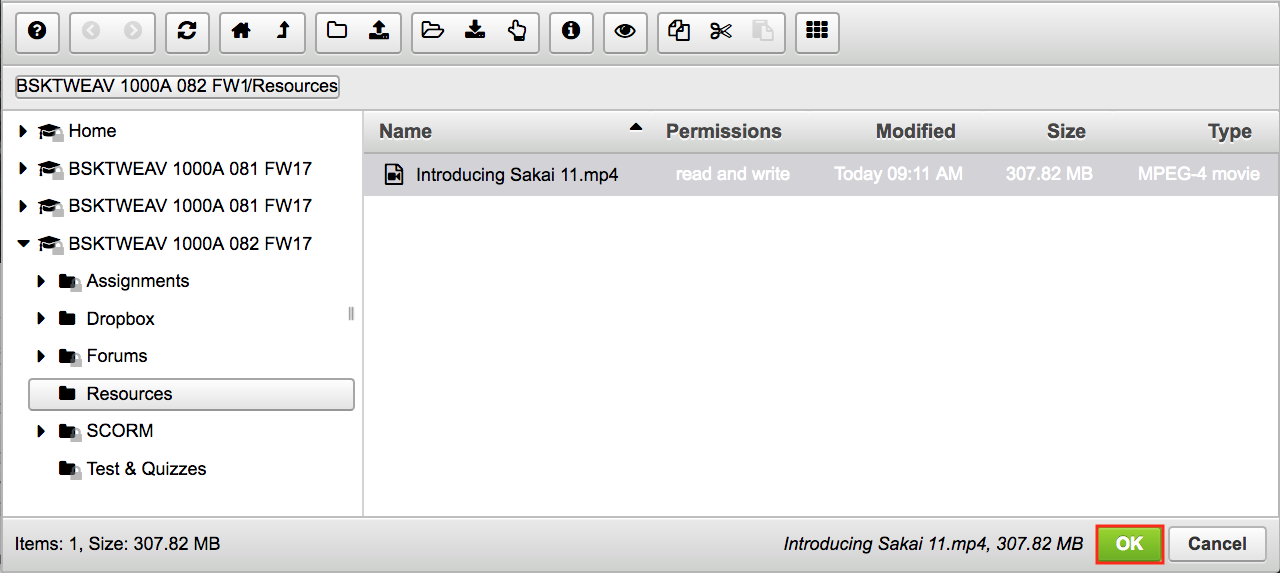
Click OK to embed the video on the page.
Once the file has finished uploading, it will appear in Resources and will be selected by default. Click OK to add the video the text box.
-
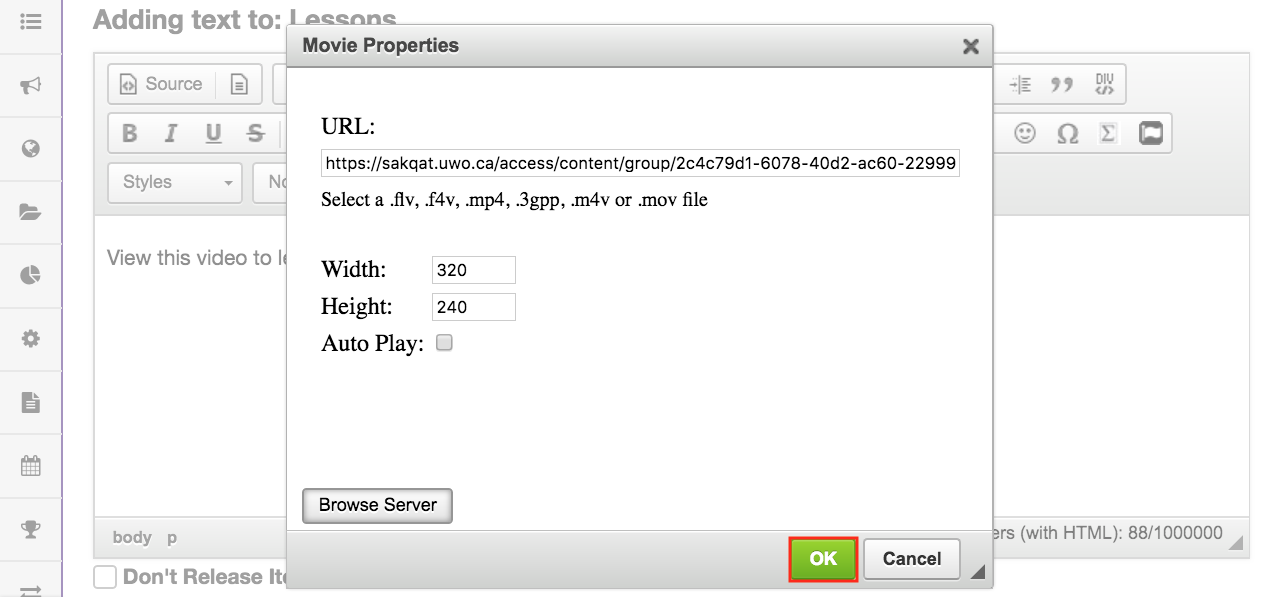
Click OK to continue.
-
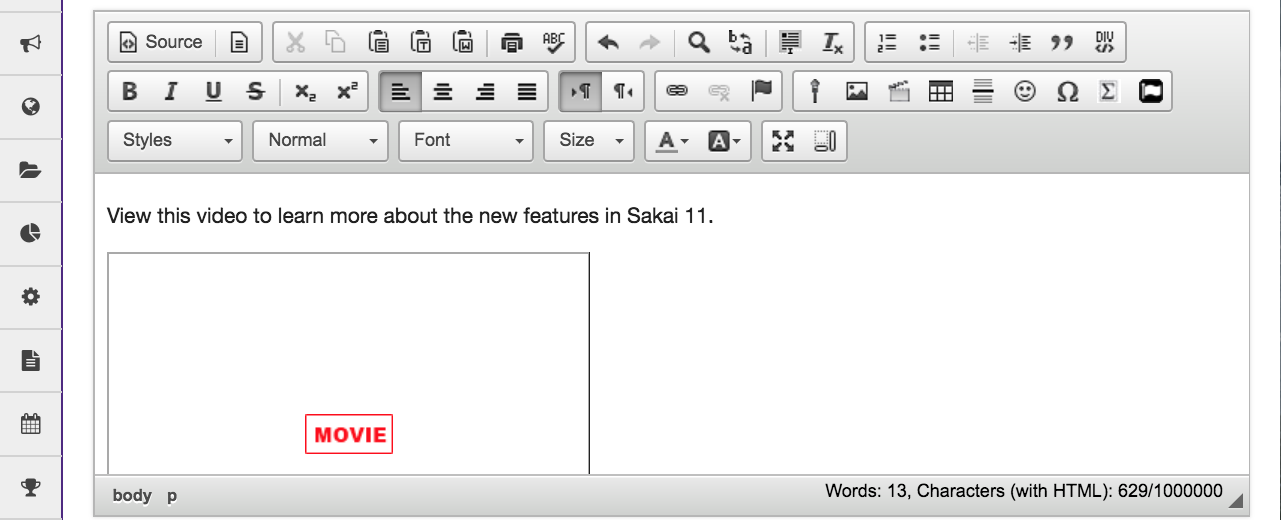
View embedded video file.
The embedded video will display in the editing view as "Movie." When the text box is posted or saved, it will display the video on the page.
Insert a Youtube/Web Video
-
Locate the Youtube video you would like to embed and click Share.
Click Embed and copy the Youtube embed code to your computer's clipboard (CTRL-C - PC or COMMAND-C MAC).
Note: It is recommended to remove the check mark next to "Show suggested videos when the video finishes"
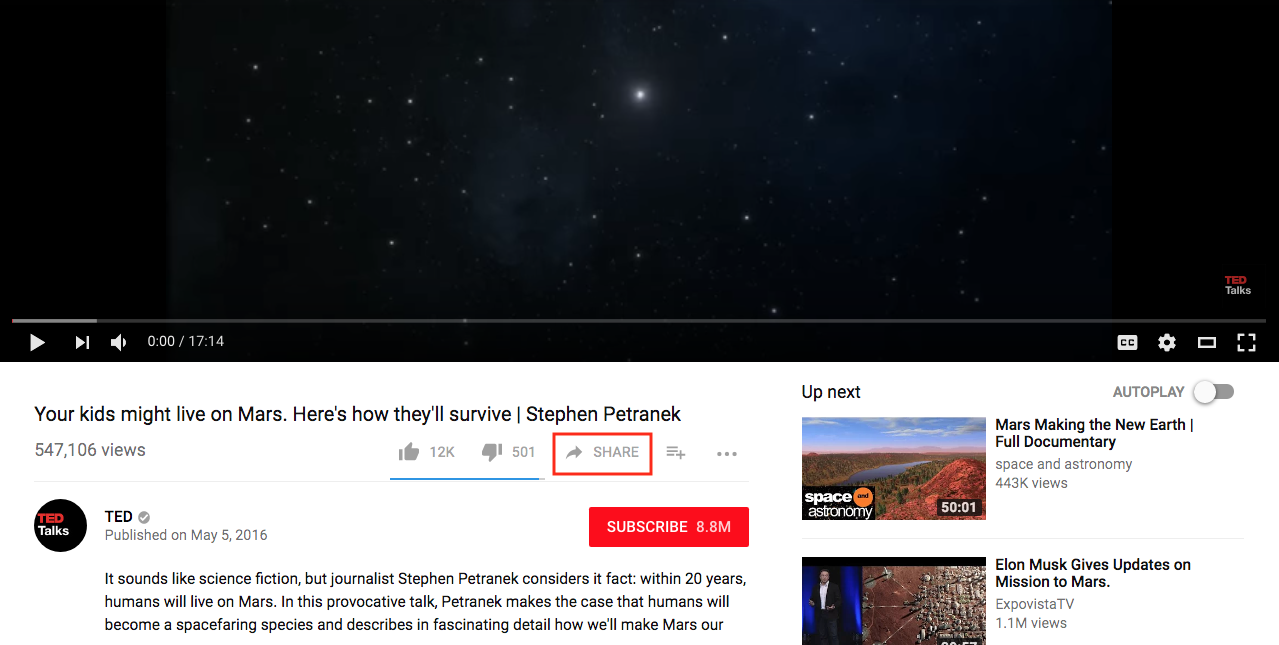
Click Share to display the video-sharing panel.
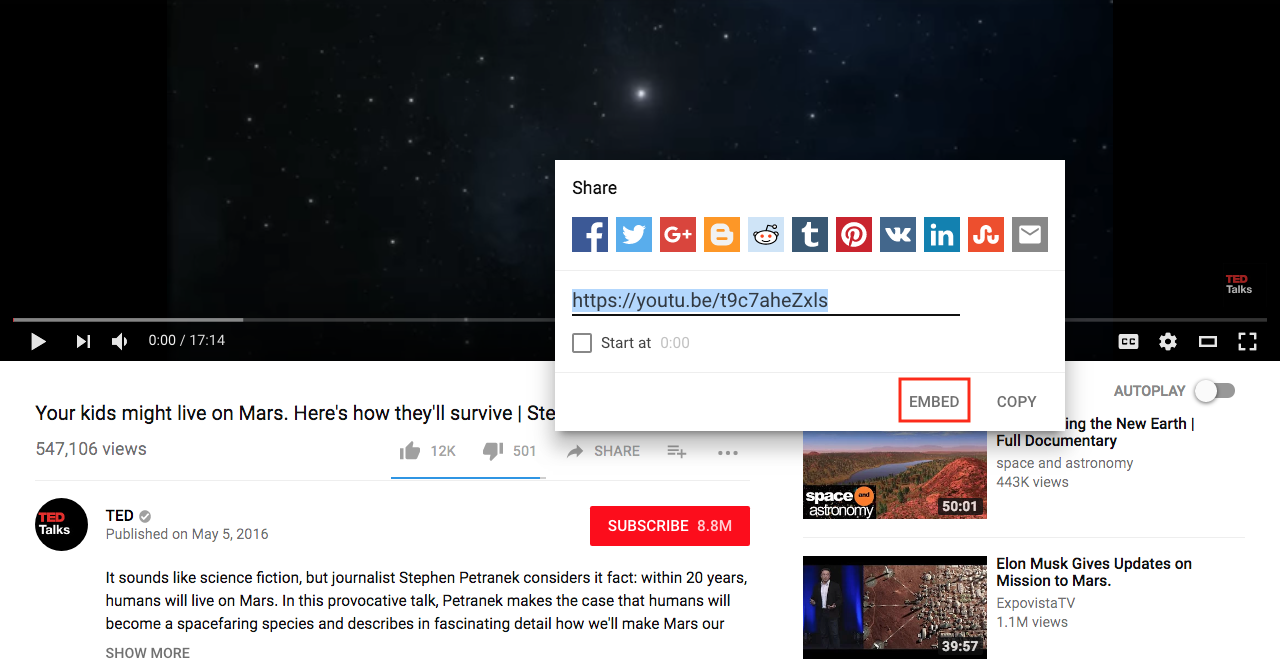
Click Embed to display the video embed code.
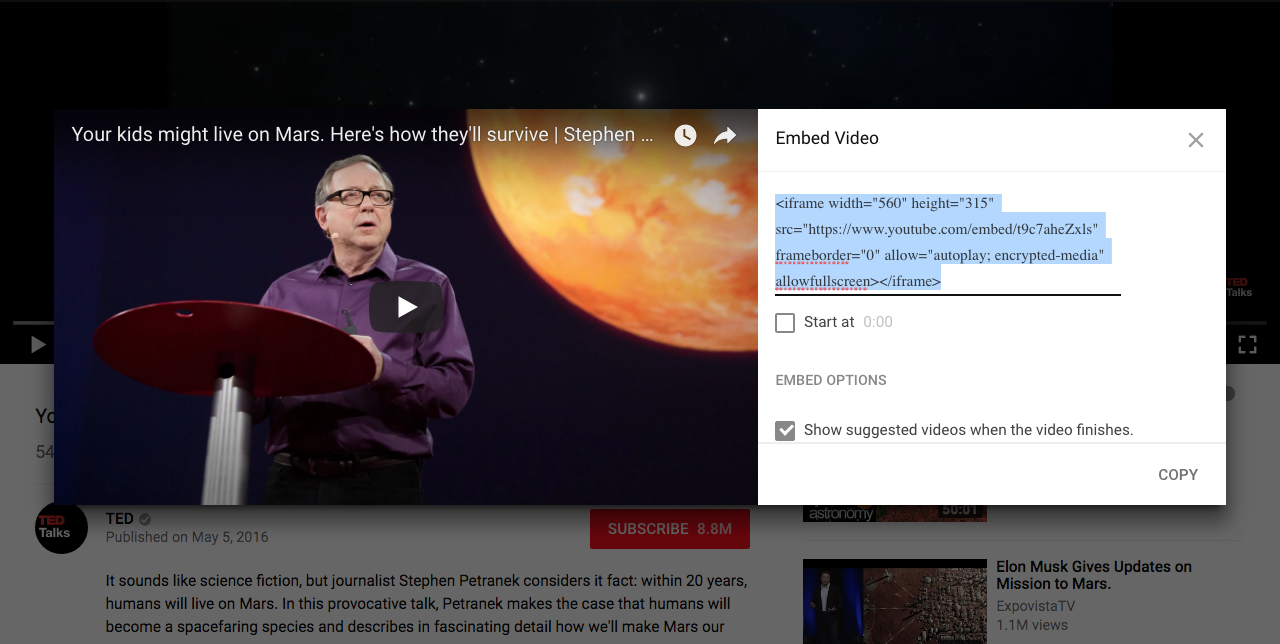
Copy the embed code.
-
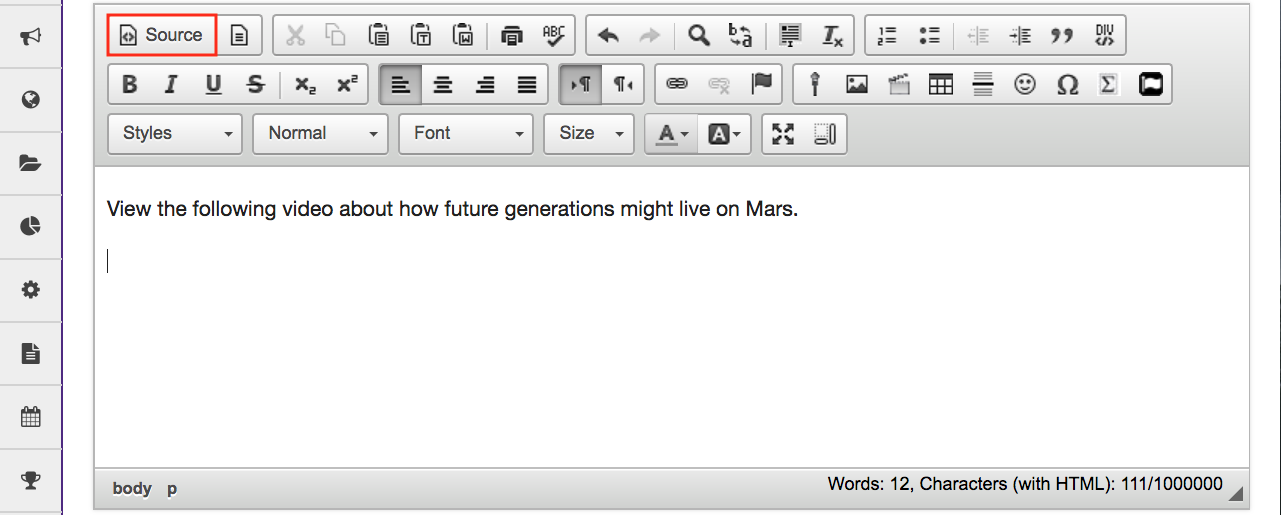
In the RICH TEXT EDITOR, click Source.
Clicking source will display the HTML code for the text box.
-
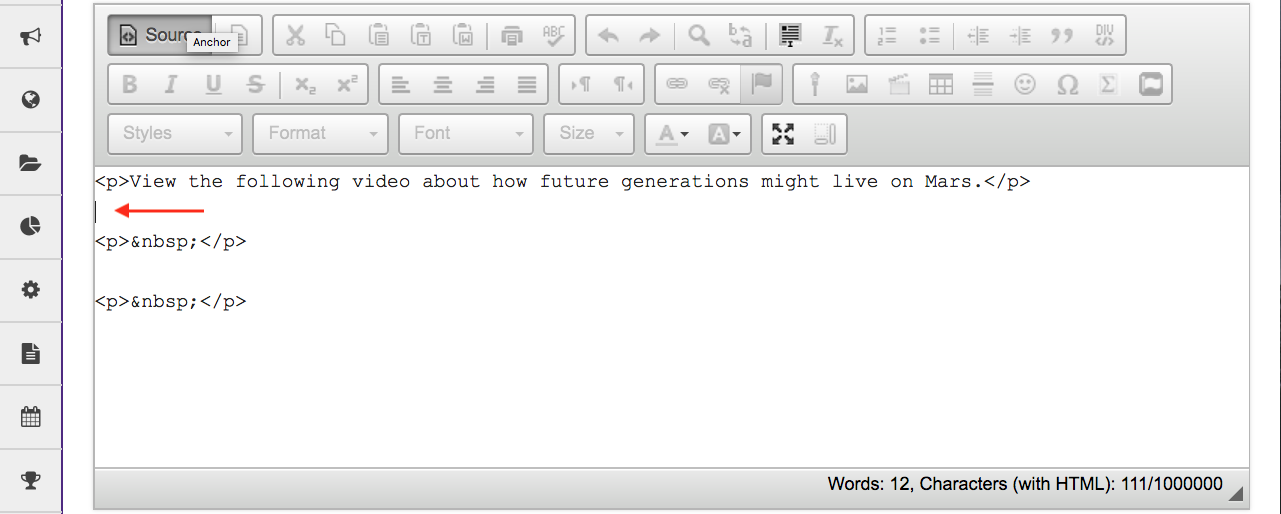
Position the cursor.
Position your cursor where you would like the video embedded, then paste the YouTube embed code (CTRL-V - PC or COMMAND-V - MAC).
-
Click Source again.
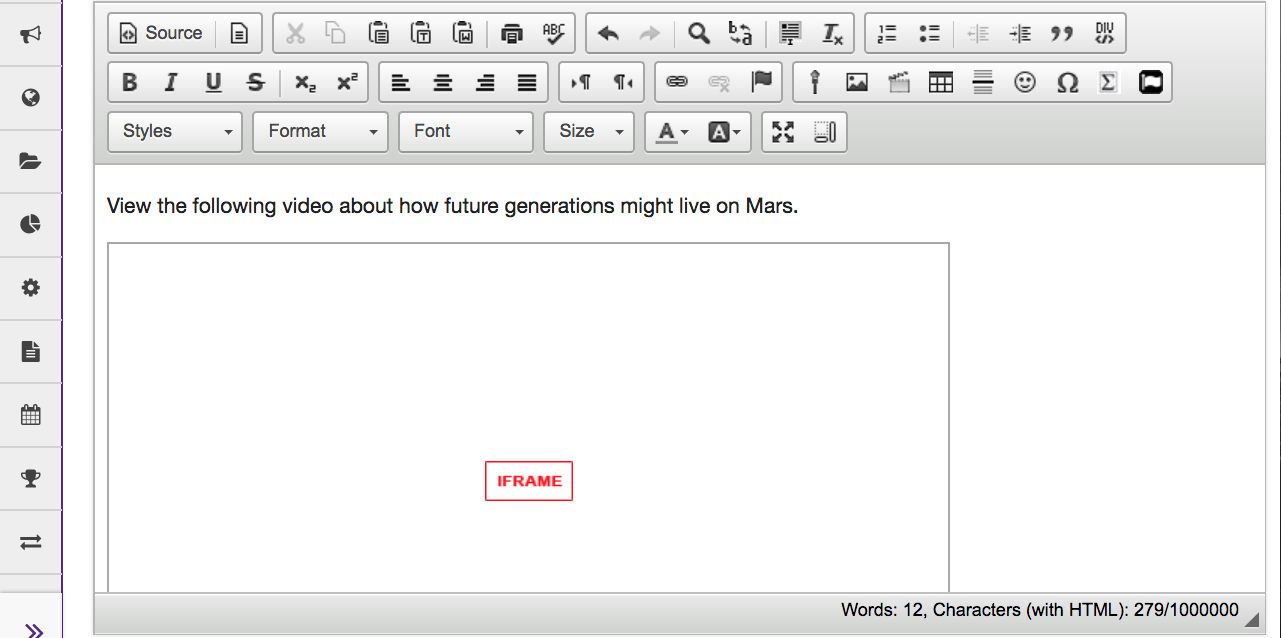
This returns the text box display to normal editing mode. The embedded YouTube video will display as a box marked "iframe". When the item using the text box is posted or saved, it displays the embedded YouTube video.
Insert an audio file
-
In the text box, position your cursor where you want to embed the audio file.

-
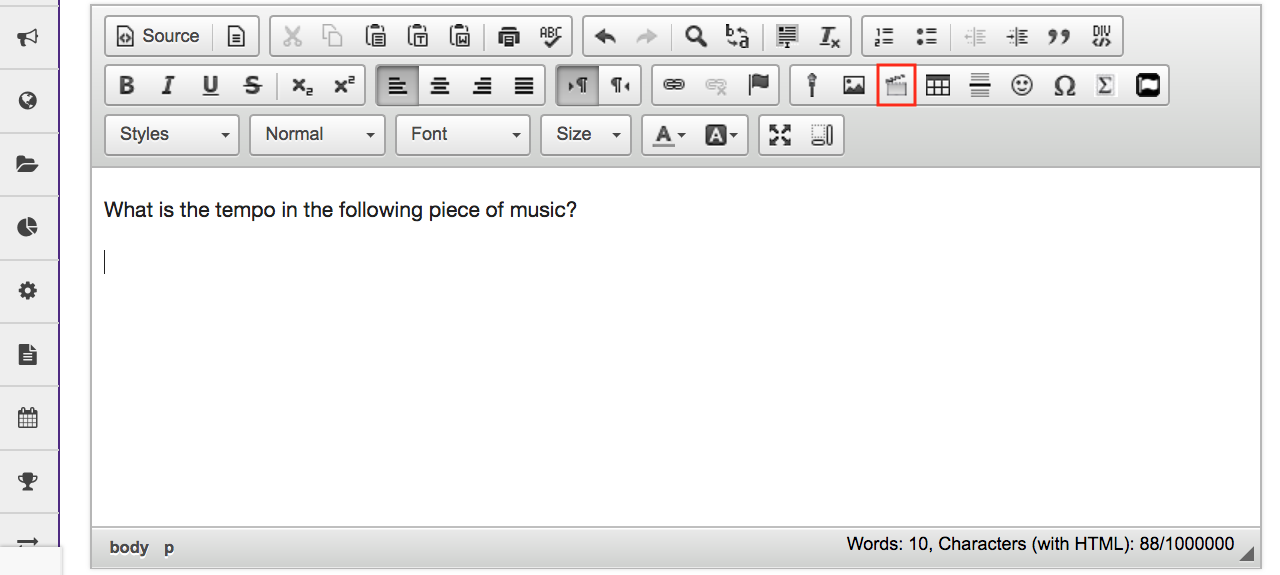
Click the Insert/Edit Movie icon.
This displays the Movie Properties dialog box.
-
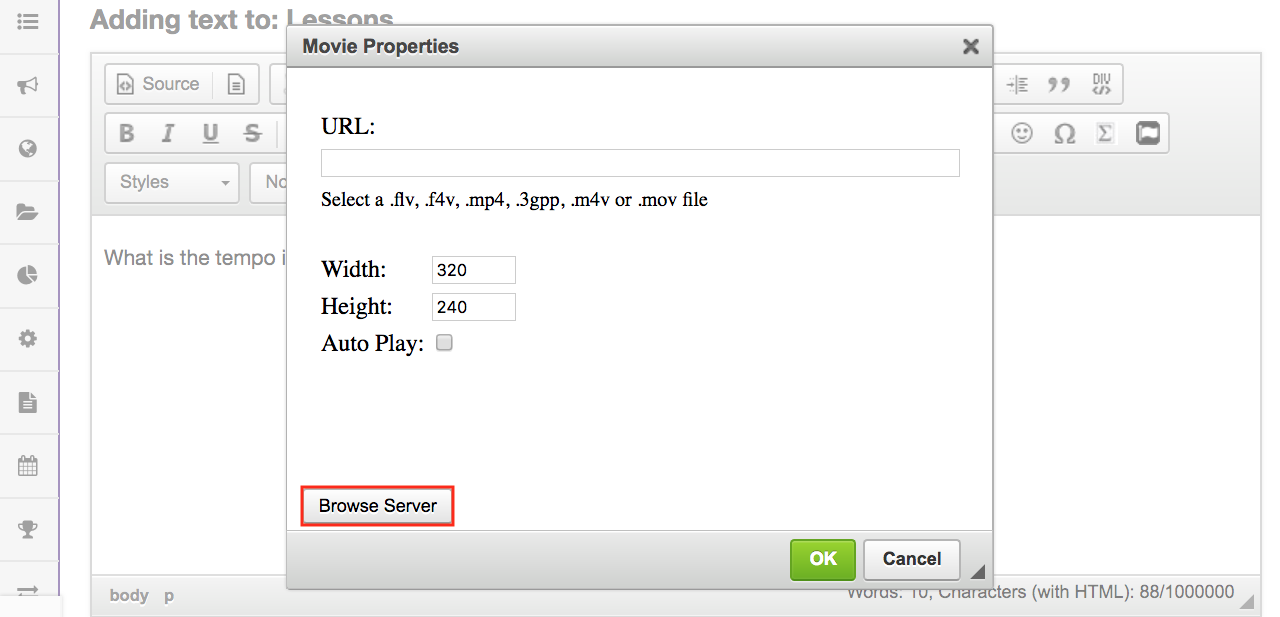
Click Browse Server.
This displays the Entity Picker dialog box.
-
Click the Upload file icon.

-
Select the audio file you want to embed in the text box.
Once you have located and selected the audio file, click Open to upload it.

-
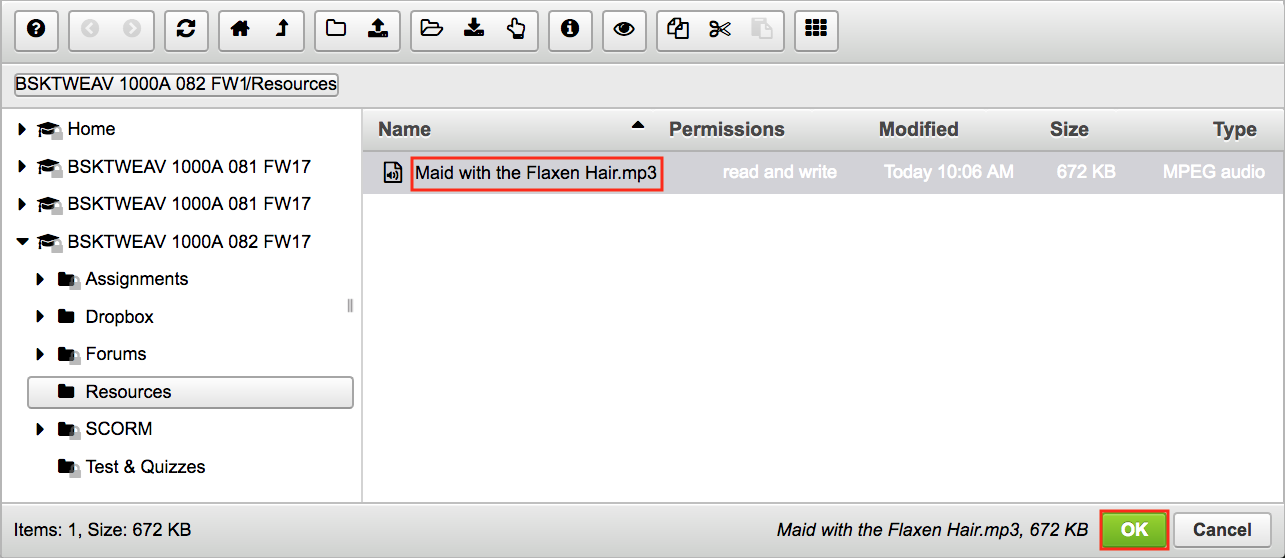
Click OK.
Once the file finishes uploading, it will show in the file directory listing and will be selected by default. Click OK to continue.
-
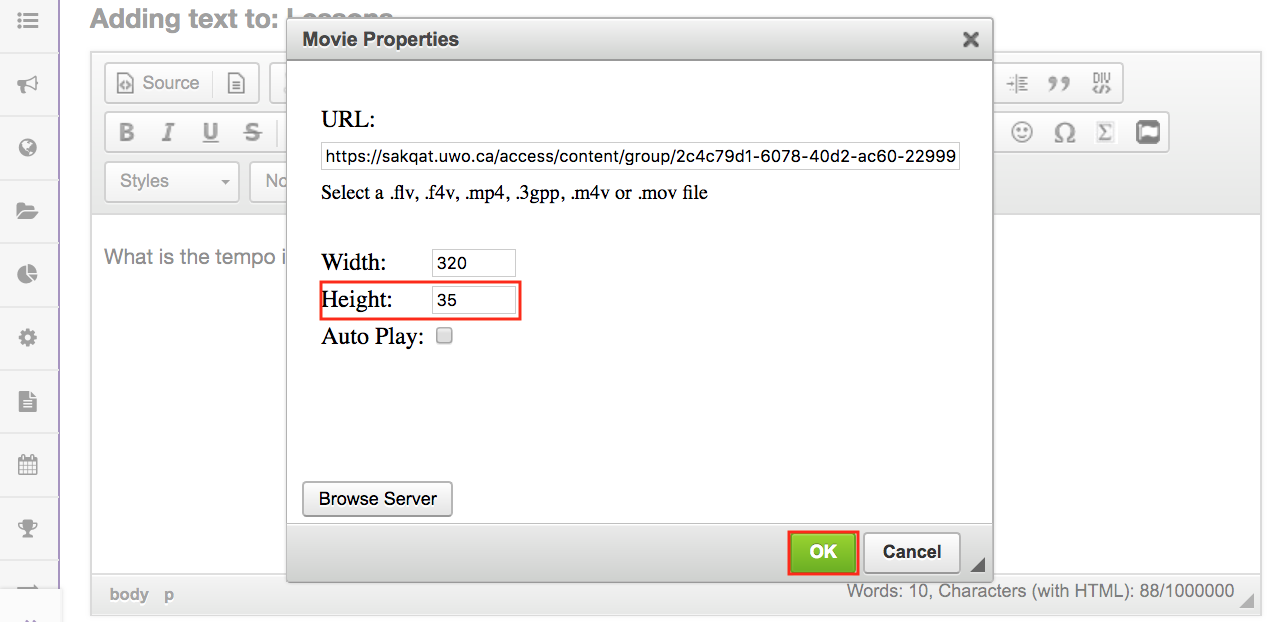
Set the Height to 35, and then click OK.
-
View the embedded audio file in the editor.
The editing display will show a place-holder for the audio marked "Movie". When the text box item is published the embedded audio player will be displayed.
