Manage Dates

How do I adjust dates for all items on my site?

  1. Select Site Info from the Tool Menu in the site.
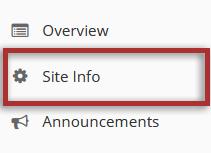
    Screenshot of Site Info OWL tool. Displays Site Info link in the side navigation.
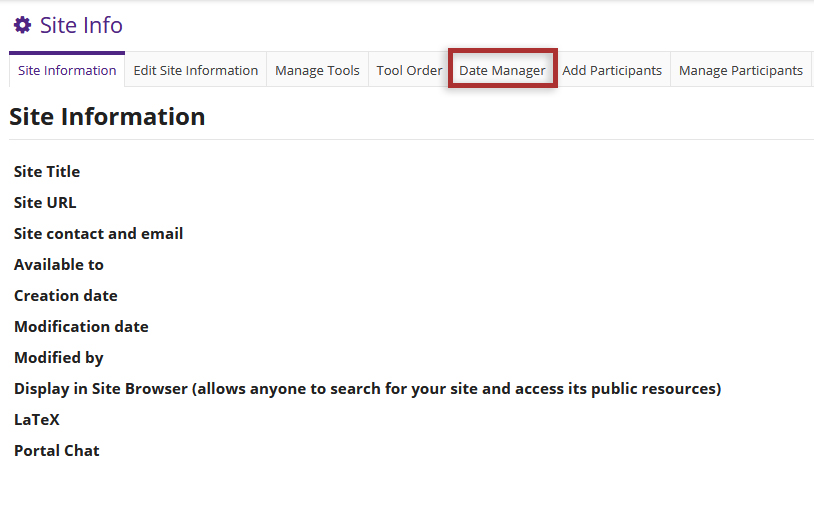
  2. Click the Date Manager tab.

    Screenshot of Site Info OWL tool. Displays Date Manager selection area.
  3. Select the desired tools and view items within that tool.

    1. Click to expand each section and view items within that tool.
    2. Select the calendar icon next to each date field you would like to modify.

    Note: Different tools may have different date options available depending on settings of the tool.

    Tip: Date Manager lists all the tools' dates on a single page, making it easy to adjust open dates and due dates for things like assignments and assessments all from one spot.

    Screenshot of Site Info OWL tool. Displays expansion of tools available in Date Manager.
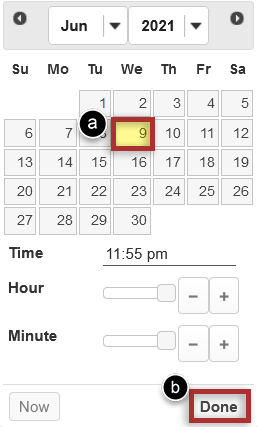
  4. Modify the date fields.

    1. Select the new date you want the item to be adjusted to.
    2. Click the Done button after each date field adjustment is complete.
    Screenshot of Site Info OWL tool. Displays date manager calendar date adjustment fields.
  5. Scroll down to the bottom of the page and select the Save Changes button to save all of the date changes on the page.

    Screenshot of Site Info OWL tool. Displays Save Changes button.
  6. Select the Save Changes button to confirm the changes to items listed in the confirmation dialog box.
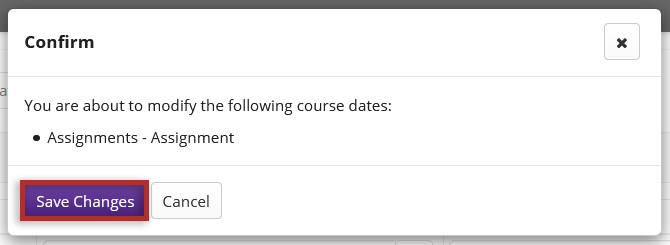
    Screenshot of Site Info OWL tool. Displays confirmation dialog box to save changes to date adjustments.