Edit class rosters
On This Page
How do I add a class roster?
Class rosters are automatically added to a course site 1 month prior to the start of term. In addition, you may add additional class rosters into a course site, which can be useful for cross-listed courses or consolidating multiple sections.
-
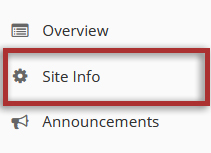
Select Site Info from the Tool Menu in the site.

-
Click Edit Class Roster(s).

-
Click Add Roster(s).

-
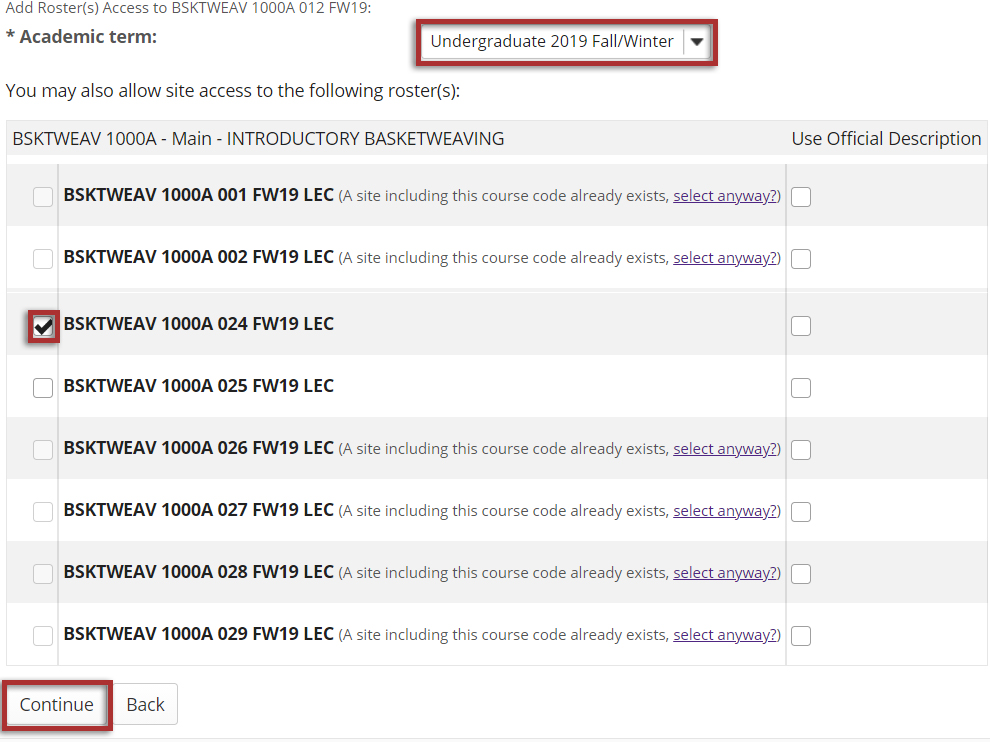
Select the term and class(es).
From the drop-down menu, select the appropriate academic term.
If you are listed as the instructor of record for certain courses in your course catalog, those courses and their sections will be listed.
Click the Continue button to add the roster.
Note: If you have more rosters to add, click on the Save and add another section link to add additional sections.

-
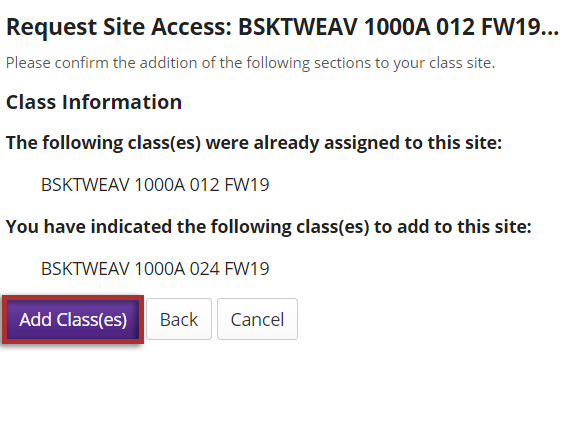
Click Add Class(es).


