Overview
When you log in to OWL, you will immediately see your Overview
The Overview tool contains:
The Overview area of OWL is designed to give you an overview of what is happening in your courses and provide access to your individual account information and preferences.
What is the Message of the Day?
In the Overview area, you will see announcements from your system administrator under "Message of the Day" (MOTD). The Message of the Day is typically used for system-wide announcements. Most institutions use this space to display messages about scheduled maintenance, system updates, and important dates and events.
-
View the Message of the Day.
You may customize the appearance of the Message of the Day by selecting Options.
If you make any changes to the default options, be sure to click Update to save your settings.

Select Options to customize the display. (Optional)
Message of the Day Options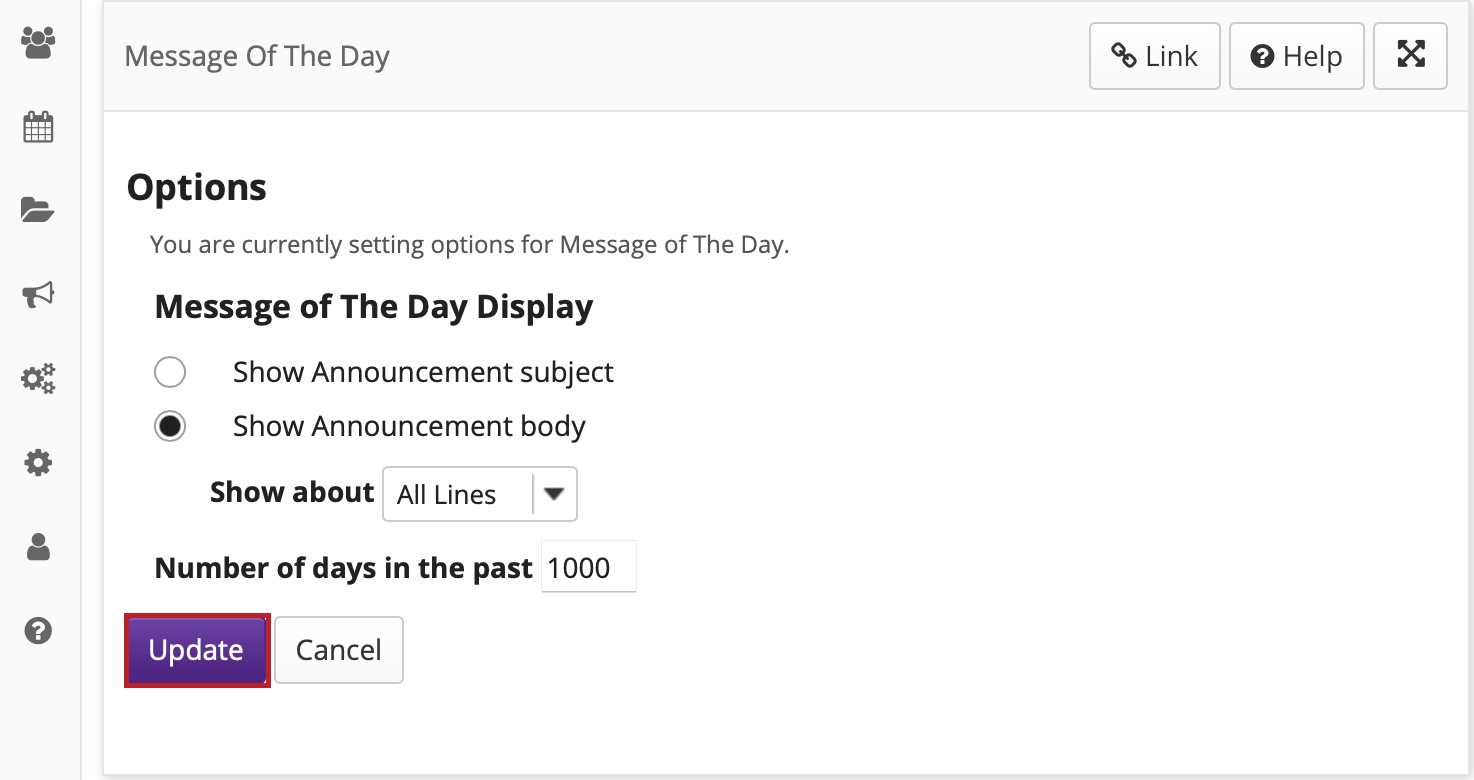
What is the Calendar?
The Calendar shows all events from all of the sites in which you are enrolled. In addition, you may also create individual, private calendar entries that are only visible to you from your Overview area.
-
-
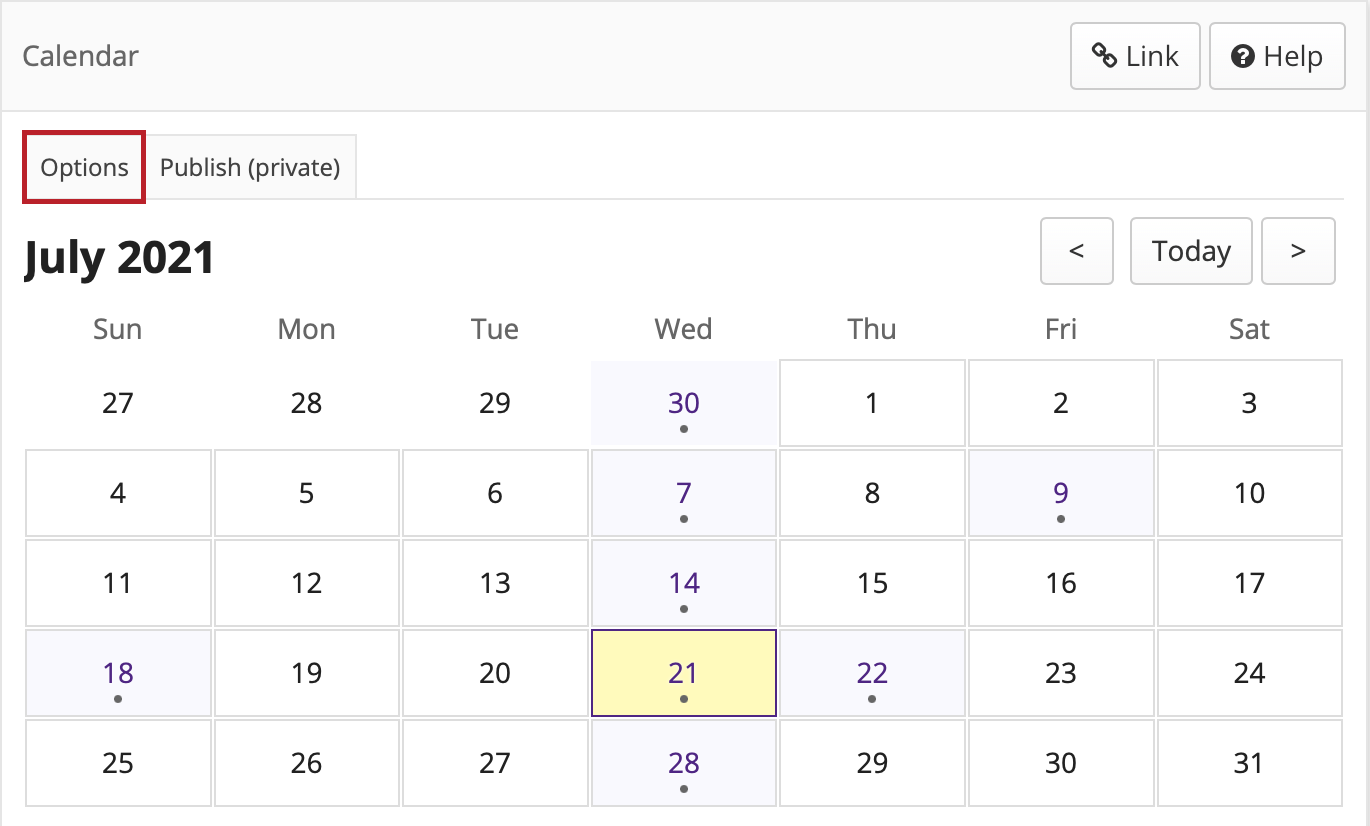
View Calendar.
You may customize the appearance of your Calendar by selecting Options.
Select Options to customize the display. (Optional)
Select custom preferences and Update.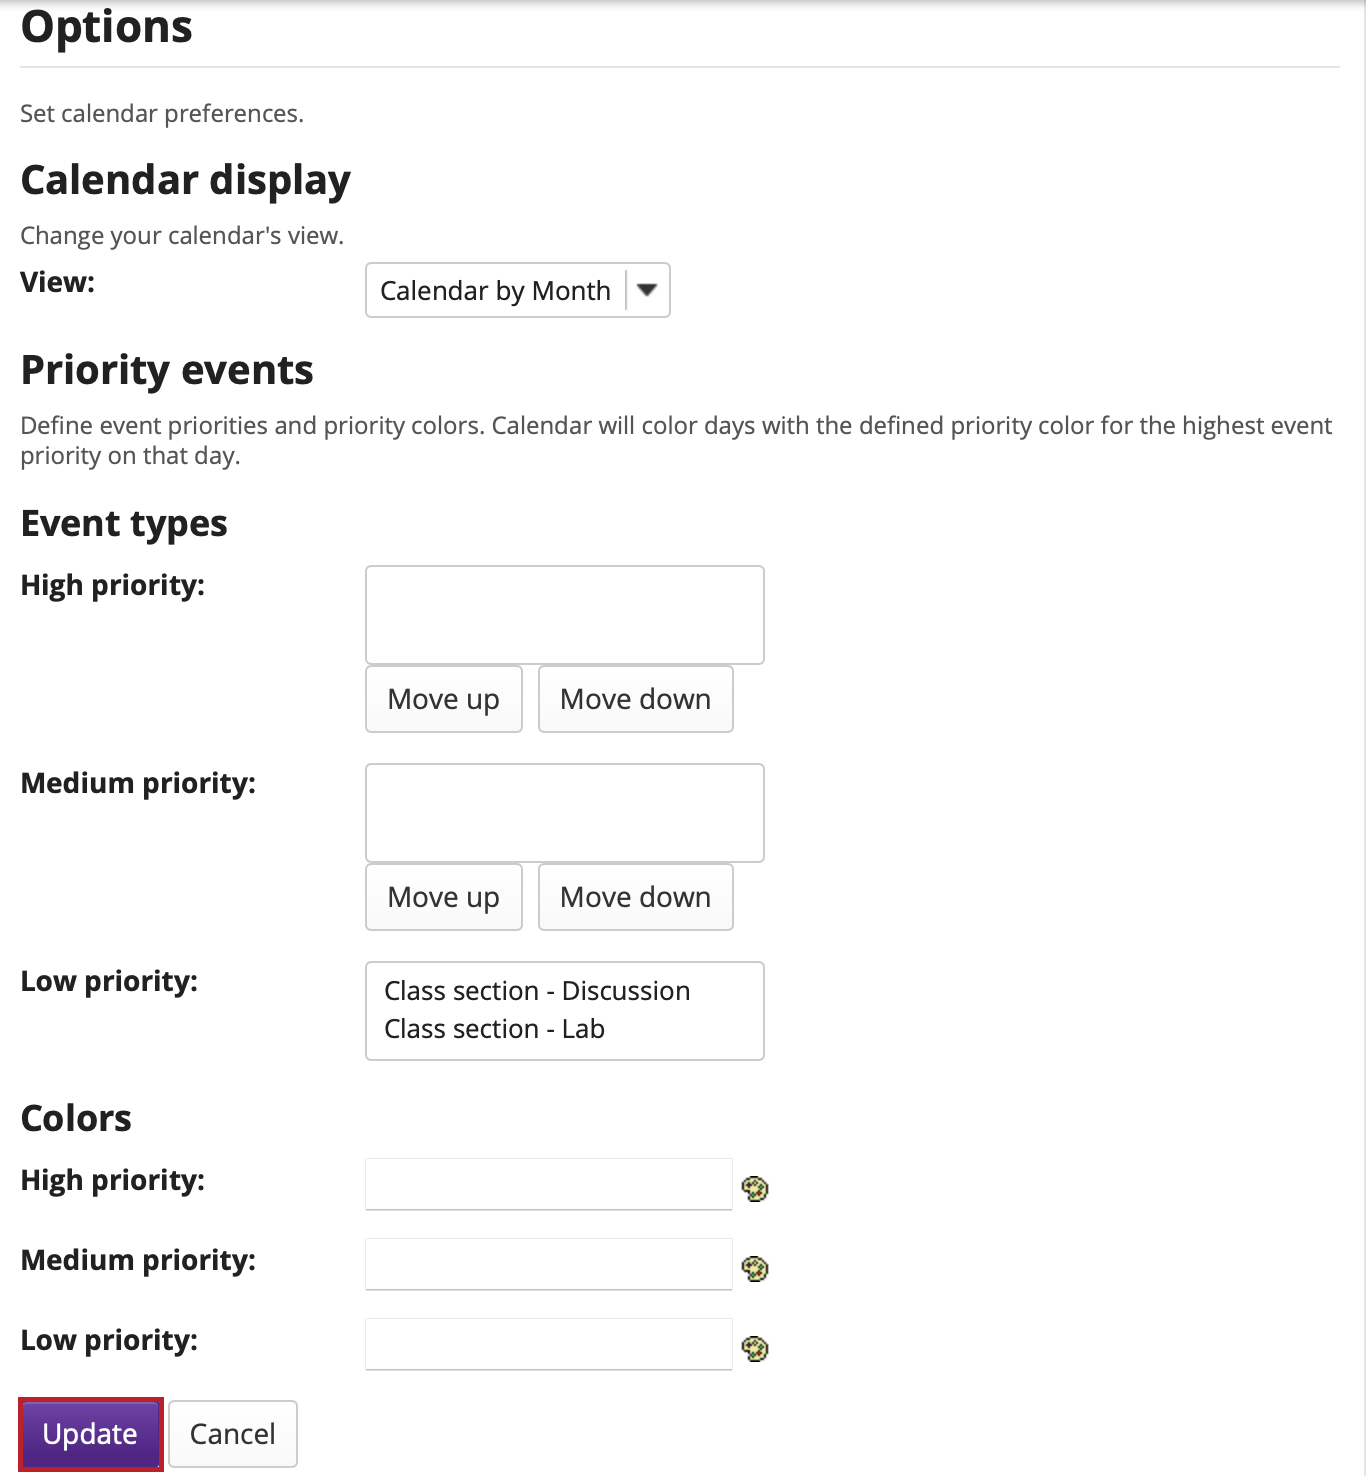
-
Subscribe to your Calendar from another application.If you would like to subscribe to your Calendar from another calendaring application, such as Outlook or Google Calendar, select Publish (Private) to generate a URL that can be used to set up your subscription.
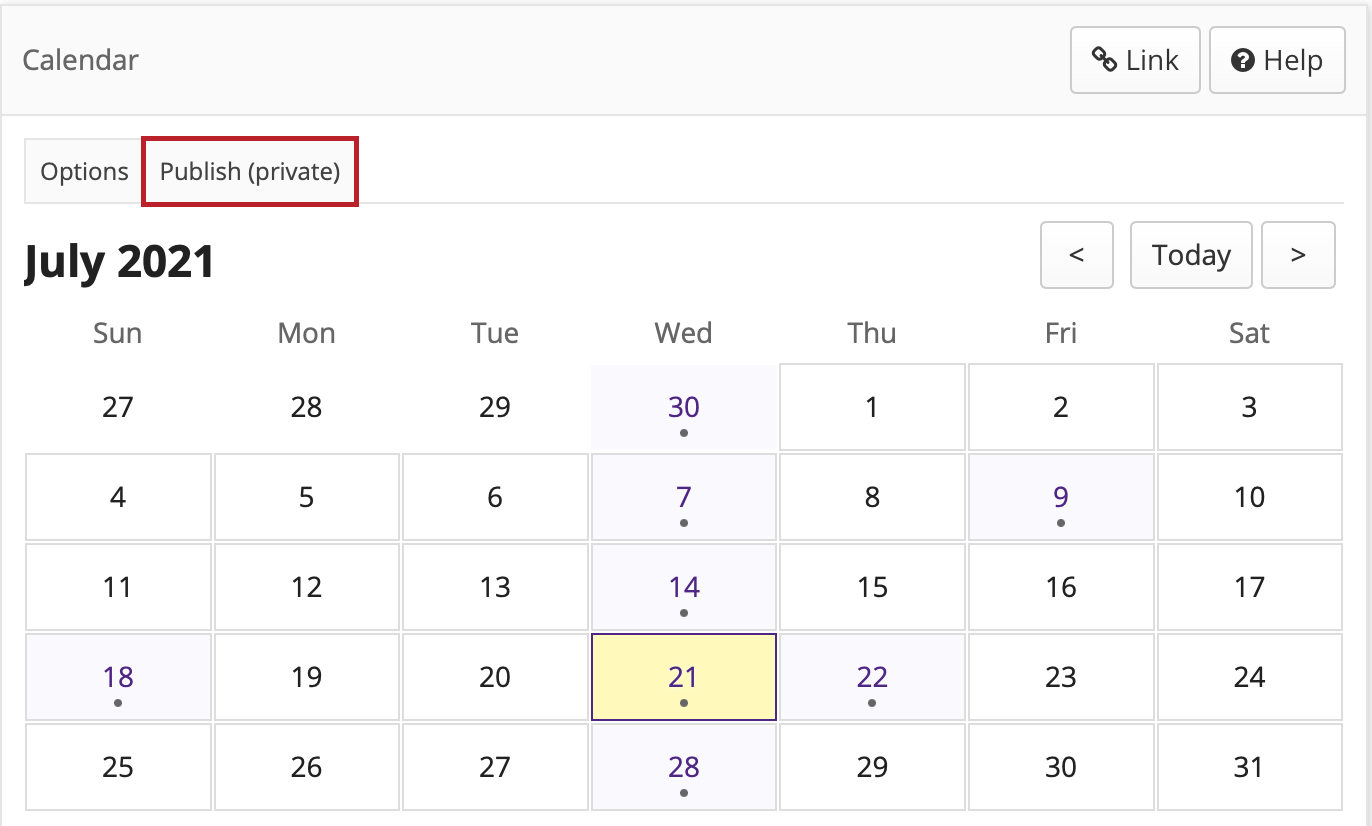
Click Generate.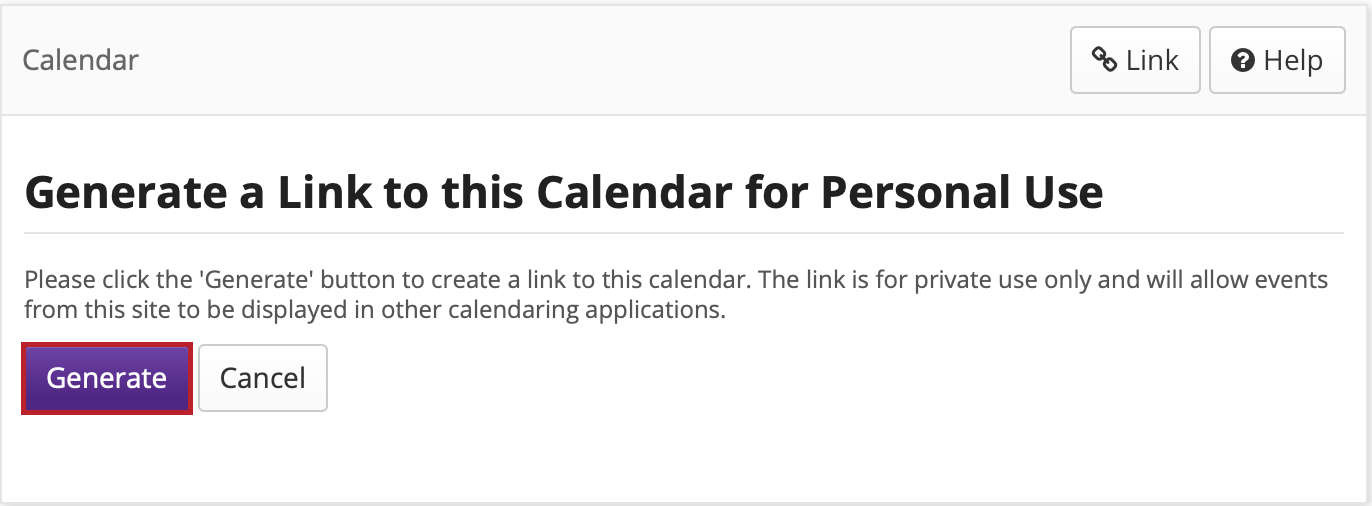
Copy the URL and use it in your desired calendar client.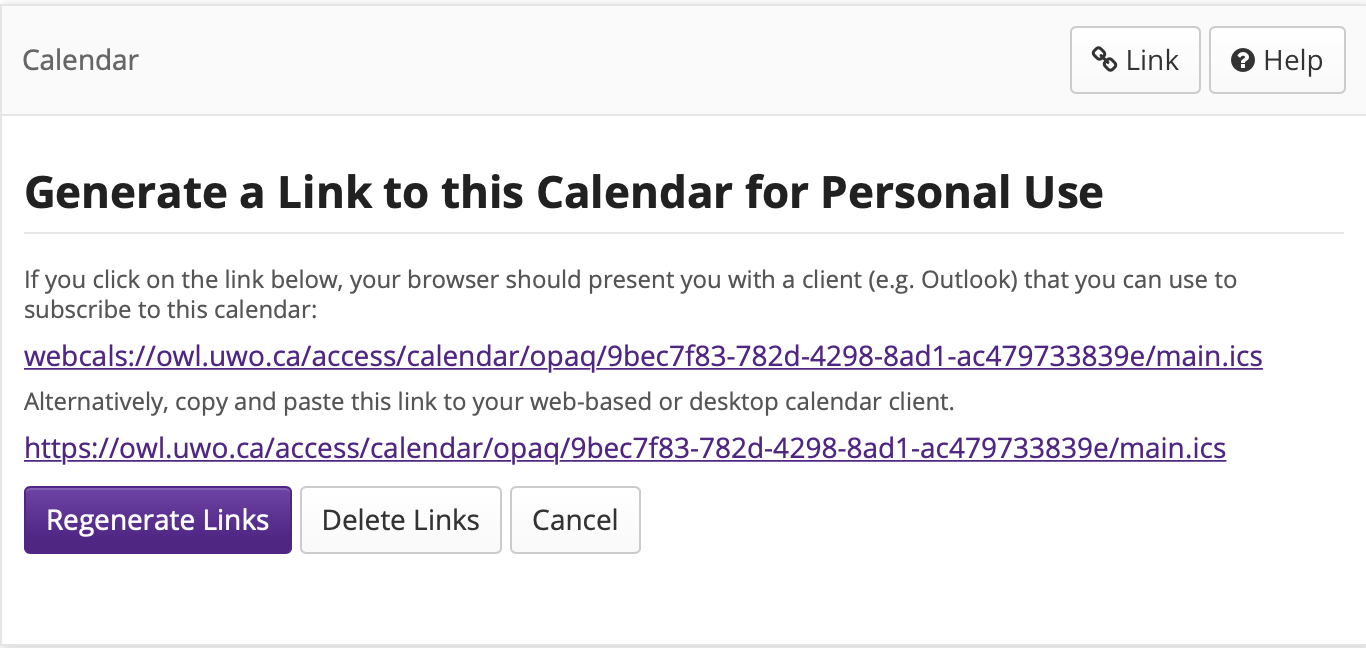
-
What is the Home Information Display?
The Overview may be customized by your institution to display information for all users. The Home Information Display often contains static information, unlike the announcements which may change more often in the Message of the Day.
-
View the information display.

What are the Recent Announcements?
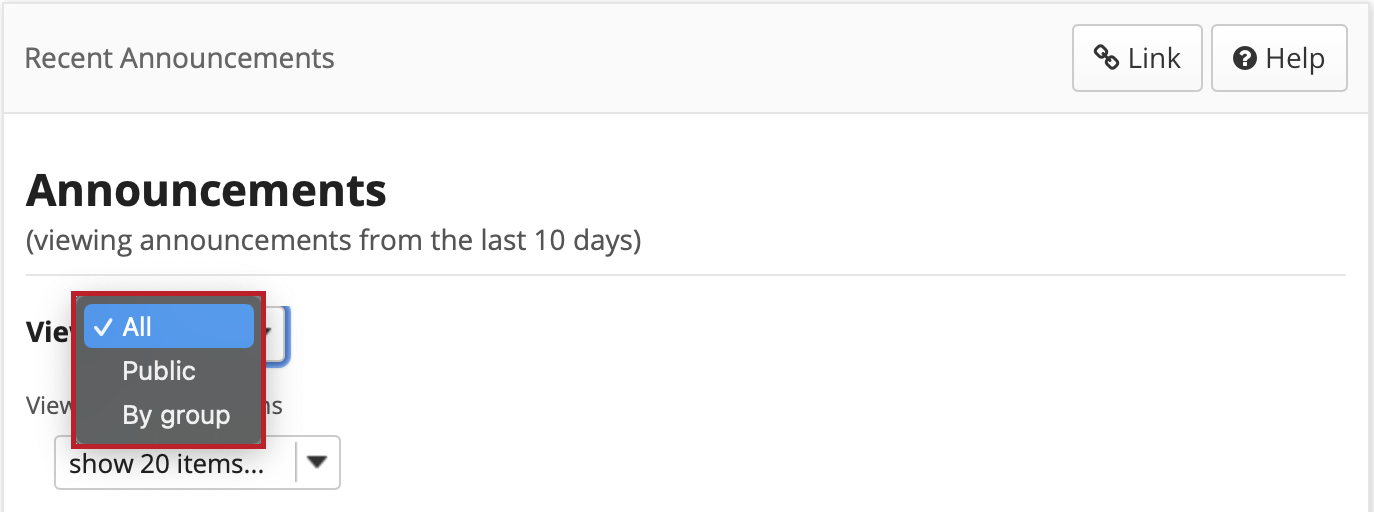
The Recent Announcements area in Overview displays announcements from all of the sites in which you are enrolled. You may use the drop-down menu to view all items, public items only, or items sorted by group. (You must be a member of a group in order to see group announcements.)
-
View recent announcements.
You may select either "All", "Public", or "By Group" from the "View" drop-down menu to customize the display.
Note: By default, you will only see announcements that have been posted within the last 10 days in this location. (If you wish to see announcements posted within the past year, you should click on the Announcements link in the Tool Menu.)
What are the Message Center Notifications?
The Message Center in Overview displays the count of Messages and Forums posts for all of the sites in which you are enrolled. New messages are indicated by a number and envelope icon. If there are no new messages or posts, the word "none" will be displayed.
-
View Message Center.

-
Customize message center display. (Optional)
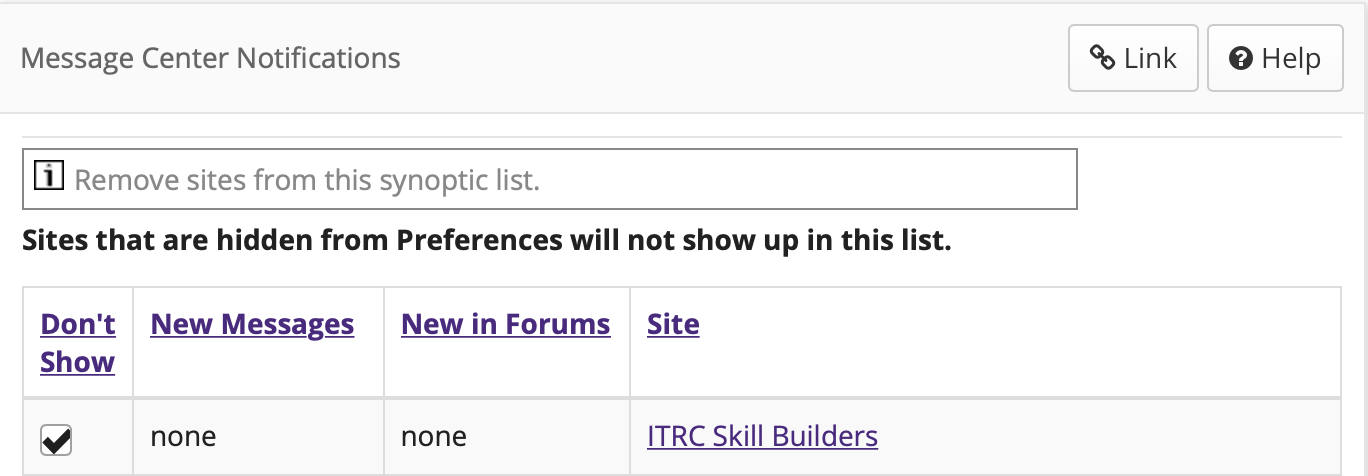
You may select Options to customize the list of sites displayed in the Message Center area.
Select the "Don't Show" box to place a checkmark next to any sites that you prefer not to see in the Message Center list.
Note: If you have already hidden sites in Preferences, they will not show up in this list.
Click the Update button.
What is the Message of the Day?
In the Overview area, you will see announcements from your system administrator under "Message of the Day" (MOTD). The Message of the Day is typically used for system-wide announcements. Most institutions use this space to display messages about scheduled maintenance, system updates, and important dates and events.
-
View the Message of the Day.
You may customize the appearance of the Message of the Day by selecting Options.
If you make any changes to the default options, be sure to click Update to save your settings.

Select Options to customize the display. (Optional)

Message of the Day Options

Embedding Videos into Overview
Embedding a YouTube Video:
-
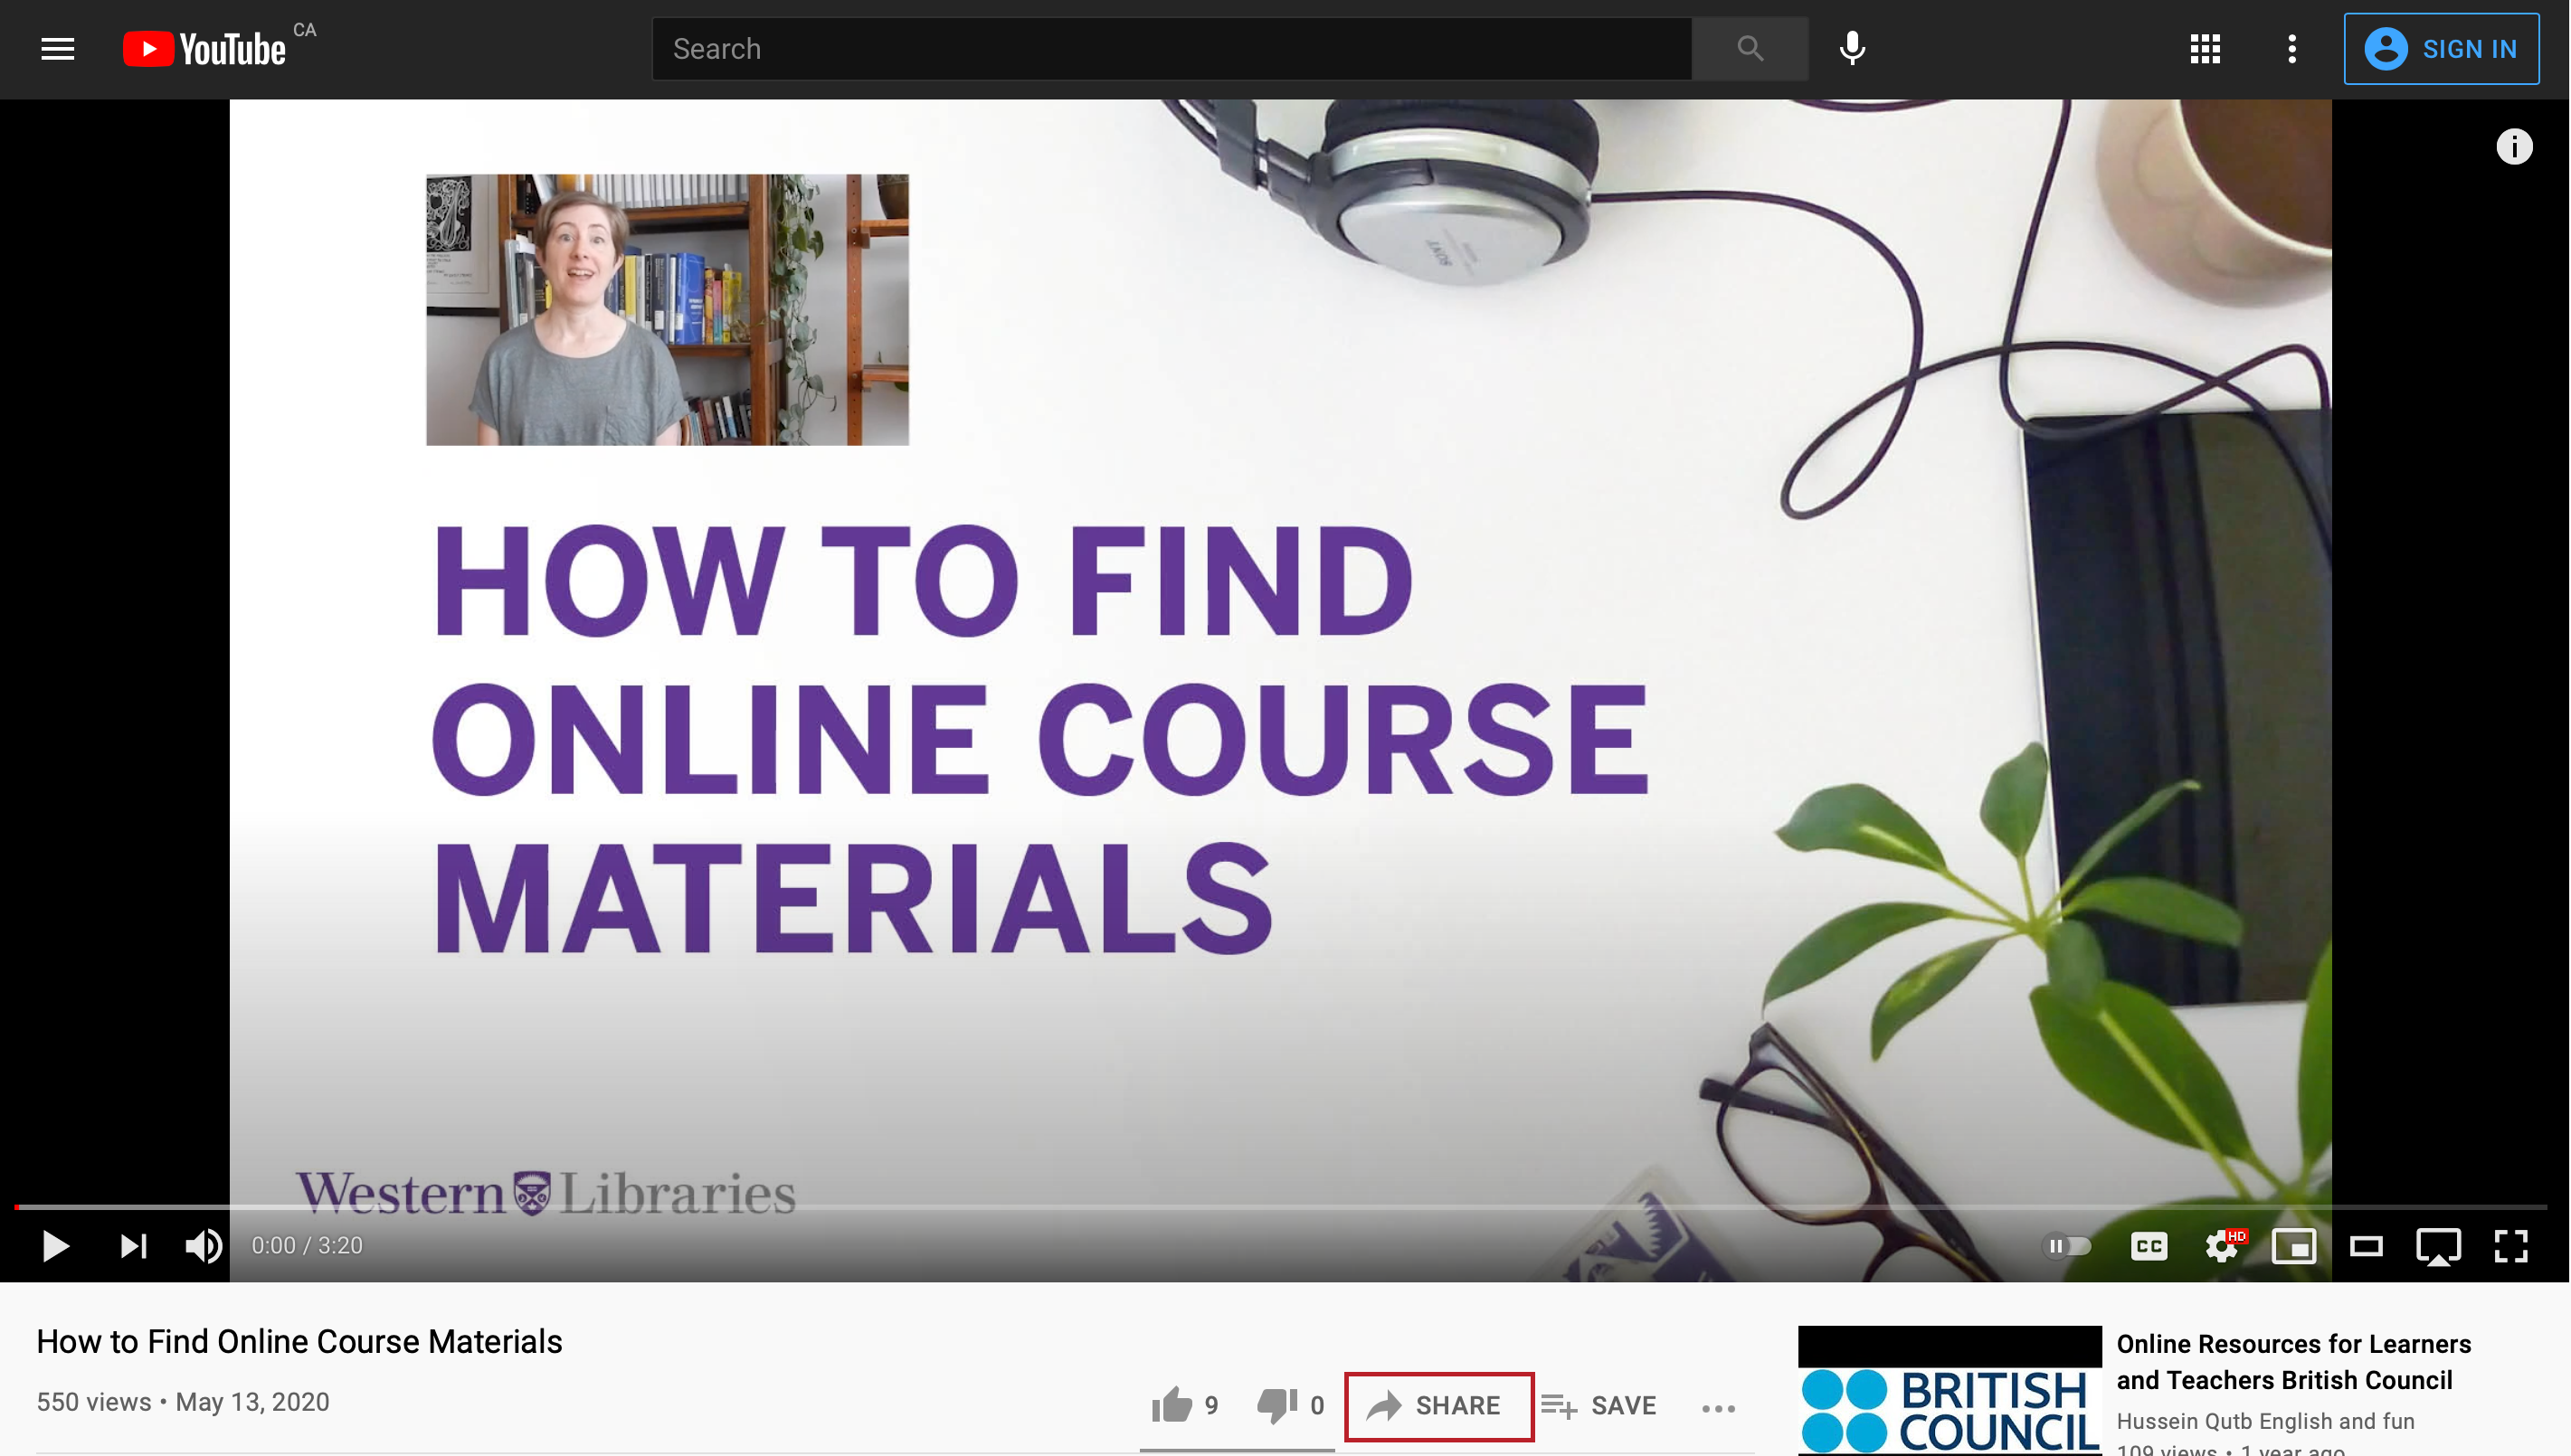
Navigate to the YouTube video which you want to embed and click Share. This will bring up a pop-up window.
-
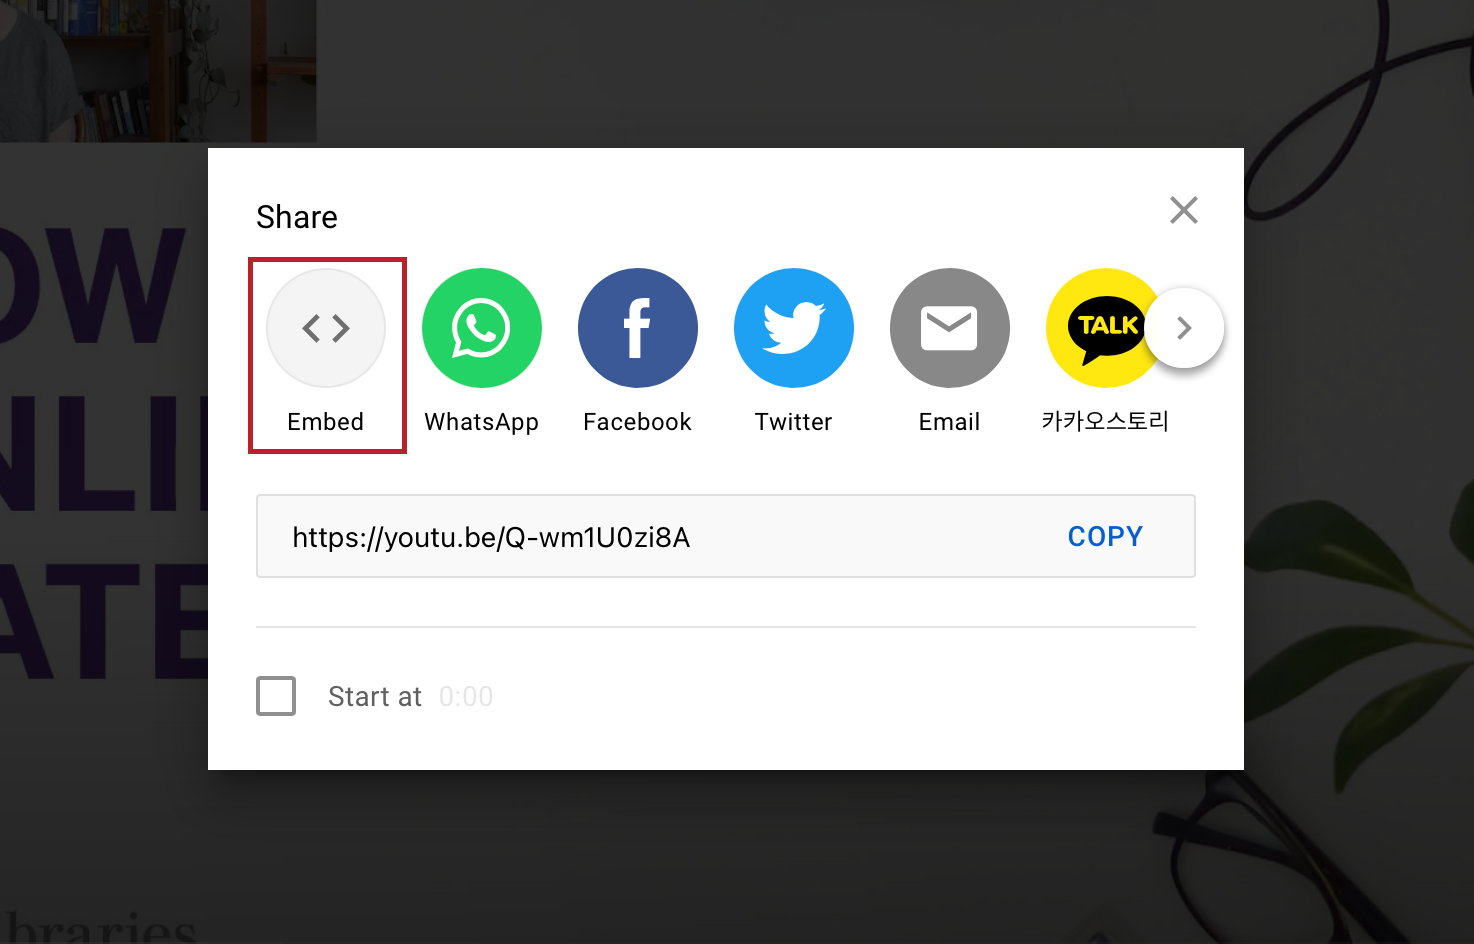
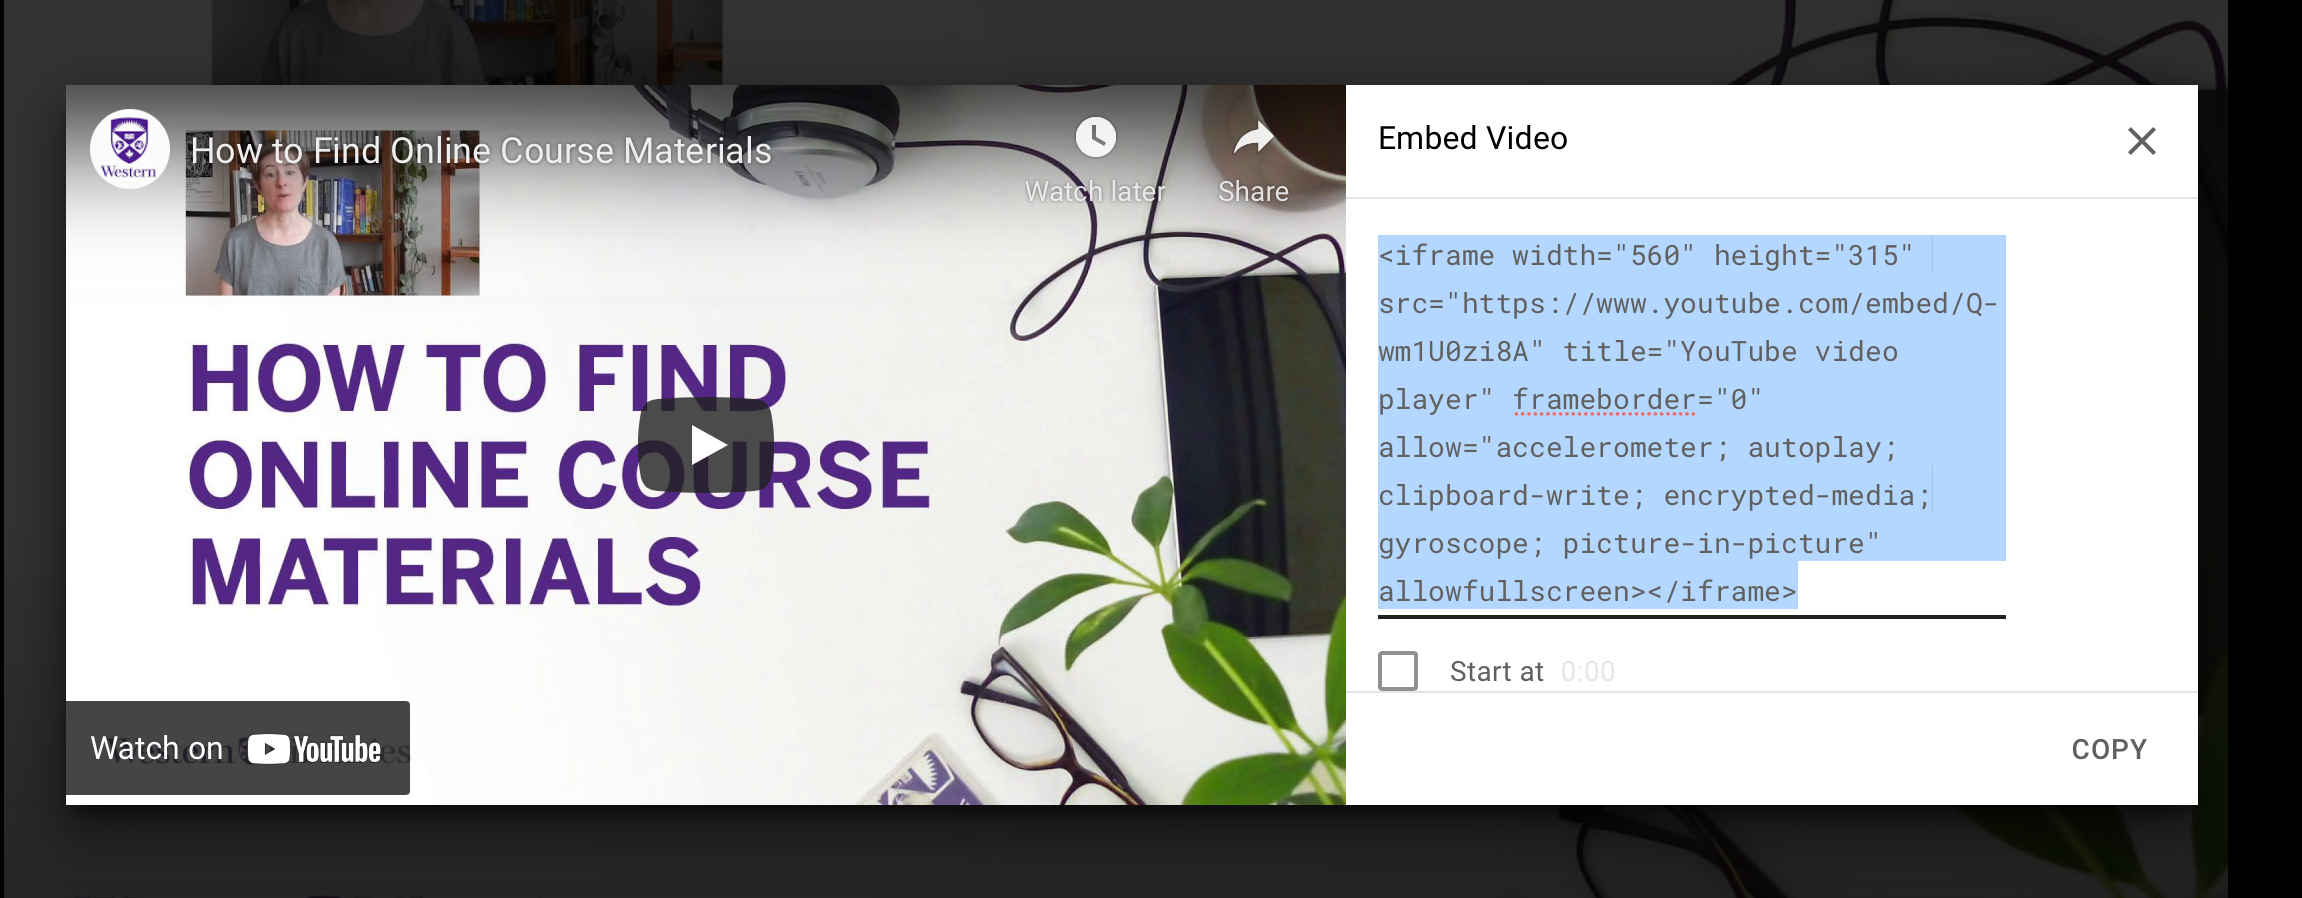
Click Embed and copy the YouTube embed code to your computer's clipboard (CTRL-C on PC or COMMAND-C on MAC).
-
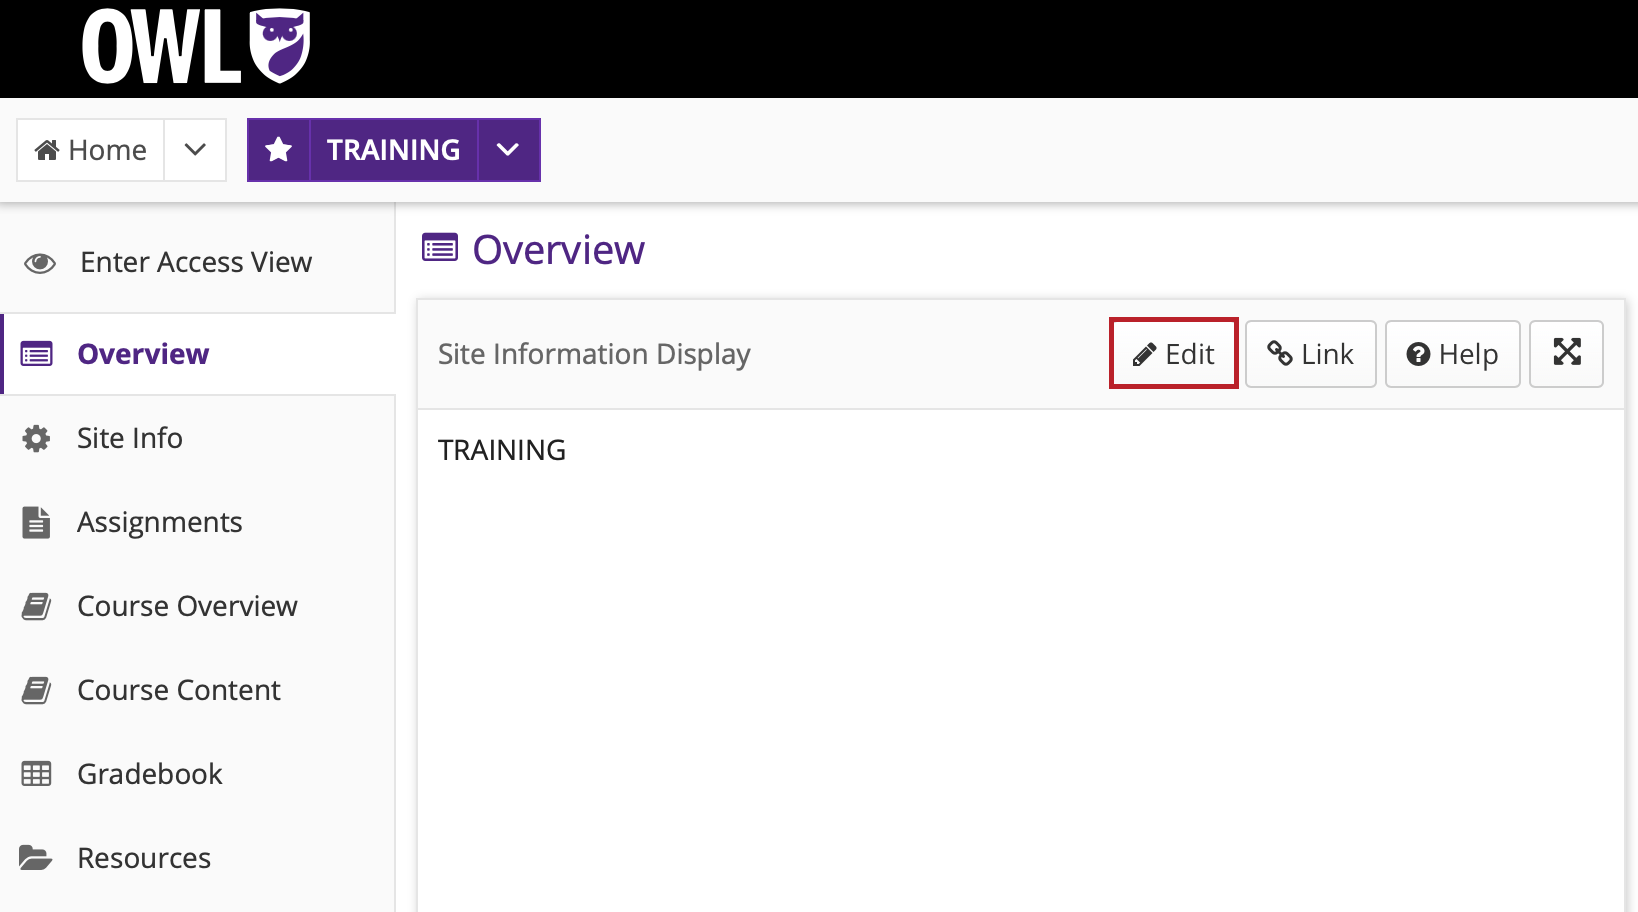
Navigate to the OWL Overview page and click Edit.
-
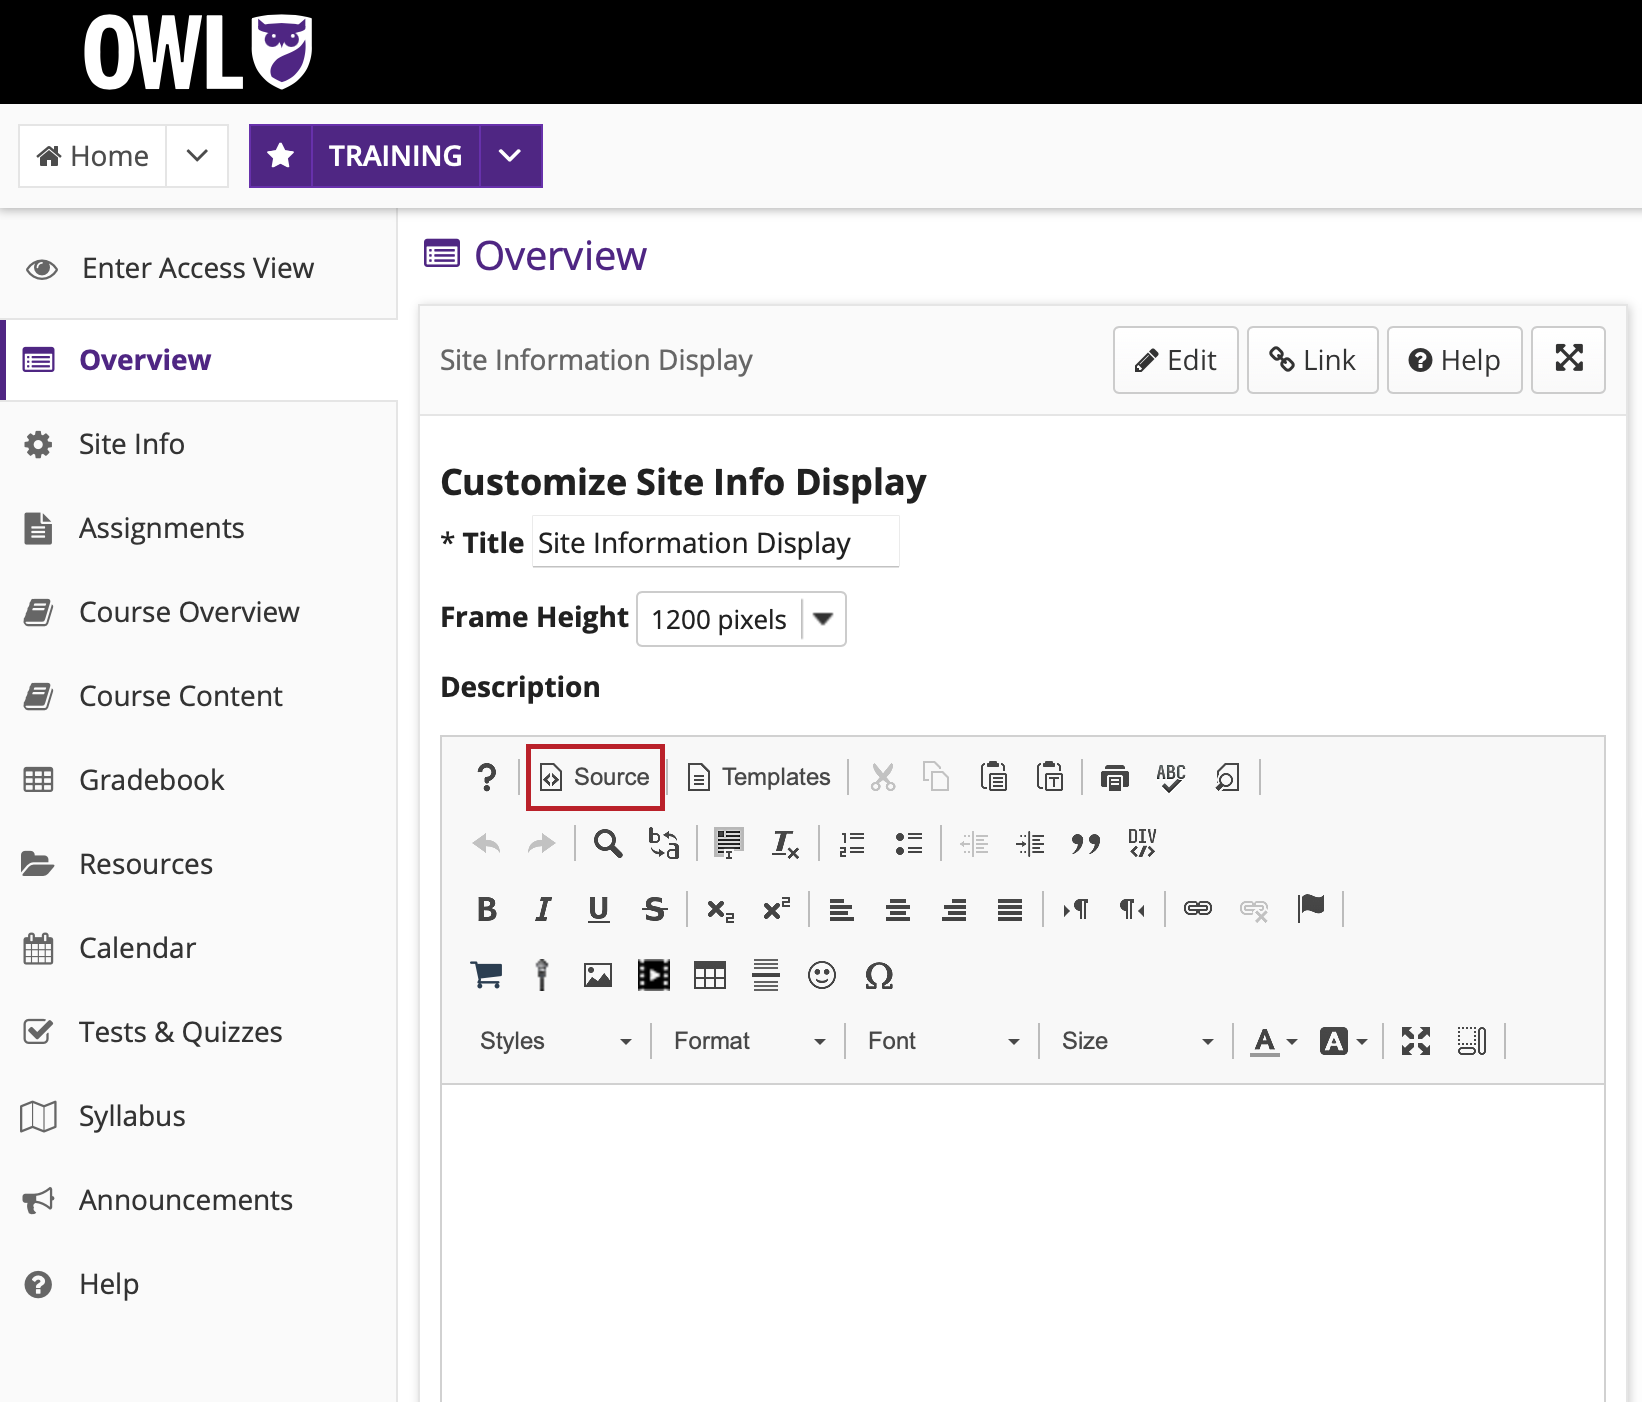
Click Source.
-
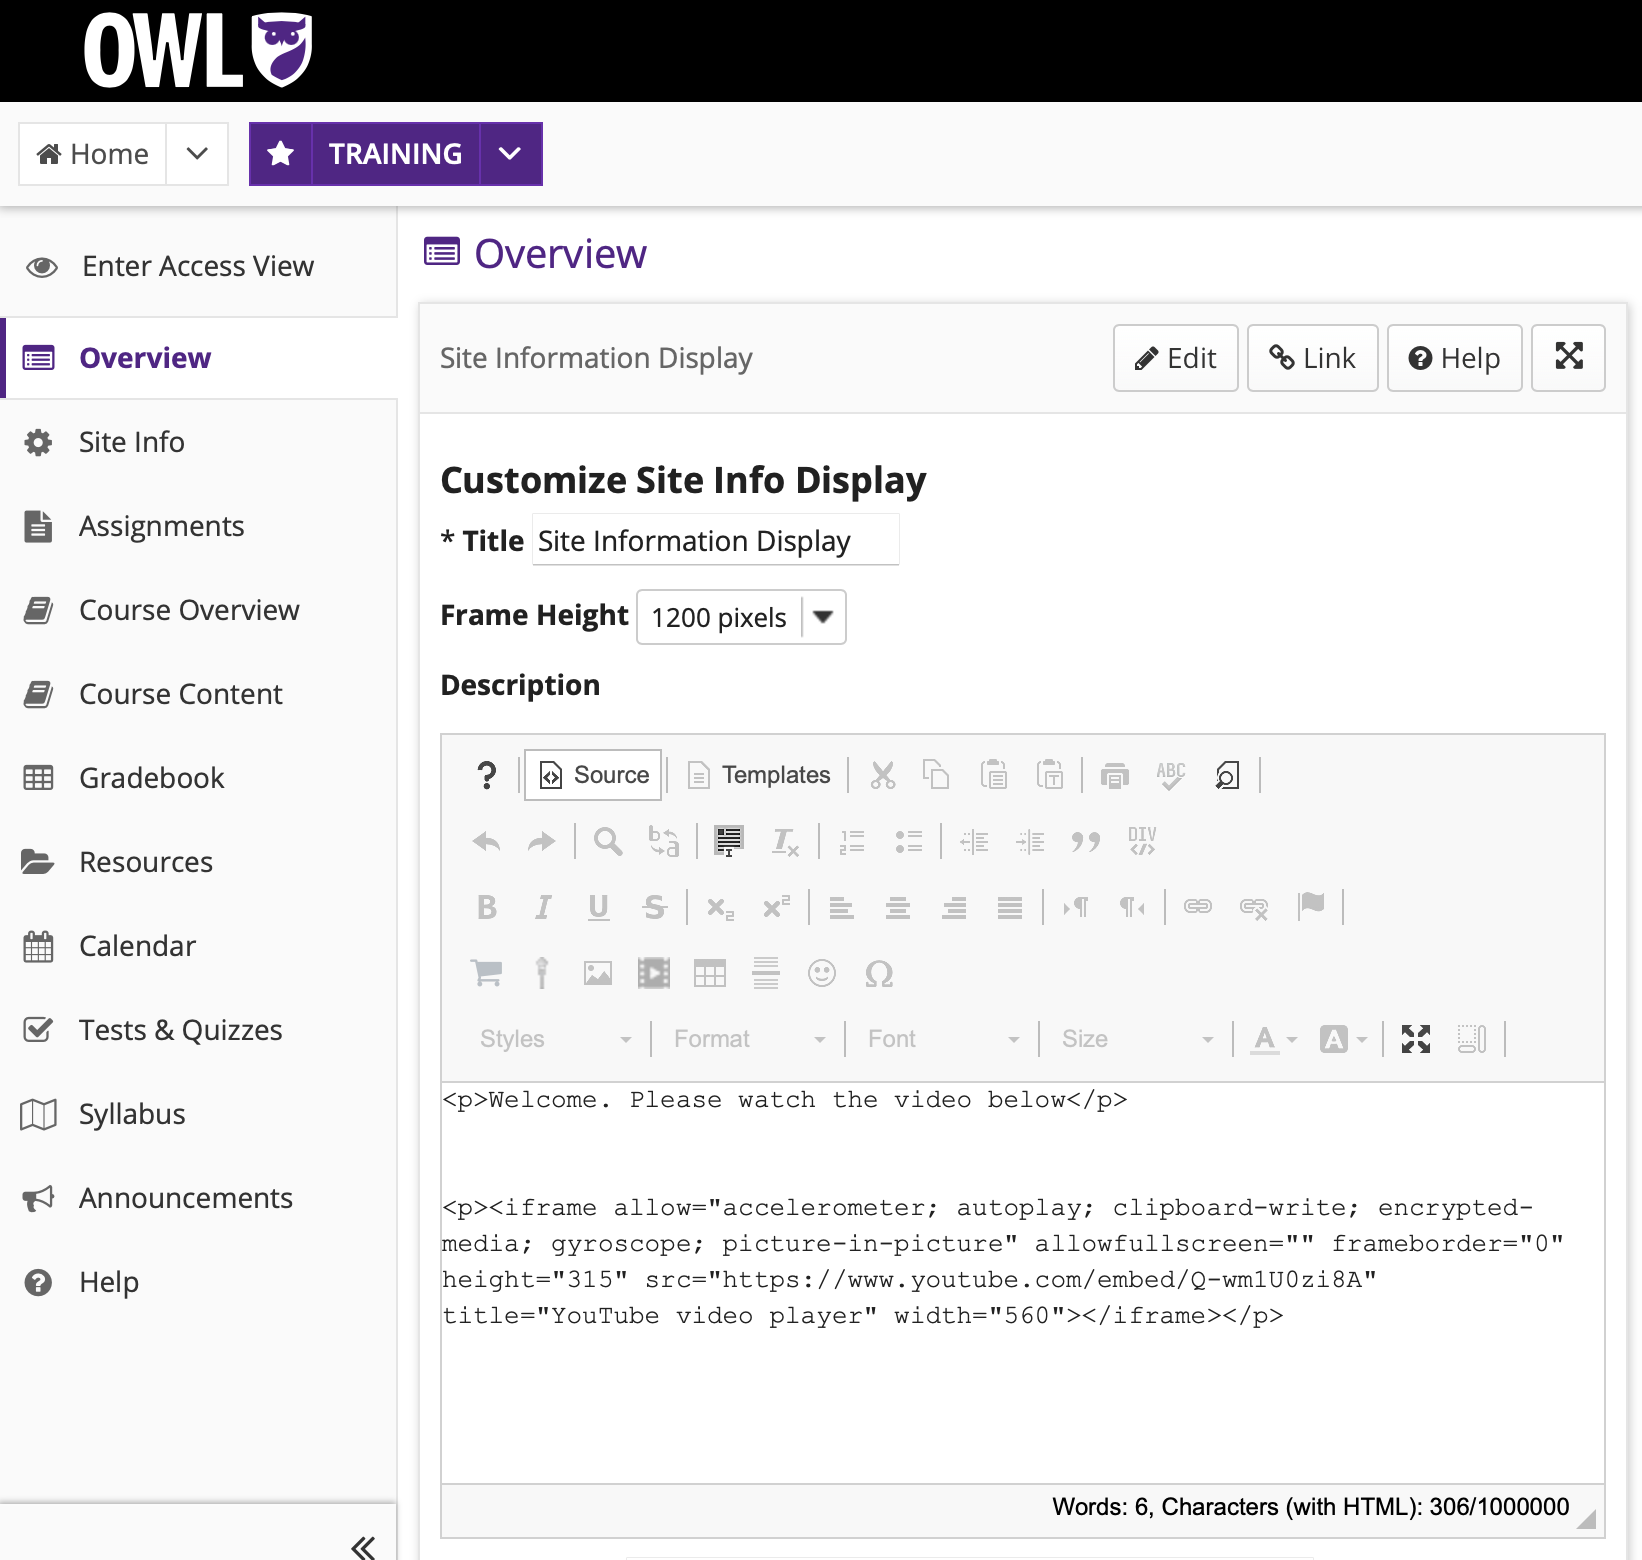
Position your cursor and paste your copied text into the box (CTRL-V on PC or COMMAND-V on MAC).
Note: where you paste the link determines where the video appears.
-
Click Update Options at the bottom of the page in order to save your changes.
-
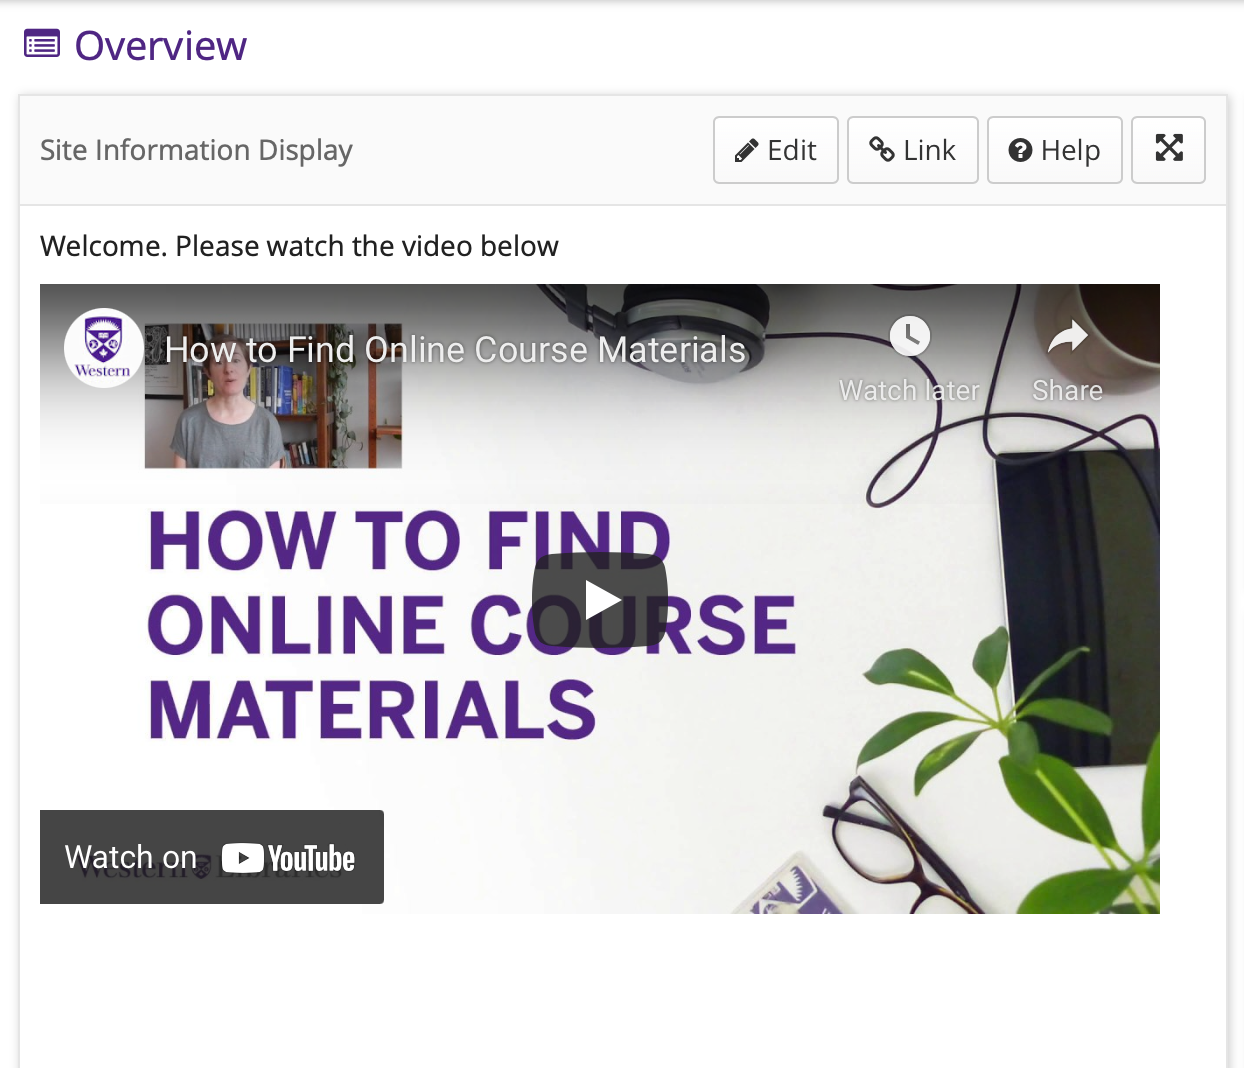
The YouTube video should now appear on the overview page.
Note: you may have to reload the page in order for the video to appear.
Embedding a Local Video:
-
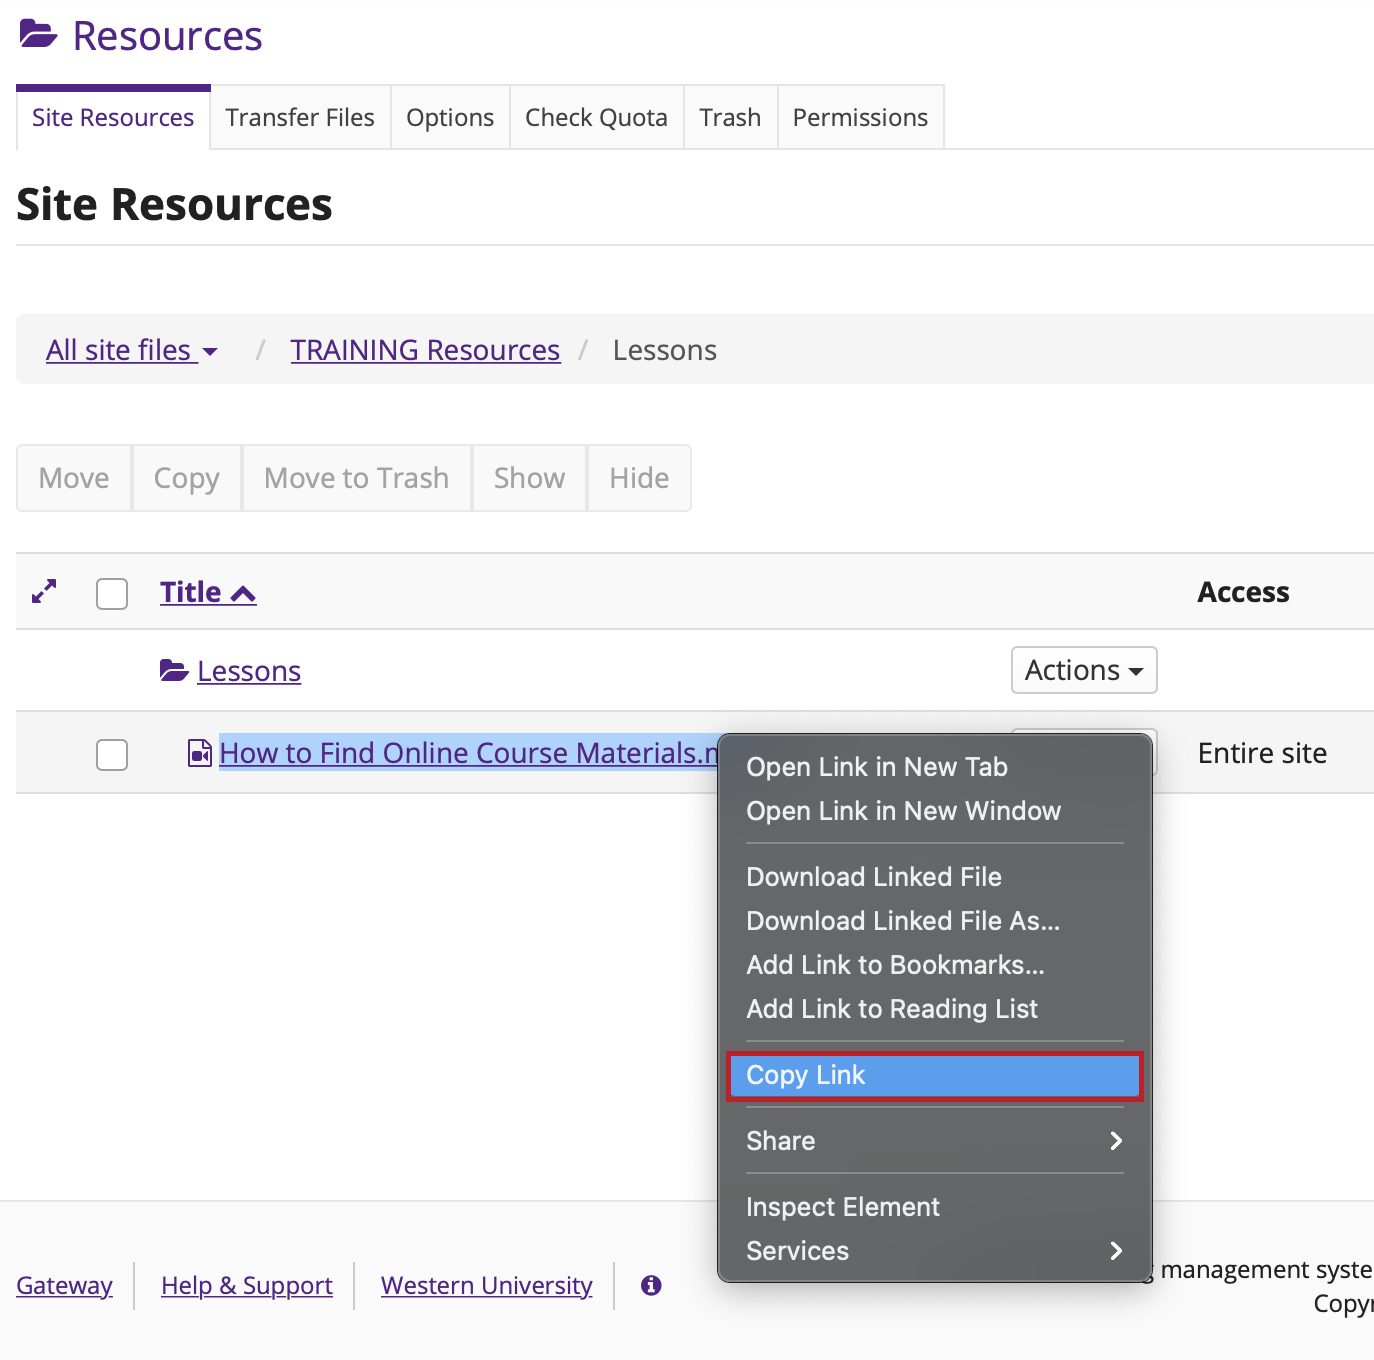
Upload the desired video to the OWL resources page in mp4 format and copy the link address (Right click the resources file and select Copy Link).
-
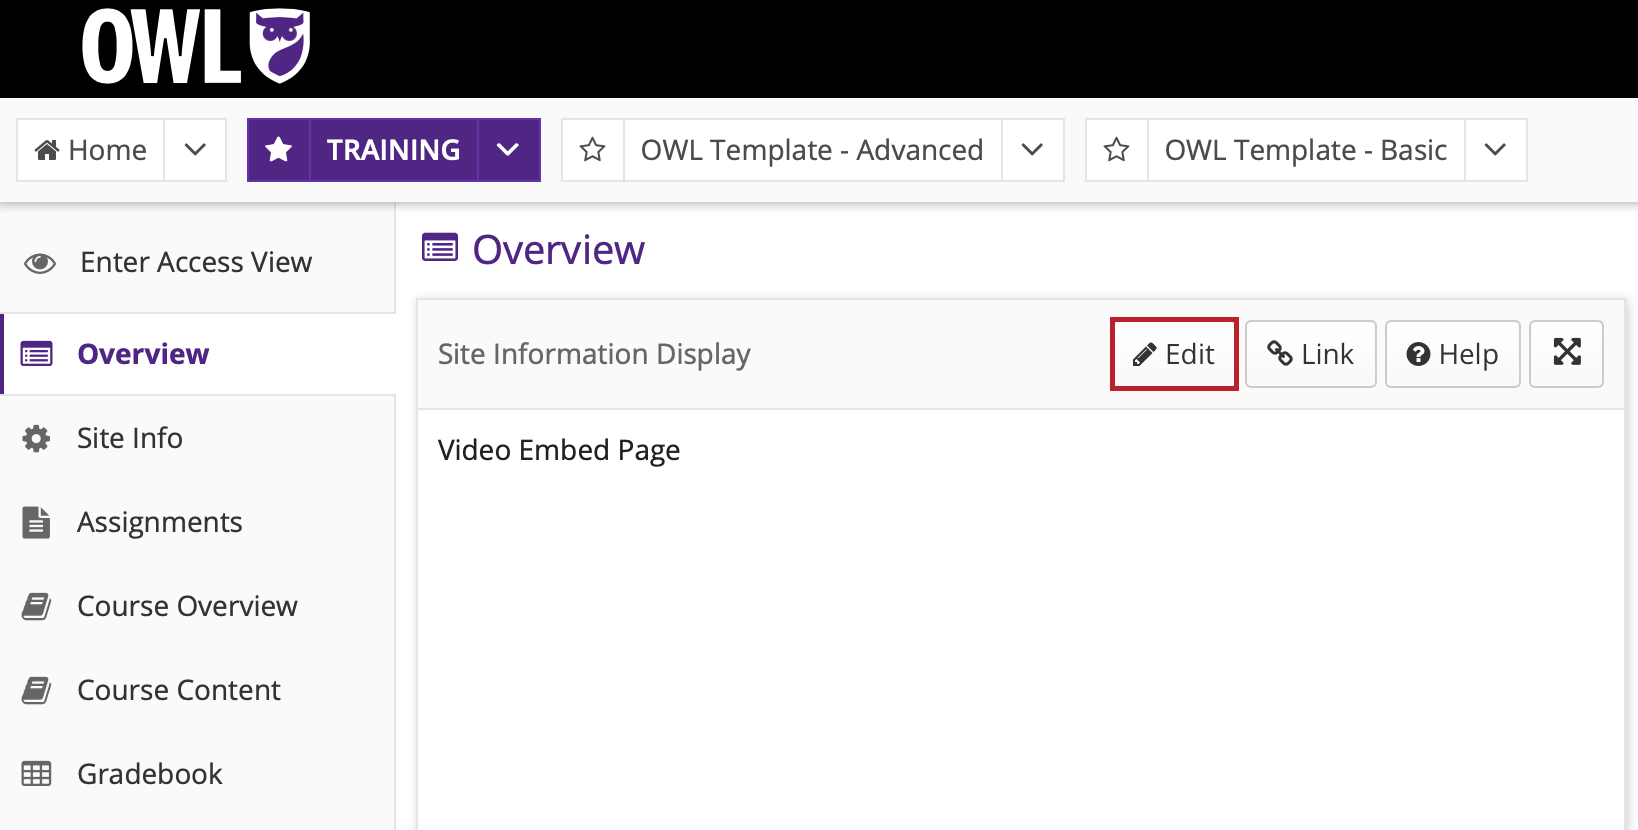
Navigate to the OWL Overview Page and click Edit.
-
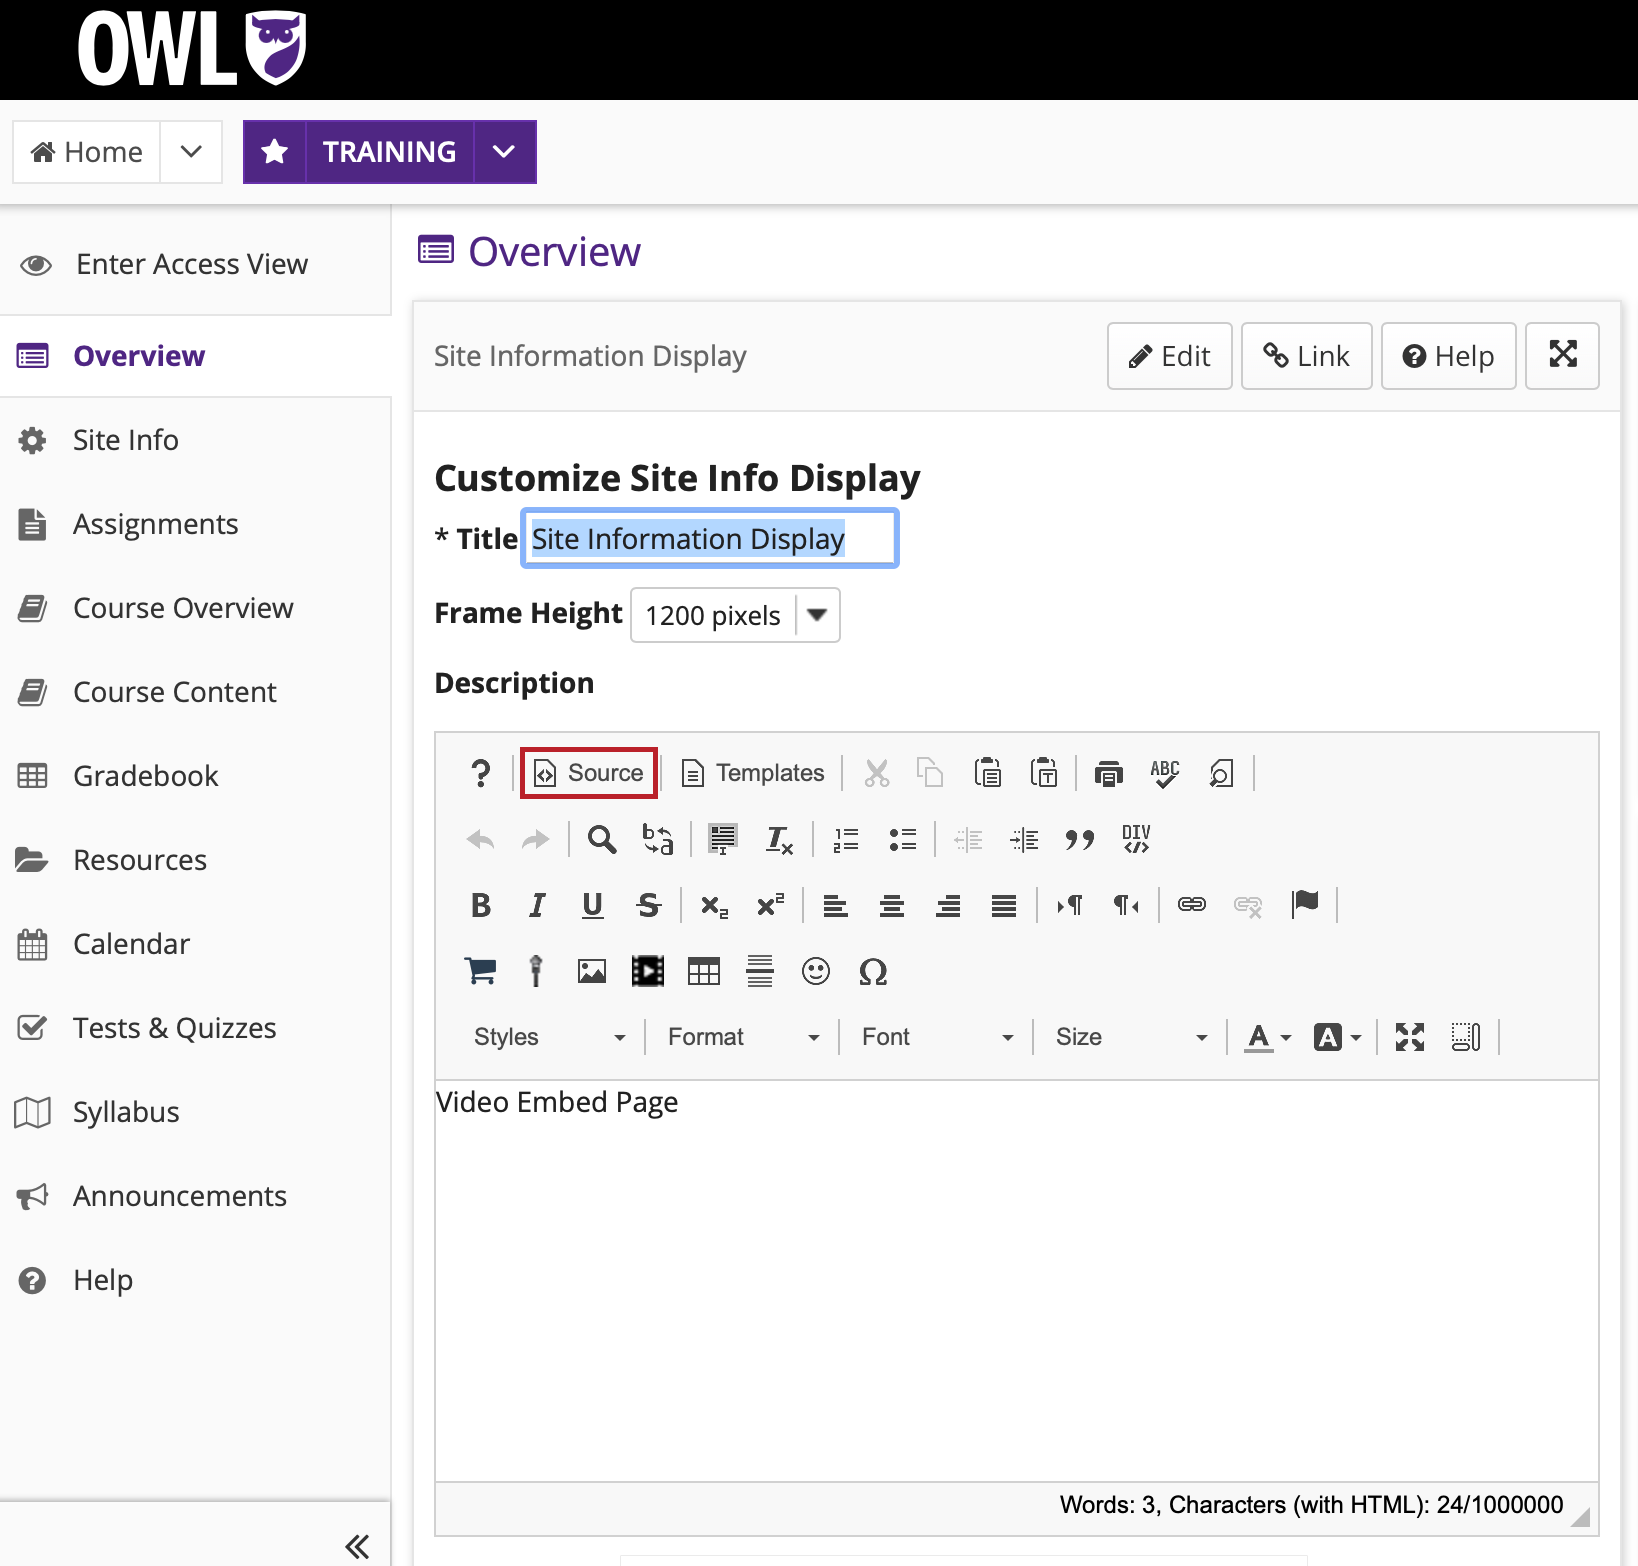
Click Source.
-
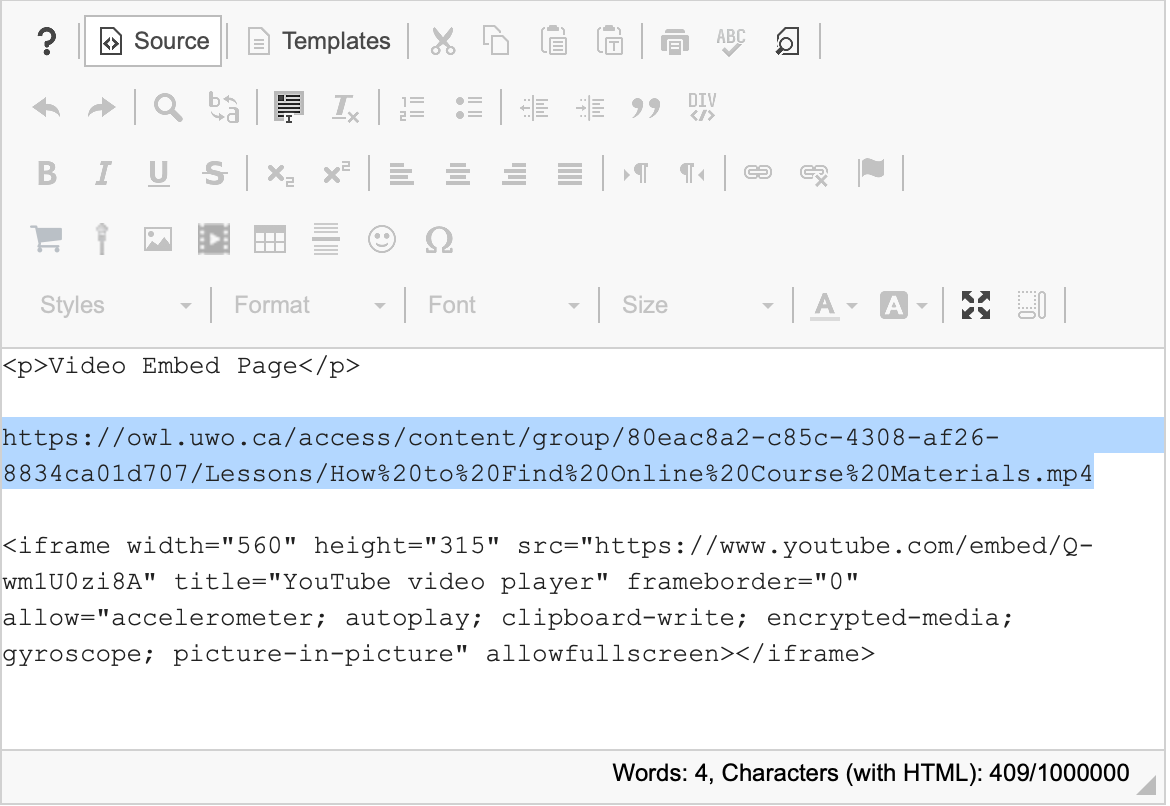
Position your cursor and paste your copied text into the box (CTRL-V on PC and COMMAND-V on MAC).
-
Copy the OWL video link pasted in step d and use it to replace the text called 'ReplaceThisText.mp4'.
-
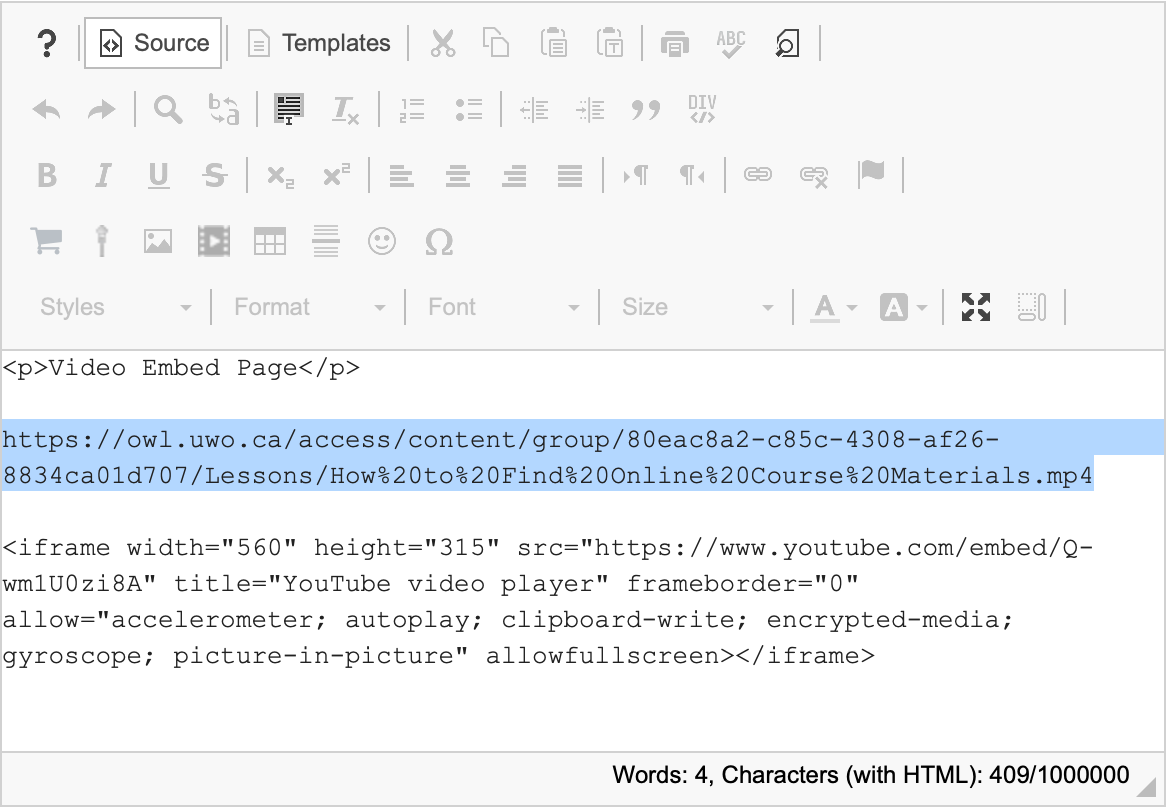
Remove the Extra OWL video link pasted in step d.
-
Click Update Options at the bottom of the page in order to save your changes.
-
The video should now appear on the overview page.
Manage Overview
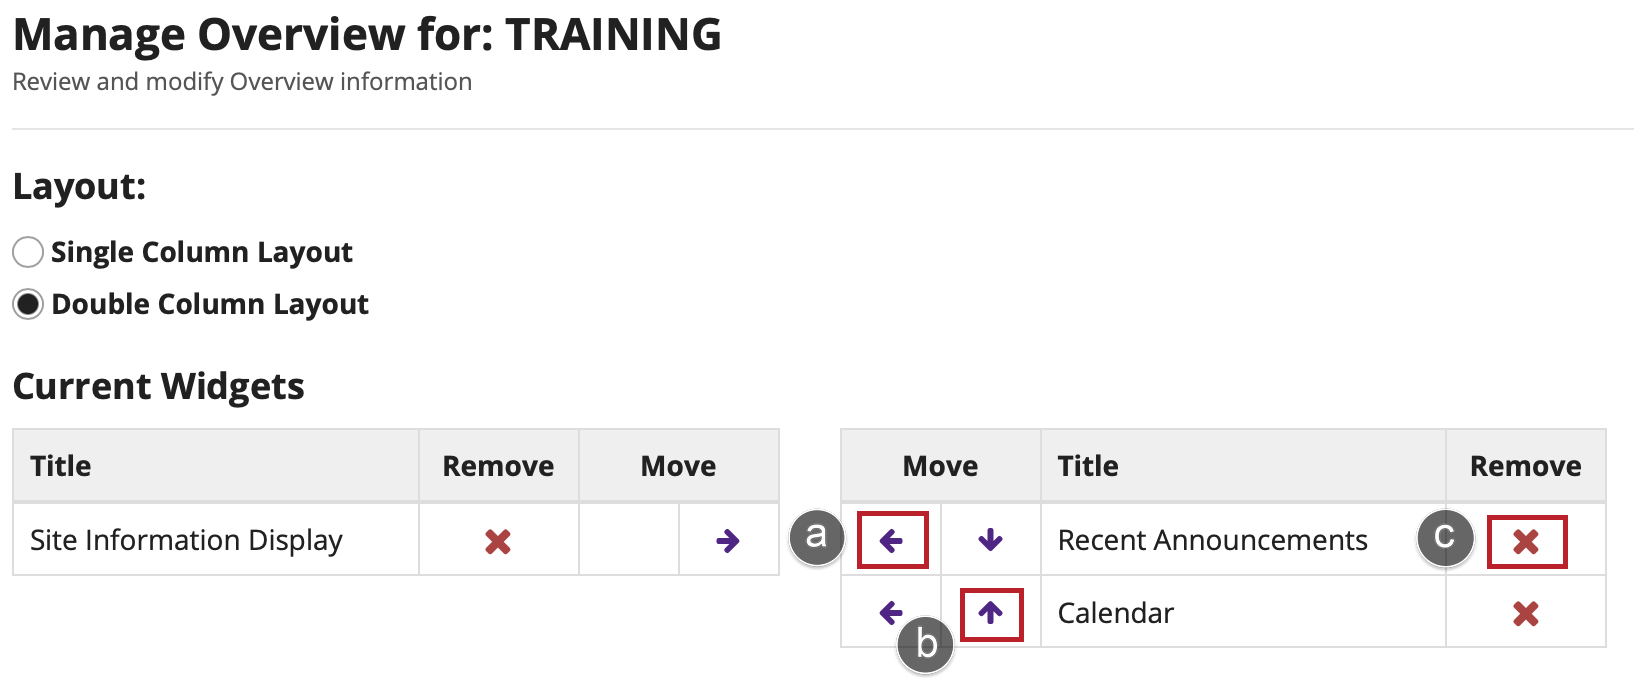
Site maintainers can now control the layout, arrangement, and display of widgets on their site’s Overview page using the Manage Overview option.
-
Click the Manage Overview button on the right side of the site.

-
Customize the arrangement, order and layout of the widgets by selecting the arrows:
-
Click the Save button when finished.

