Create Folders
On This Page
How do I create folders?
-
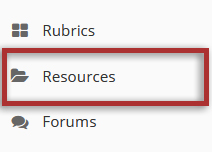
Select the Resources tool from the Tool Menu in the site.
-
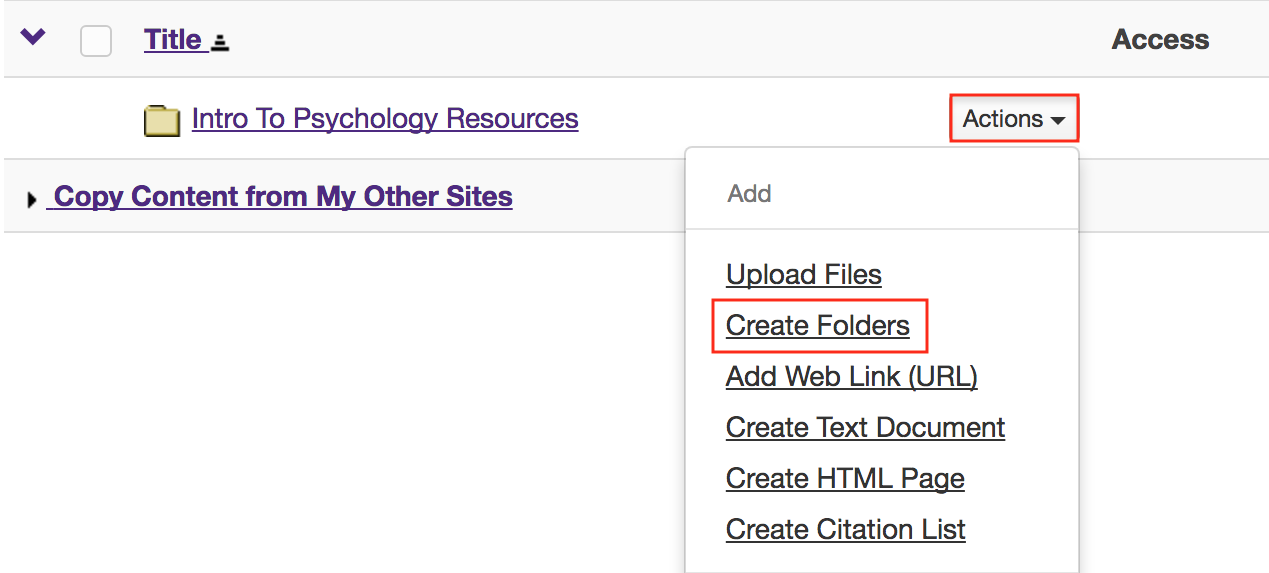
Click Actions, then Create Folders.
To the right of the site's root folder, from the Actions drop-down menu, select Create folders.
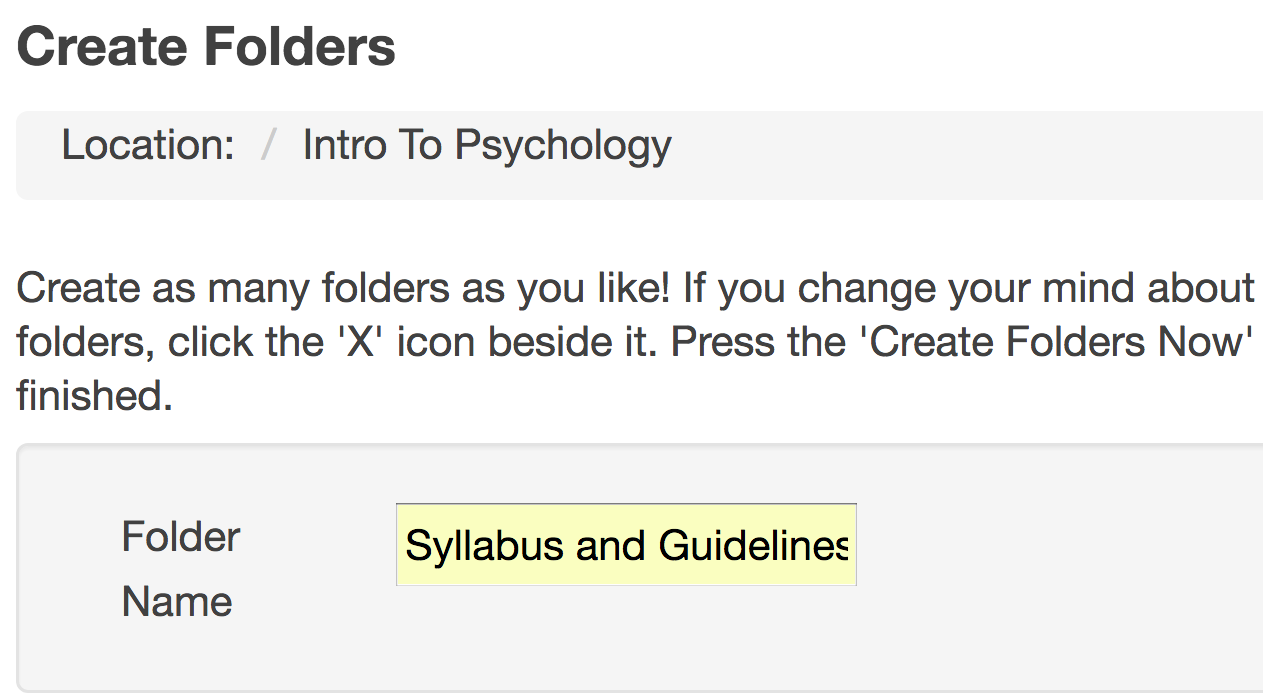
This displays the Create Folders page.
-
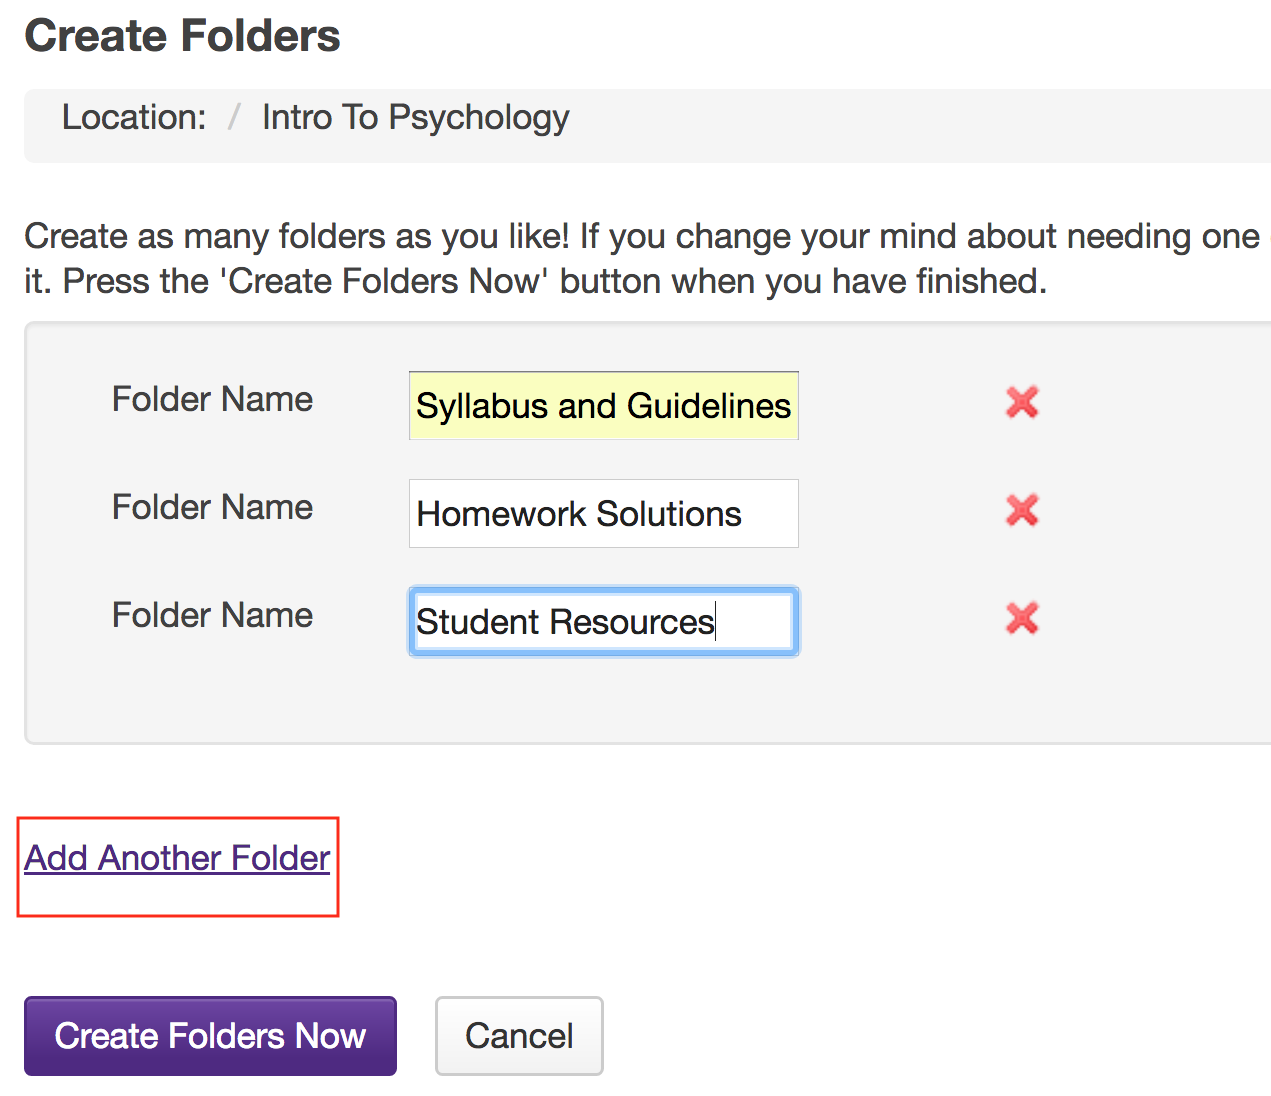
Enter the name of the folder.
-
Add multiple folders. (Optional)
If you would like to create multiple folders, click Add another folder.
Note: You can add as many folders as you want by clicking "Add another folder".
-
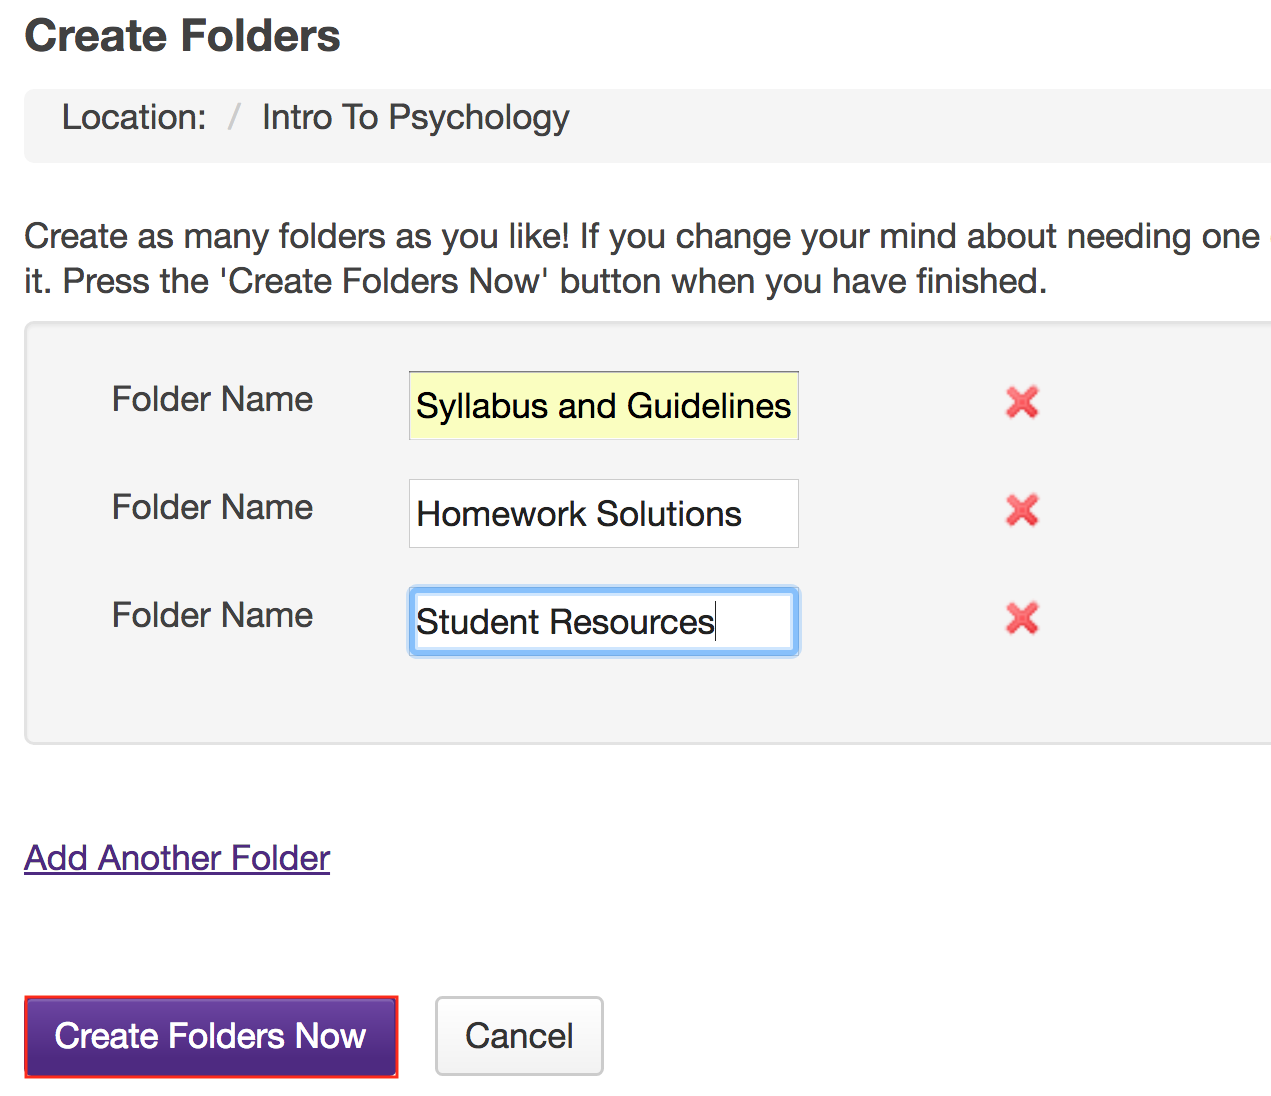
Click Create Folders Now.
To create the folder(s) in Resources, click Create Folders Now.
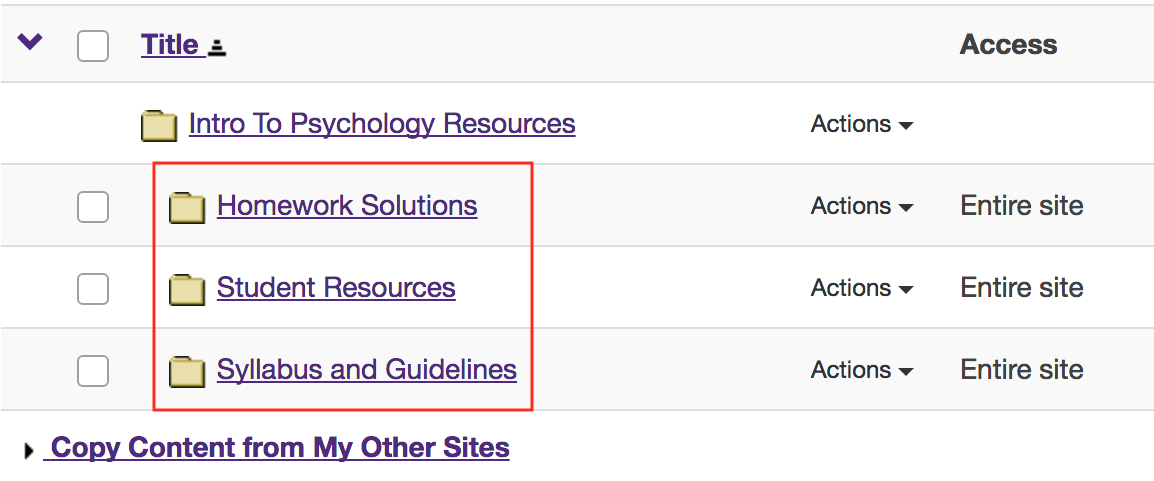
This returns the display to the Resources page with the newly created folder(s) displayed.
-
View folders in Resources.
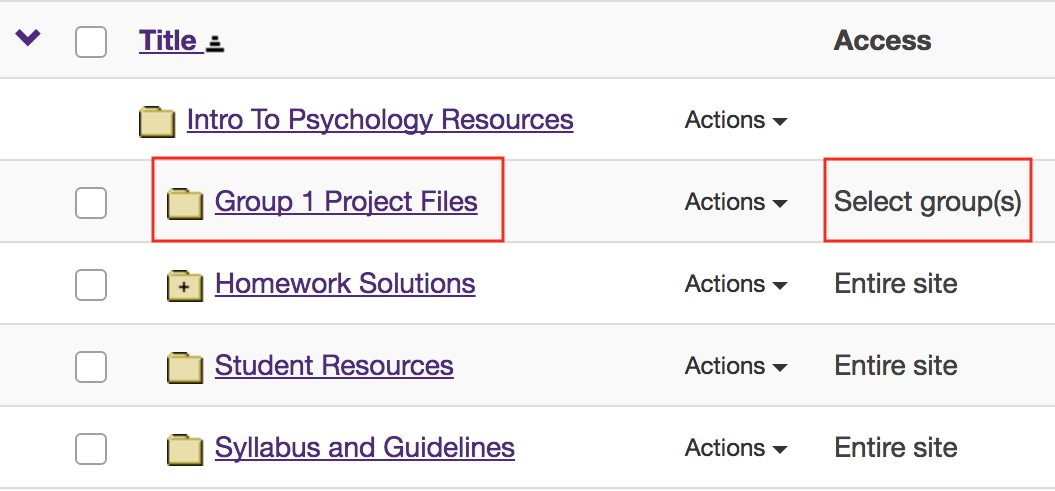
Notice that the folders are displayed slightly indented to the root folder.
-
Create subfolders. (Optional)
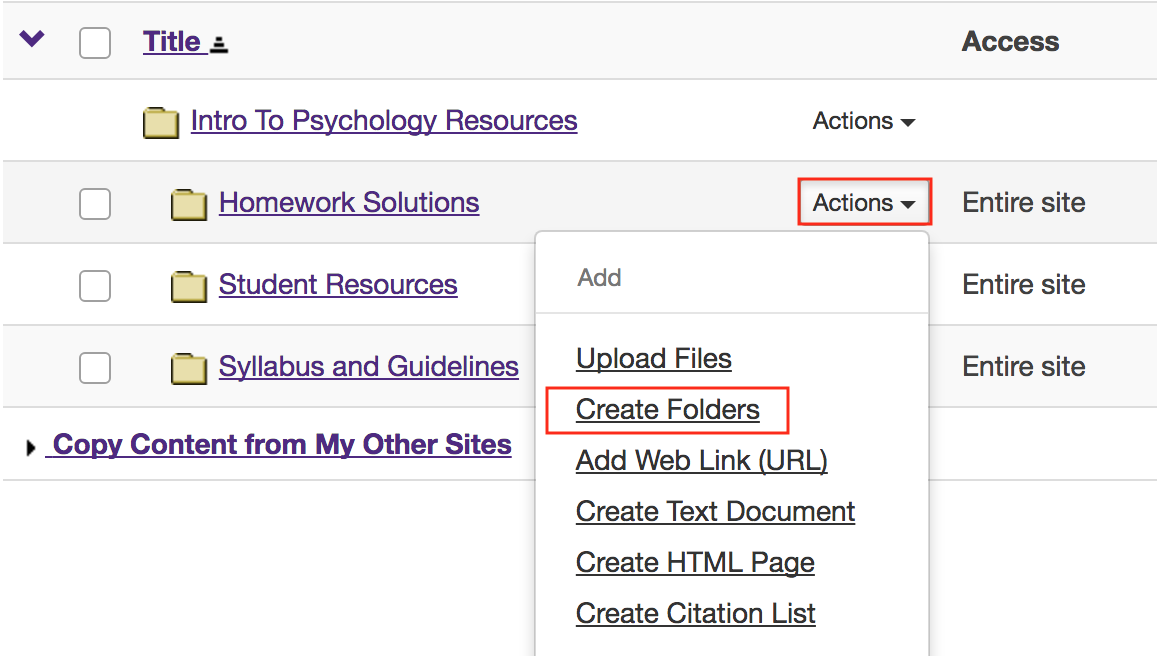
To create a subfolder within a folder, from the Actions drop-down menu, select Create Folders to the right of the parent folder.
This displays the Create Folders page.
-
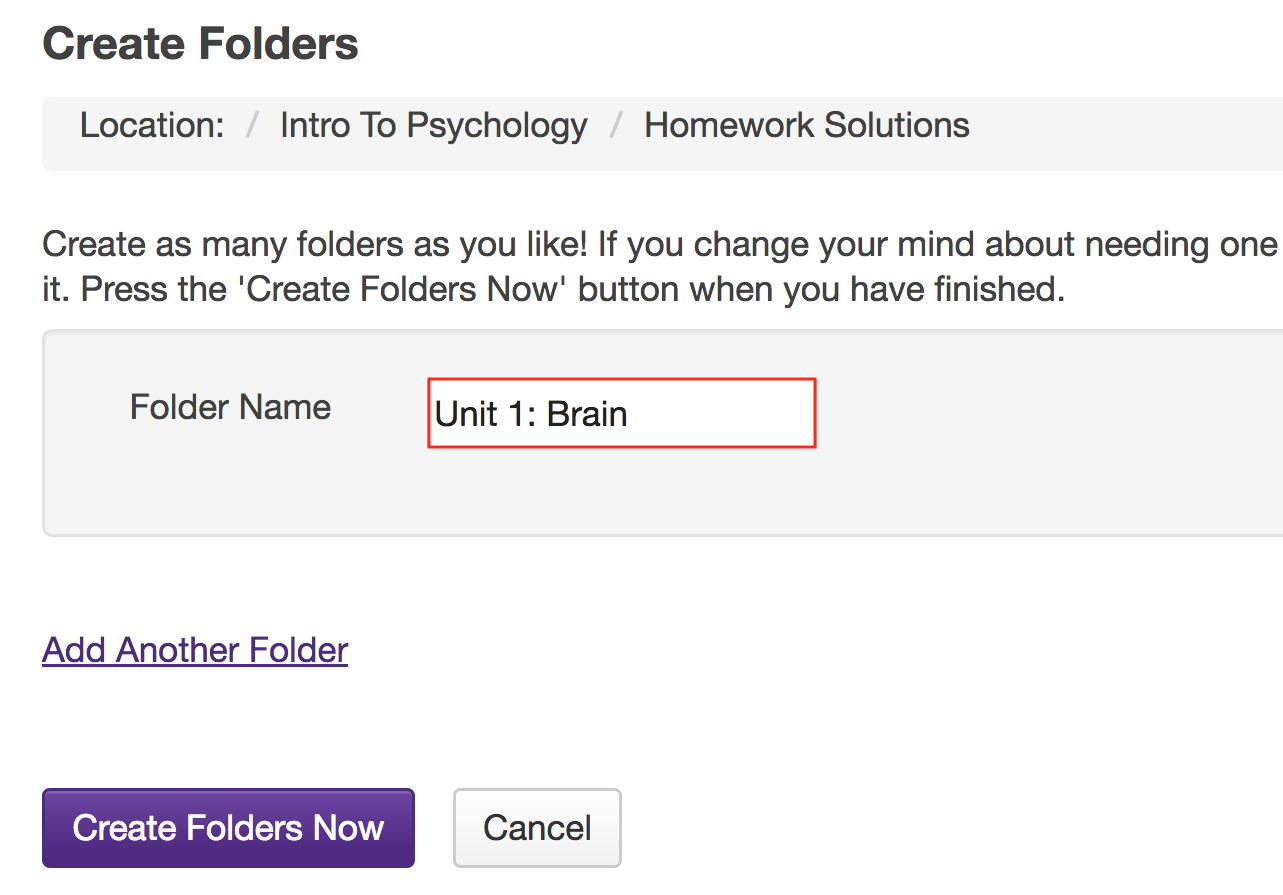
Enter a Folder Name for the subfolder.
-
Create multiple subfolders. (Optional)
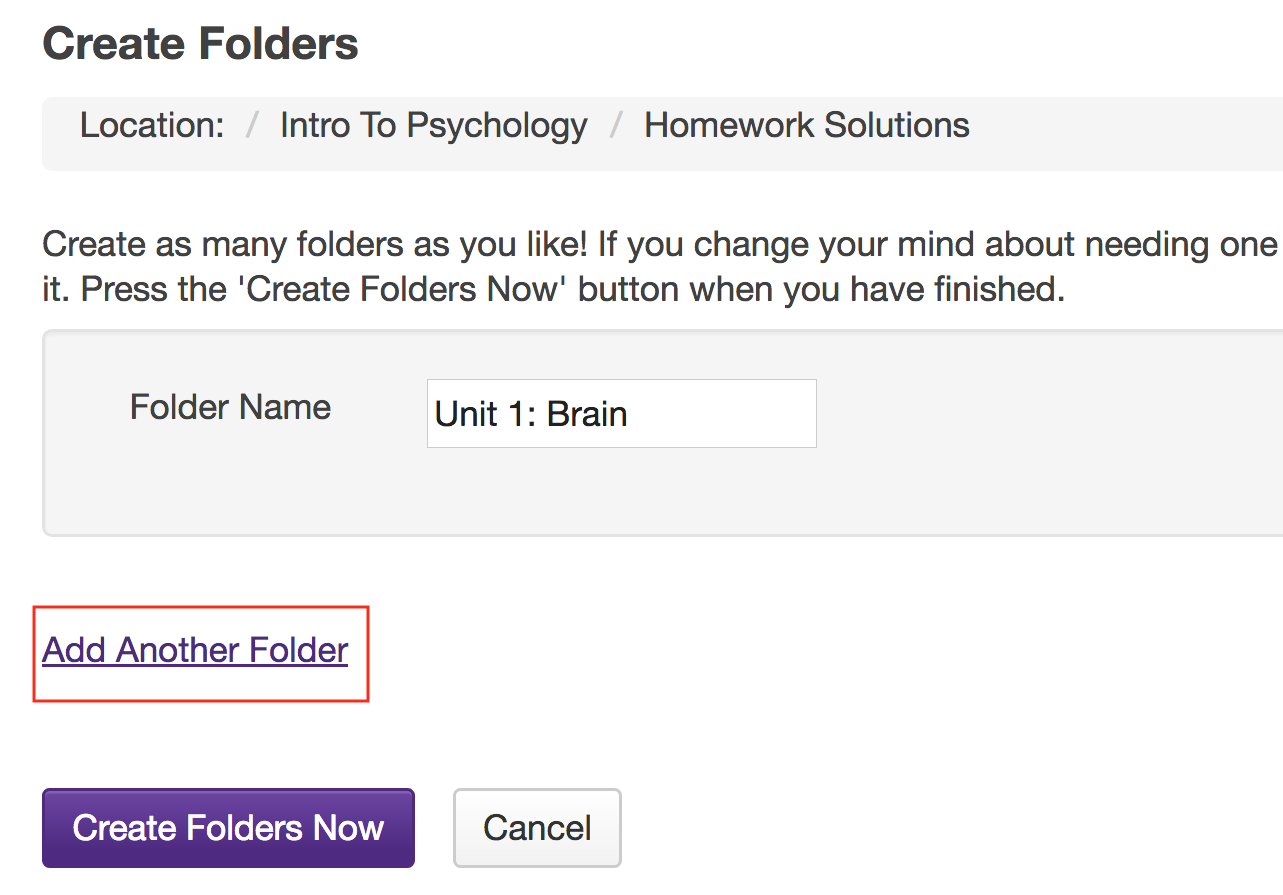
If you would like to create multiple subfolders, click Add Another Folder.
Note: You can add as many subfolders of a folder as you want by clicking "Add Another Folder".
-
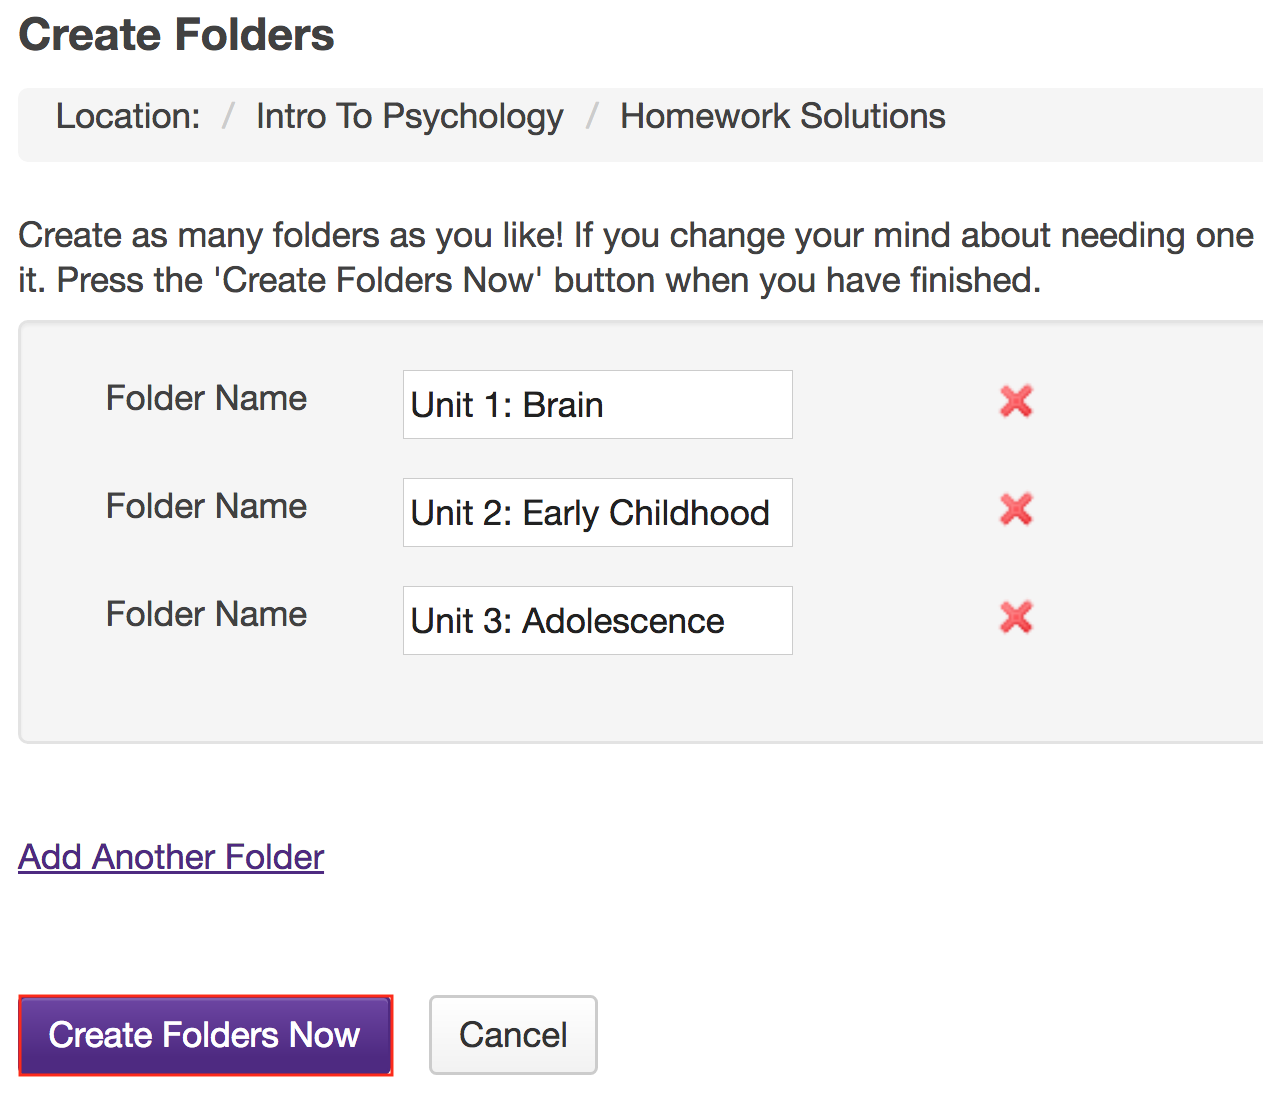
Click Create Folders Now.
To create the subfolder(s) in Resources, click Create Folders Now.
This returns the display to the Resources page with the newly subfolder(s) displayed within the main folder.
-
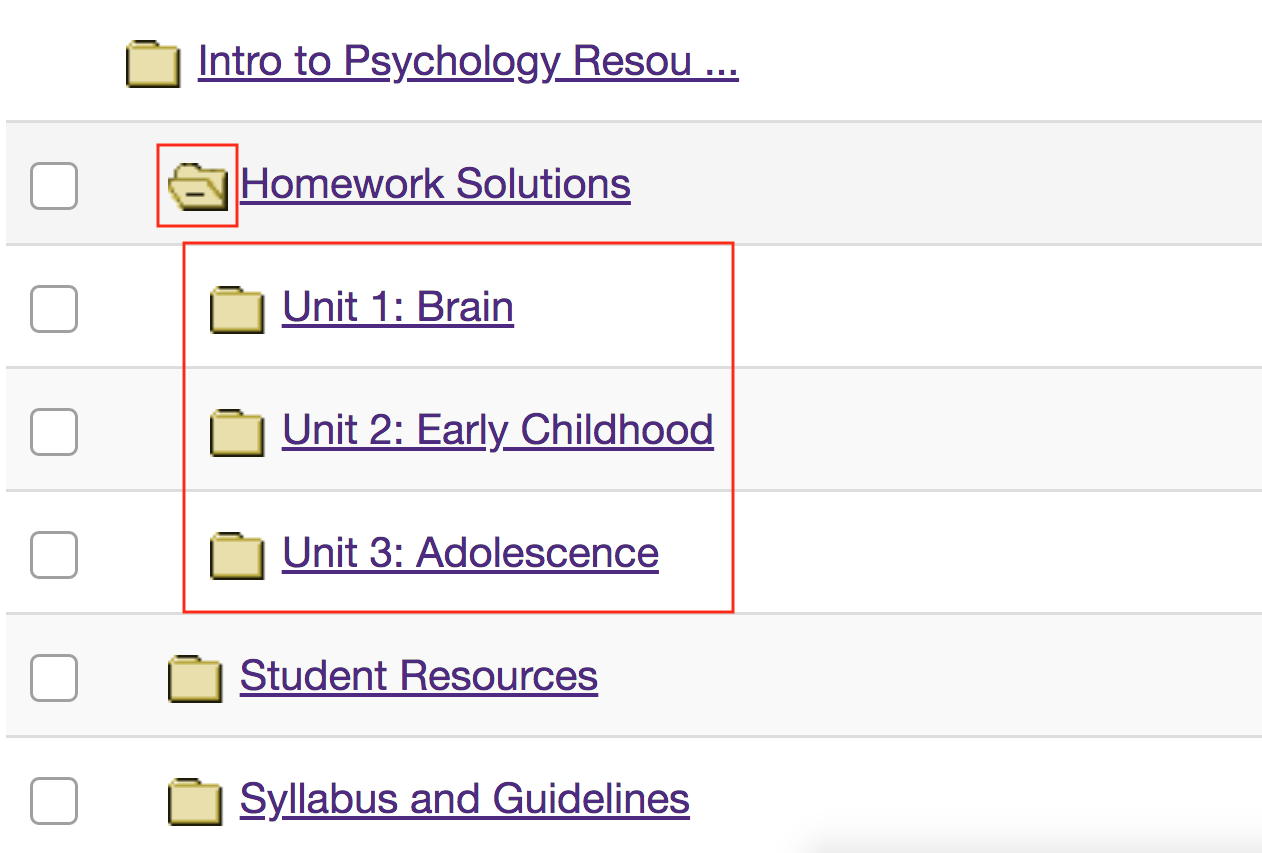
View subfolders in Resources.
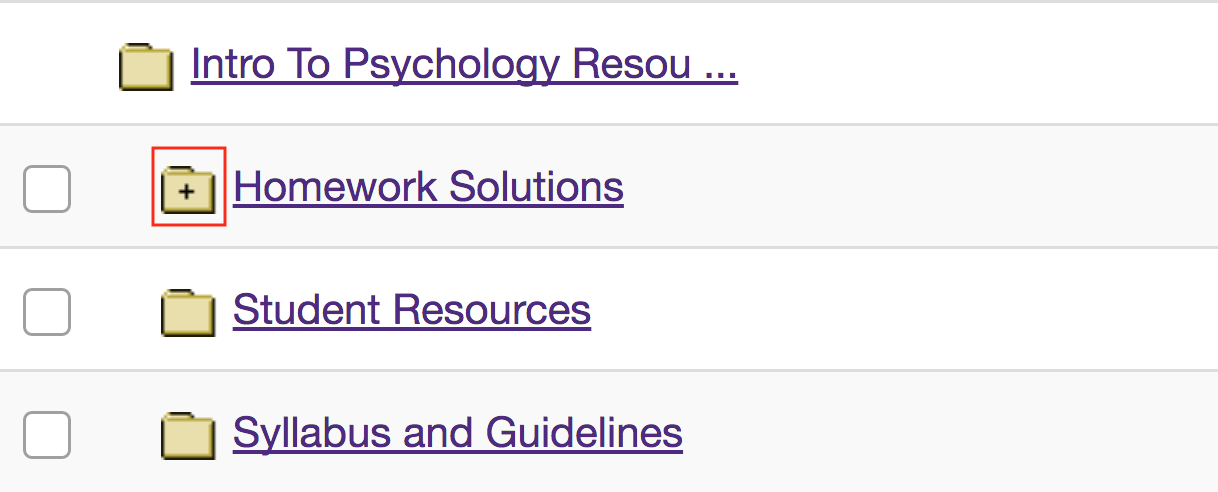
Once a folder contains subfolders, it will appear with a Plus +.
Click the Plus + to view the folder contents. Notice that the subfolders are displayed slightly indented to the parent folder.
The icon will change to Minus - when the folder is open.
Notes:
View contents of subfolder.
How do I create a group folder in Resources?
Instructors can create group folders in Resources that are only displayed to students assigned to that group. Instructors must first create the site groups. (See How do I create groups?)
-
Select the Resources tool from the Tool Menu in the site.

-
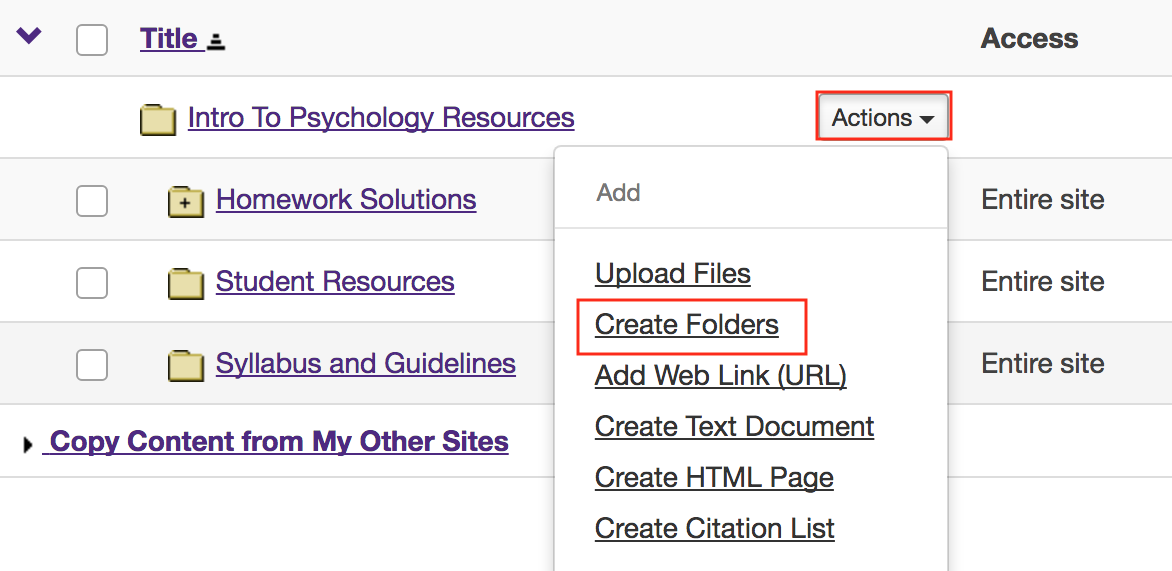
Click Actions, then Create Folders.
To create a group folder, to the right of the root folder, from the Add section of the Actions drop-down menu, select Create Folders.
This displays the Create Folders page.
-
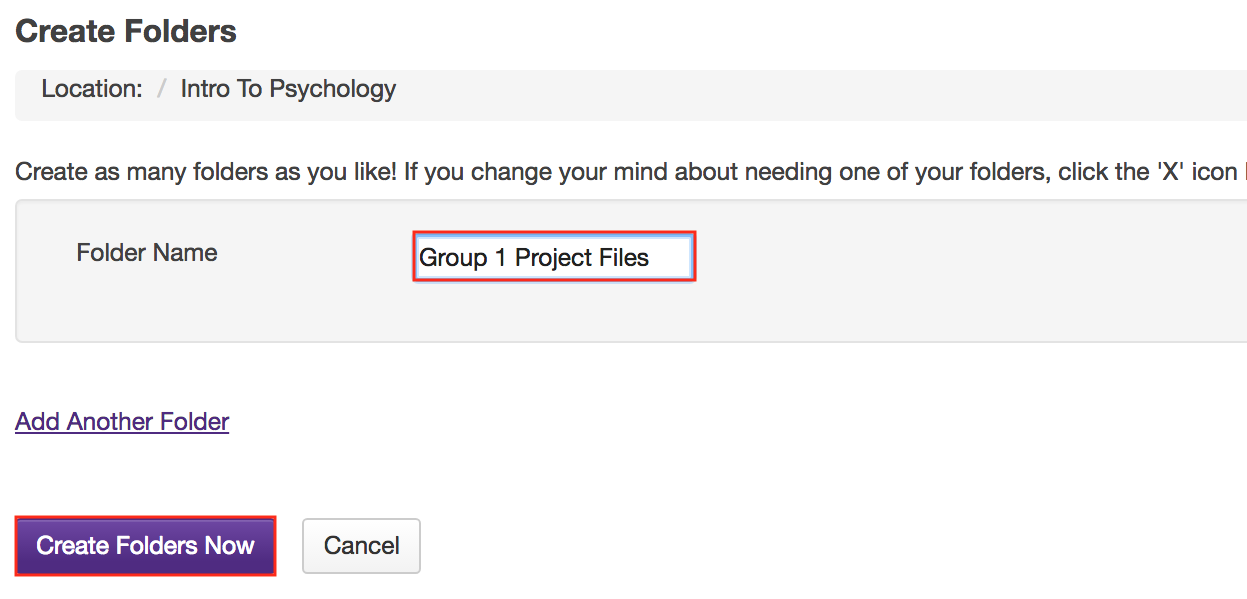
Enter name and create folder.
Enter a name for the folder, then click Create Folders Now.
-
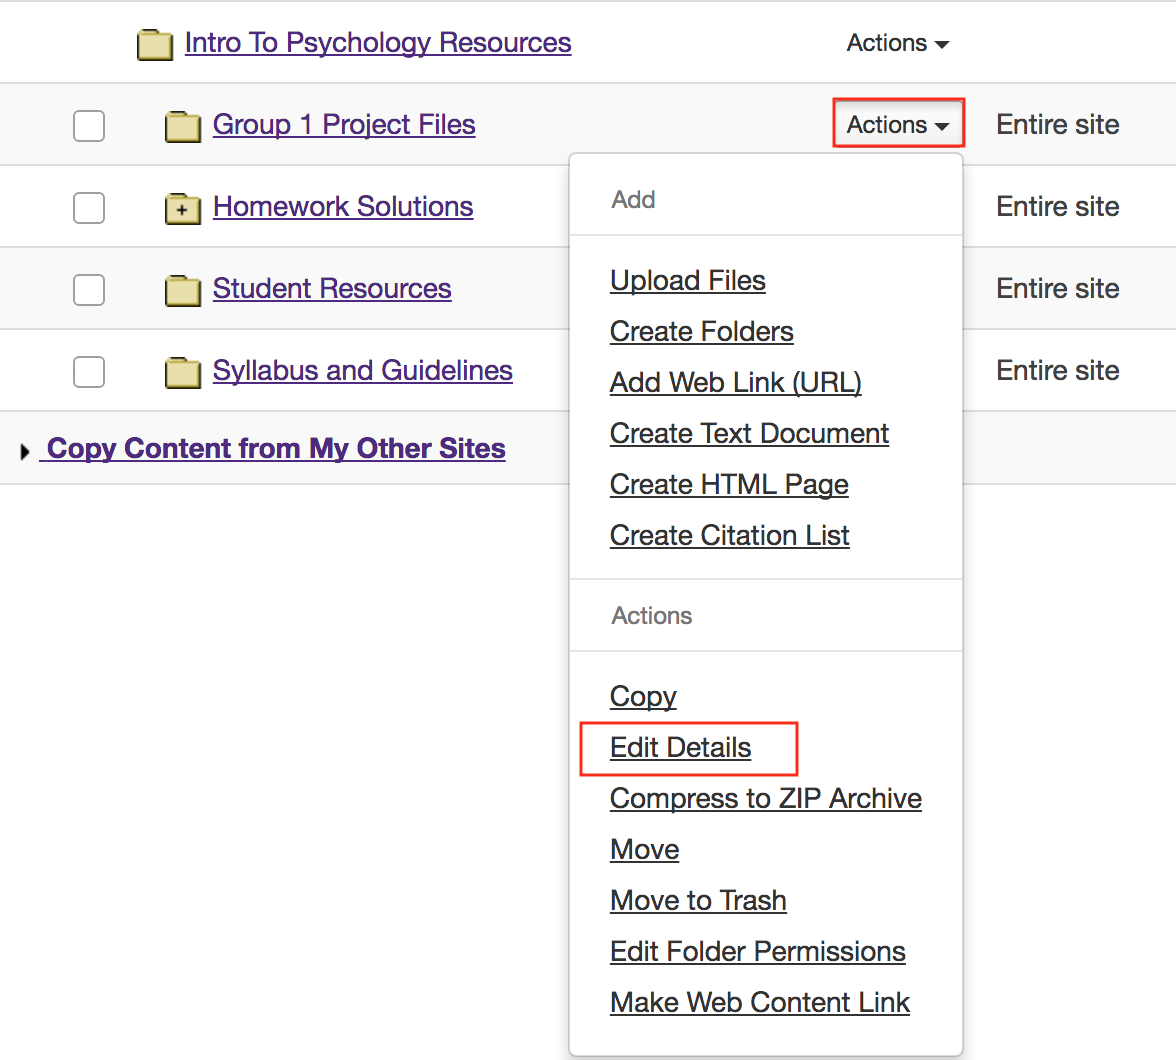
Click Actions, then Edit Details.
To edit the details of the folder just created, to the right of the root folder, from the Actions section of the Actions drop-down menu, select Edit Details.
-
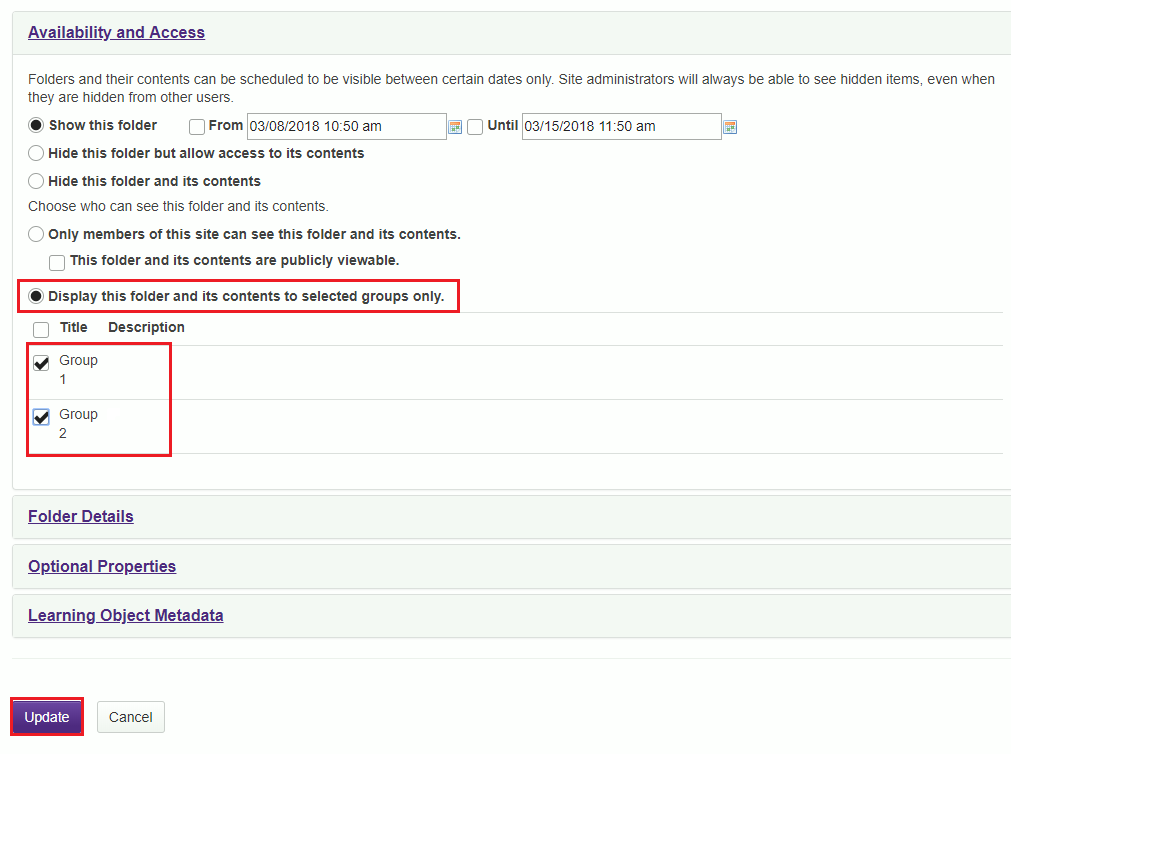
Enter item details, then Update.
Under Availability and Access, select Display folder to selected groups, select the group name, then click Update.
-
View group folder.
This creates a folder that is only displayed to members of the selected group.
To allow group members add resources to their group folder, please see Allow Group Members to Add Content in a Group Folder for more information.
Notes:
