Create Web Content Links
Create a Web Content link to a Folder in Resources
Instructors can use the Web Content tool to create a tool link to a folder or a file in the Resources tool.
-
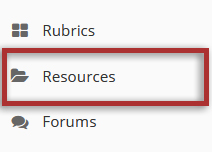
Select Resources from the Tool Menu in the left sidebar of your site.
-
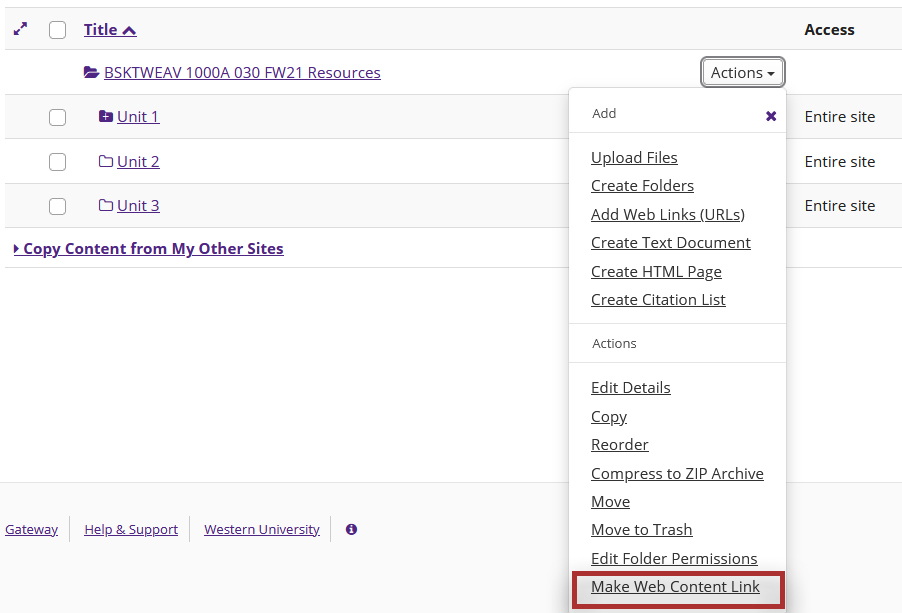
Click Actions dropdown and select Make Web Content Link.
-
Enter a title for your web content link. This is the title that will appear listed in the Tool Menu of your site.

-
Click the Add button to add the link.

-
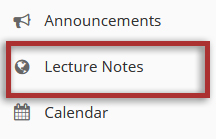
Select the new tool button from the Tool Menu in the left sidebar of your site to access the contents of the folder.
Create a Web Content link to a new website
-
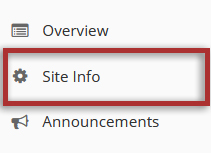
Select Site Info from the Tool Menu in the left sidebar of your site.
-
Click the Manage Tools tab.

-
Select the Web Content checkbox.

-
Click the Continue button.

-
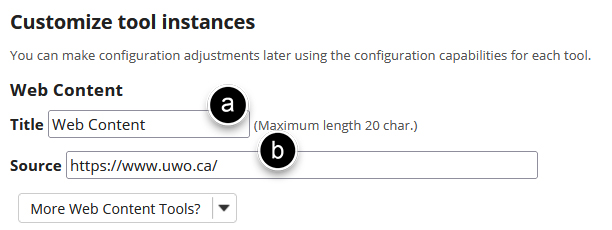
Enter the website information.
-
Click the Continue button.

-
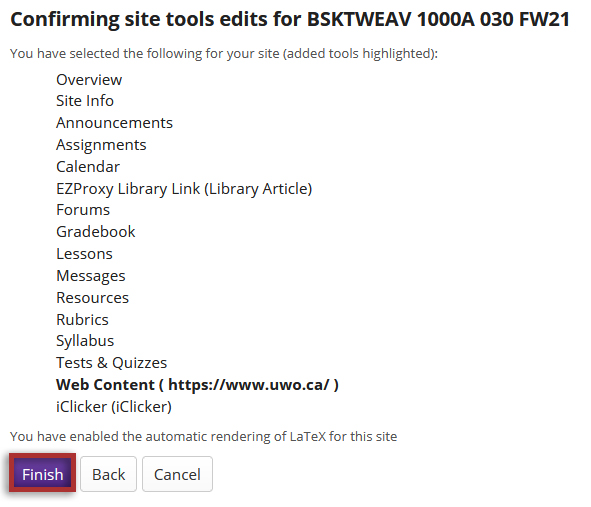
Click the Finish button.
-
View the new Web Content link.
Click the new item in the Tool Menu to view the link. This displays the website in the content frame.
Note: If the link has been configured to open in a new window, the link should open automatically in a new window. Clicking Re-launch page in a new window will also open the website in a new browser window.
