Add the Syllabus as a File Attachment
How do I add my syllabus as a file attachment?
-
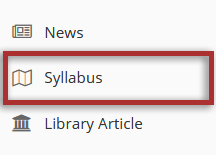
Select Syllabus from the Tool Menu in the site.

-
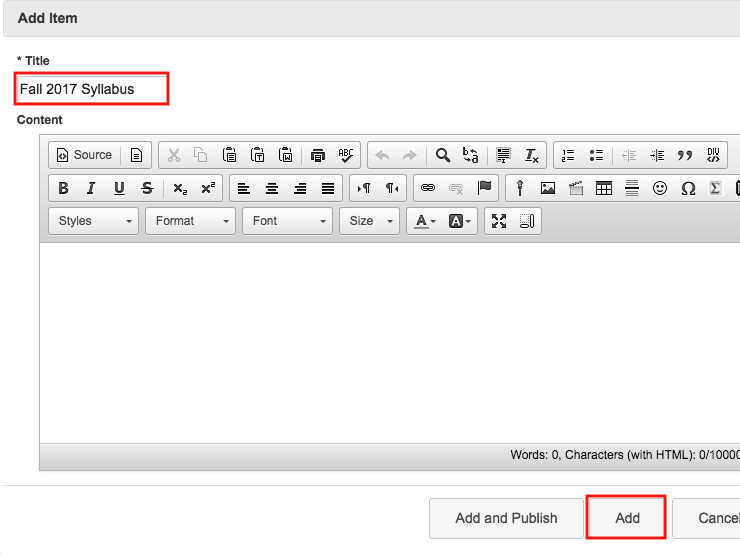
Click Add Item.
An "Add Item" window opens where you type the name of the item.

Type the Title of the item and click Add.
-
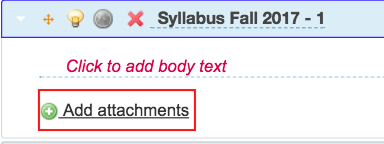
Add attachments.
Click the Add attachments button to browse for your file.

-
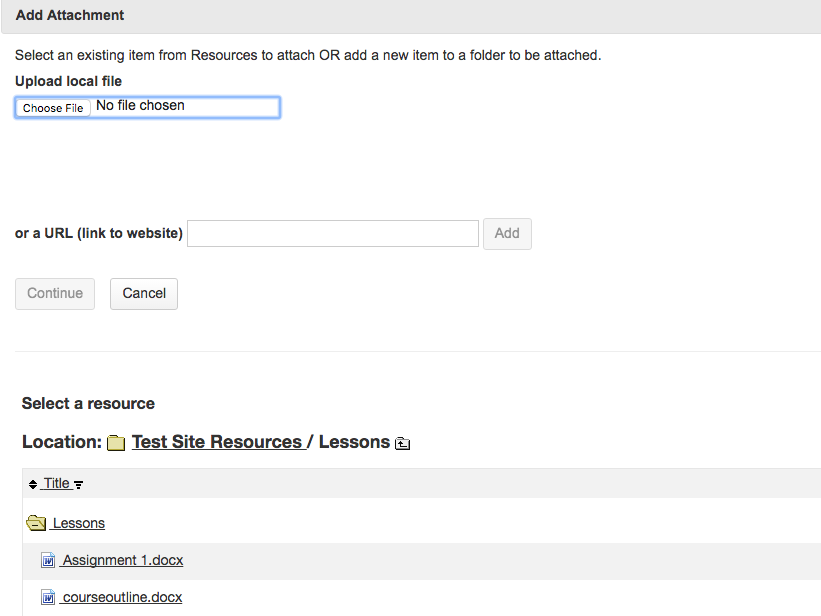
Browse for your file.
To select the file from your computer, click the Choose File button. OR if the file is in your Resources, you may attach it by clicking Attach a copy.

-
Publish your syllabus.
You will be returned to the main Syllabus screen. To publish your syllabus, click the gray light bulb icon. The icon turns yellow to signify that the syllabus is published.

-
Add Start and End Dates. (Optional)
To restrict student access to a certain time frame, click Click to add start date and/or Click to add end date. Select your date and time as illustrated above, using the drop-down menus. Click the check mark icon when you are done.

