Import/Export Grades
For the full process of exporting and importing grades in the gradebook, see the video below.
Export grades from Gradebook
Exporting the gradebook is an ideal solution for instructors who wish to use a spreadsheet application to track and grade students. It is recommended instructors use the gradebook export as a spreadsheet template in order to easily upload it back to the gradebook.
Note: Some instructors use a language option that presents grades with a comma to show fractional grades (eg 80,5 instead of 80.5). If you are using this language option when you export your grades, you must continue to use this language option on import. If the language is changed to english between export and import, the import will not be successful.
-
Click Import/Export.

-
Click Export Gradebook if you wish to have the gradebook downloaded as an exported .csv file. The columns included in the exported file are Student ID, Student Name, Student Number, and the scores and comments for all gradebook items.

Custom gradebook exports
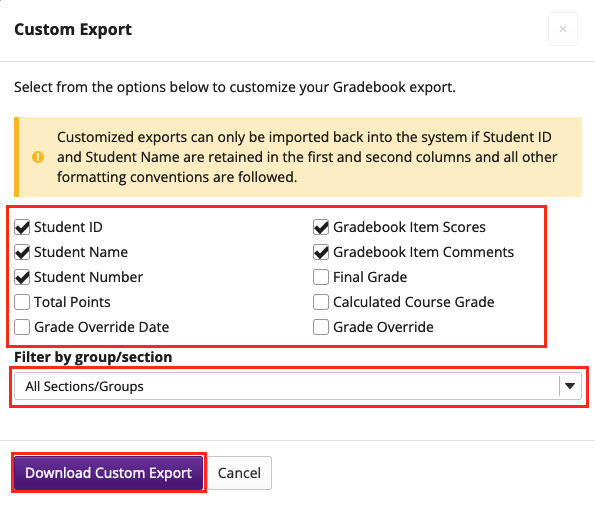
The custom export option allows you to choose the columns included in the exported file.
Note: Customized exports can only be imported back into the system if Student ID and Student Name are retained in the first and second columns and all other formatting conventions are followed.
-
Click the Custom Export link.

-
Select the items you would like to include in your export.
Note: The default options for Custom Export are the standard export. The Custom Gradebook will download as a .csv file.
- Student ID: This is the student's Western username or external email address for non-Western users.
- Student Name: This is the full name of the student with the last name first then the first name after it.
- Student Number: This is the unique number associated with each student's Western identity.
- Total Points: This is the total number of points for each student
- Grade Override Date: If a course grade is overridden, this provides the date it occured
- Gradebook Item Scores: This is the score that the student received on the Gradebook Item.
- Gradebook Item Comments: This is the comment that the student received for a specific Gradebook Item.
- Final Grade: This is the final grade that would be submitted to the Registrar.
- Calculated Course Grade: This is the grade calculated by taking the weighted average of all gradebook columns
- Grade Override: This shows the student's new course grade after it has been overridden.
Using the dropdown menu, you can select whether you would like the exported file to include only a certain section/group or all students.
-
Click the Download Custom Export button.

Format grades file for import
Instructors can manage grades offline in a spreadsheet and then import the file to update the course Gradebook. You can also import a file as a method for quickly creating several Gradebook items at once.
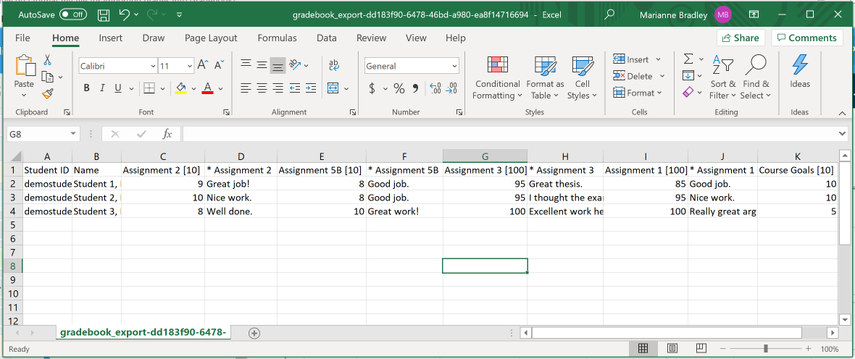
The easiest way to obtain a file in the proper import format is to export your Gradebook and use that file as a template. This way it will contain all of the student information in your site, as well as any existing Gradebook item information in your site.
Note: You can only update graded items that have been created within the Gradebook. Graded items that come from other tools, such as Assignments or Tests & Quizzes, cannot be updated via file import.
-
Export the gradebook using the export instructions above.
-
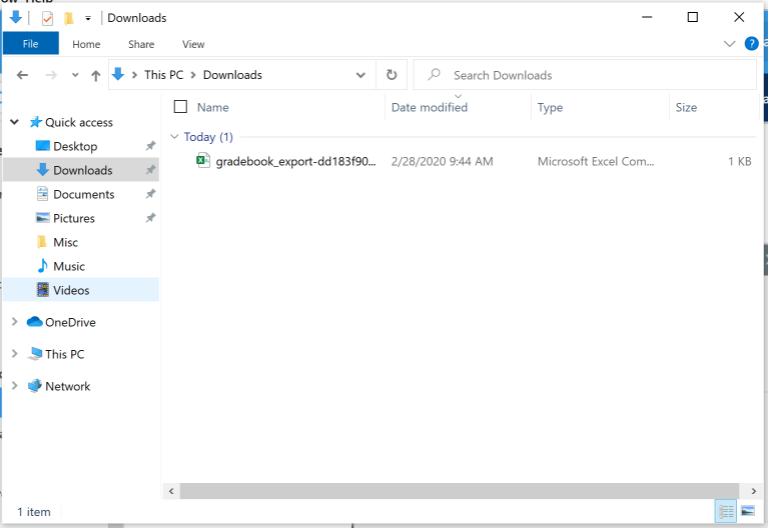
Your Export will download as a .csv file
-
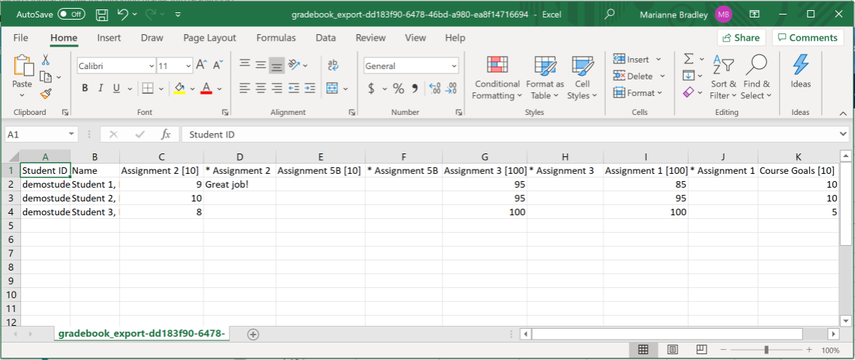
Open the .csv file in your preferred spreadsheet application
-
Add columns, grades, and/or feedback as needed, and save your file.
-
Import the grades using the import instructions below.
Import grades into Gradebook
-
Click the Import/Export tab.

-
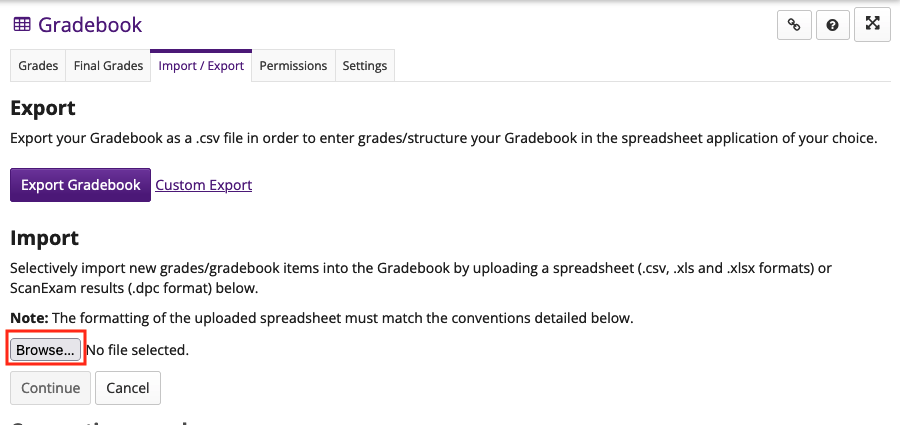
Click the Choose File button to browse for and select your import file.
Note: The import file must be in a specific format in order to import correctly. It should be a .csv, .xls, or .xlsx file and contain the appropriate student and grade data. If there are issues importing a .xls or .xlsx file, try saving it to a .csv file before uploading. DPC files can be imported as well to upload grades from a scantron. For more information, see Scantron Services.
-
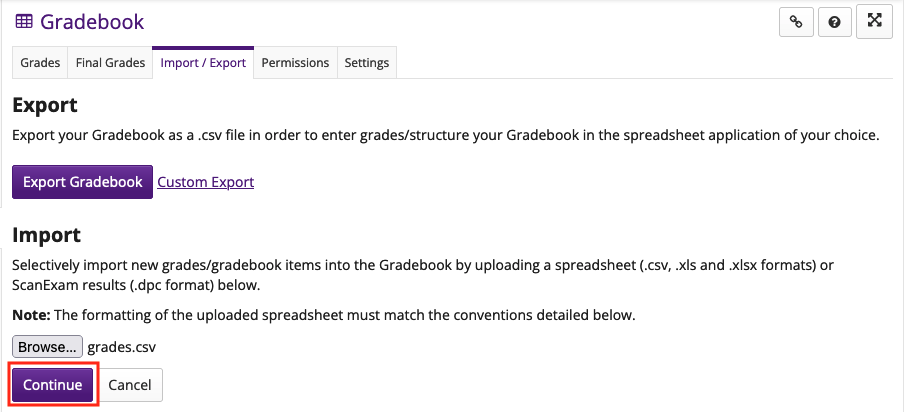
Click the Continue button.
-
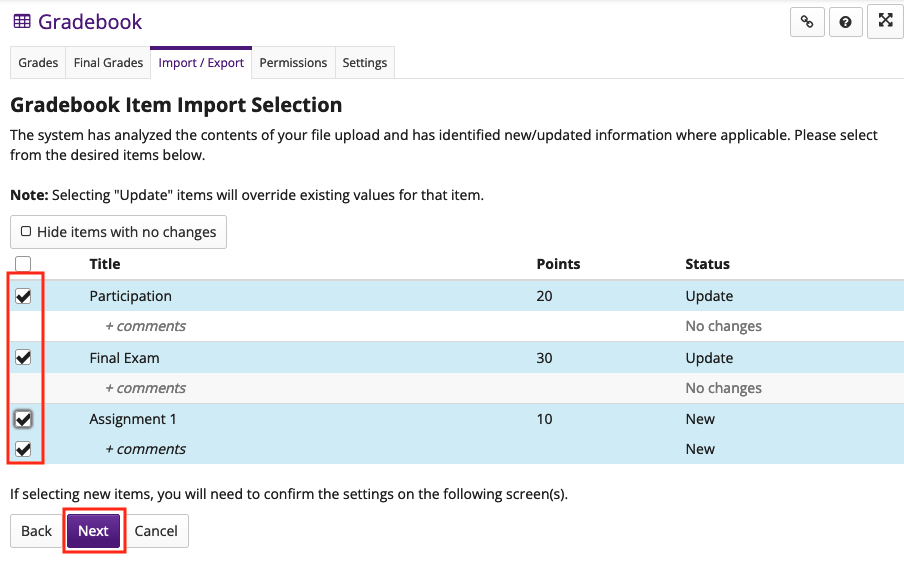
A summary of changes will be previewed for you. Select each item you would like to create or update. Then, click the Next button to continue with the import. If you notice any errors, click the Back button to restart the import process.
-
Creating new items. (Optional)
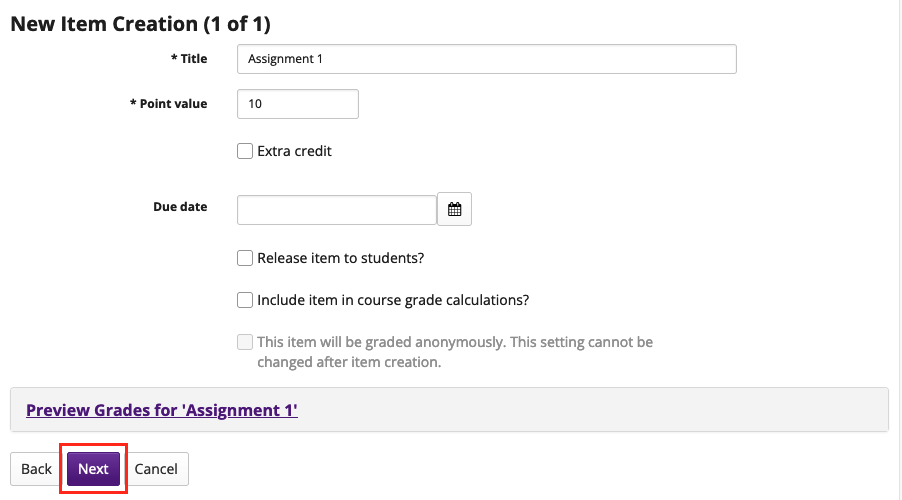
If your import includes a new gradebook item, you will be prompted to edit the item options for each new item. Select the desired options and click the Next back to continue.
-
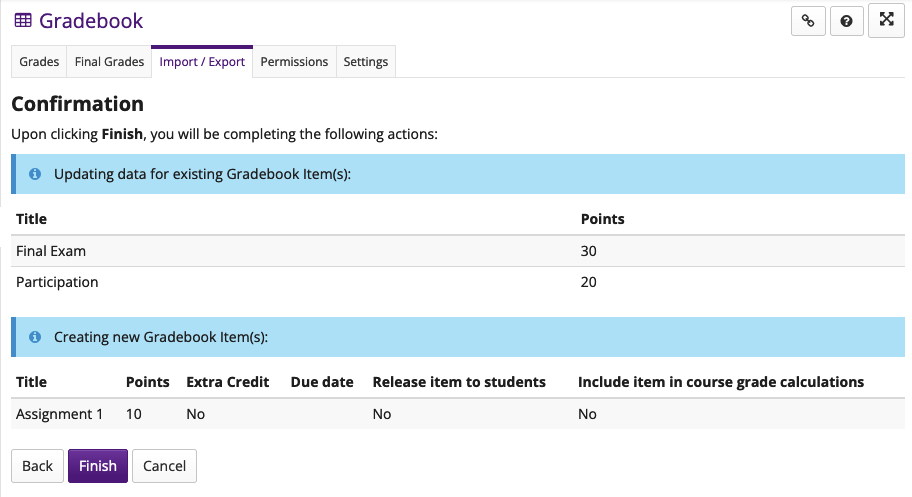
Click the Finish button.
-
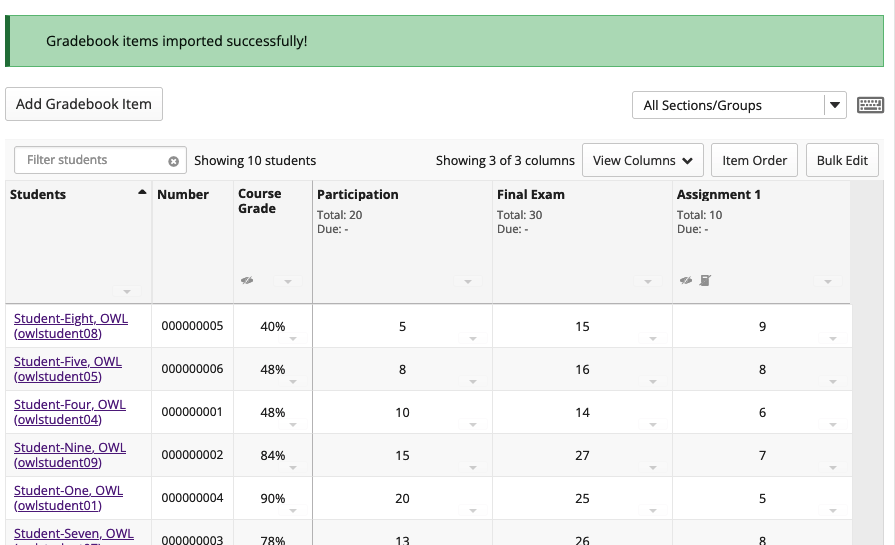
You should receive a confirmation message on the import screen once your spreadsheet has been imported successfully.
