Create Reports
How do I create and run a report?
-
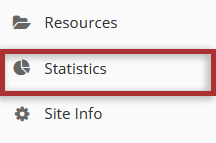
Select Statistics from the Tool Menu in the site.
-
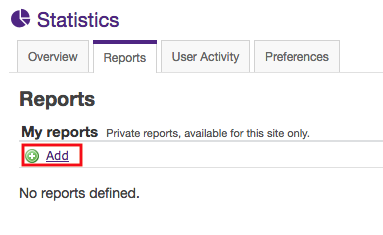
Click the Reports tab.

-
Click the +Add link.
-
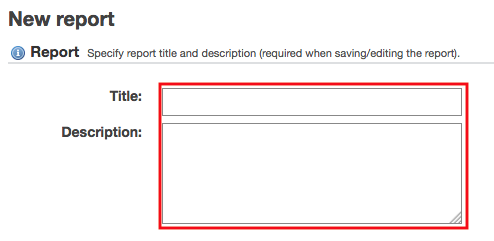
Enter a title and description.
Note: If you plan to save your report, a title is required.
-
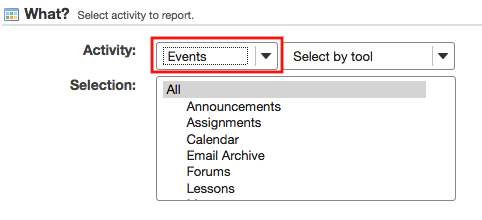
Select which activity to report under the "What?" heading.
This option allows you to configure the type of activity to report. You can choose to report on Visits, Events, or Resources.
Visits
Select Visits to report on site visits.
Events
Select Events to report on activity (either by tool or by event). Click on the desired tools/events in the list of tools displayed. You may also select All to display events for all available tools.
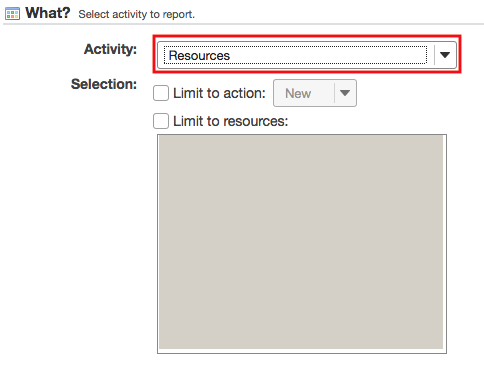
Resources
Select Resources to report on file/folder activity. This selection can be filtered by:
-
Select which time period to report under the "When?" heading.
This option allows you to configure the time period to report.

-
Select which users to report under the "Who?" heading.
This option allows you to configure the users to report.

-
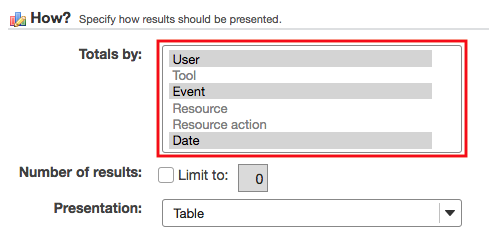
Specify how results should be presented under the "How?" heading.
This option allows you to configure how the report will be presented. "Totals by:" defines how to group report data (e.g. selecting "User" + "Date" will present a report grouped by user and date). Multiple fields can be selected by pressing the CTRL (Cmd on a Mac) for disjoint selection or ALT (Shift on a Mac) for range selection keys while clicking with the mouse.
-
Click the Save Report button.
Click Save Report to save this report to your list of custom reports.
Note: If this is a one-time report that you do not want to save, you may select Generate Report instead to run it without saving.

-
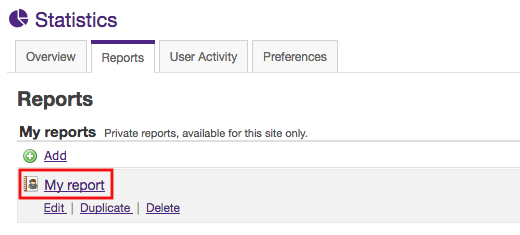
Click on the report title to view the report.
-
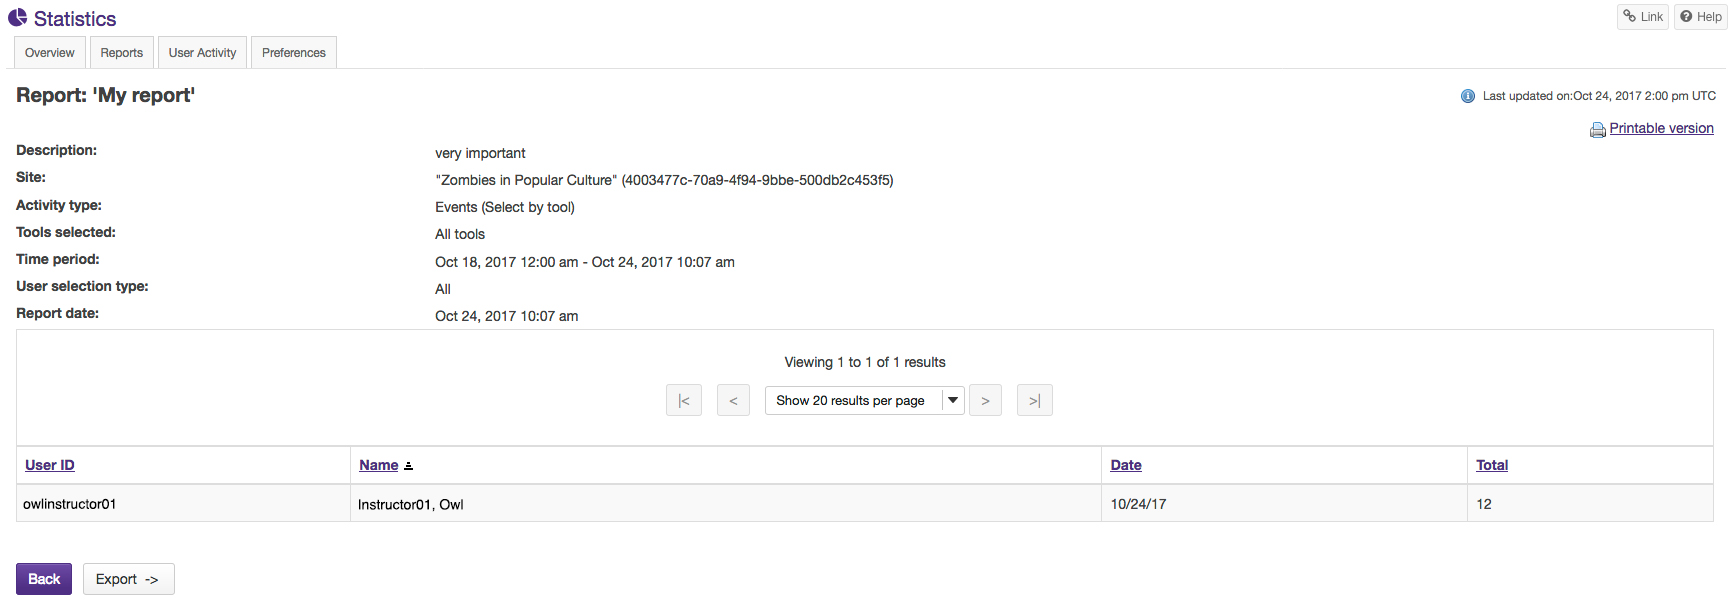
View report.
