Create an Assessment
The Tests & Quizzes tool allows you to create online assessments (i.e., tests, quizzes, exams, and surveys) for your students or other groups. It was designed primarily to administer tests, but you may also create assessments to gather survey information or informal course feedback. Grading for most question types is done automatically, and grades can be posted automatically to an online gradebook.
Create an Assessment - Using the Assessment Builder
This section will show you how to create a simple assessment using the assessment builder and add a single question.
-
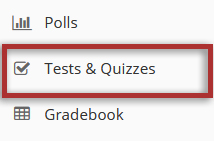
Select Tests & Quizzes from the Tool Menu in the site.
-
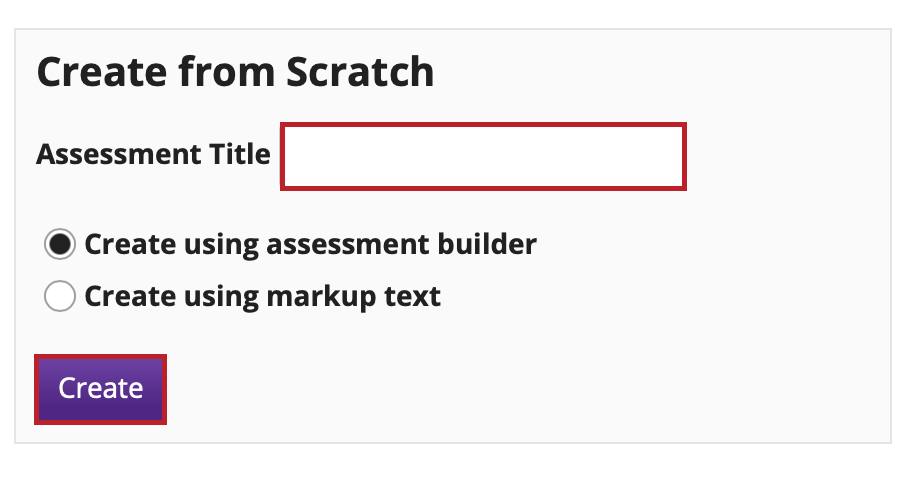
Give your new assessment a title and click the Create button.
Note: You cannot have more than one assessment with the same title.
-
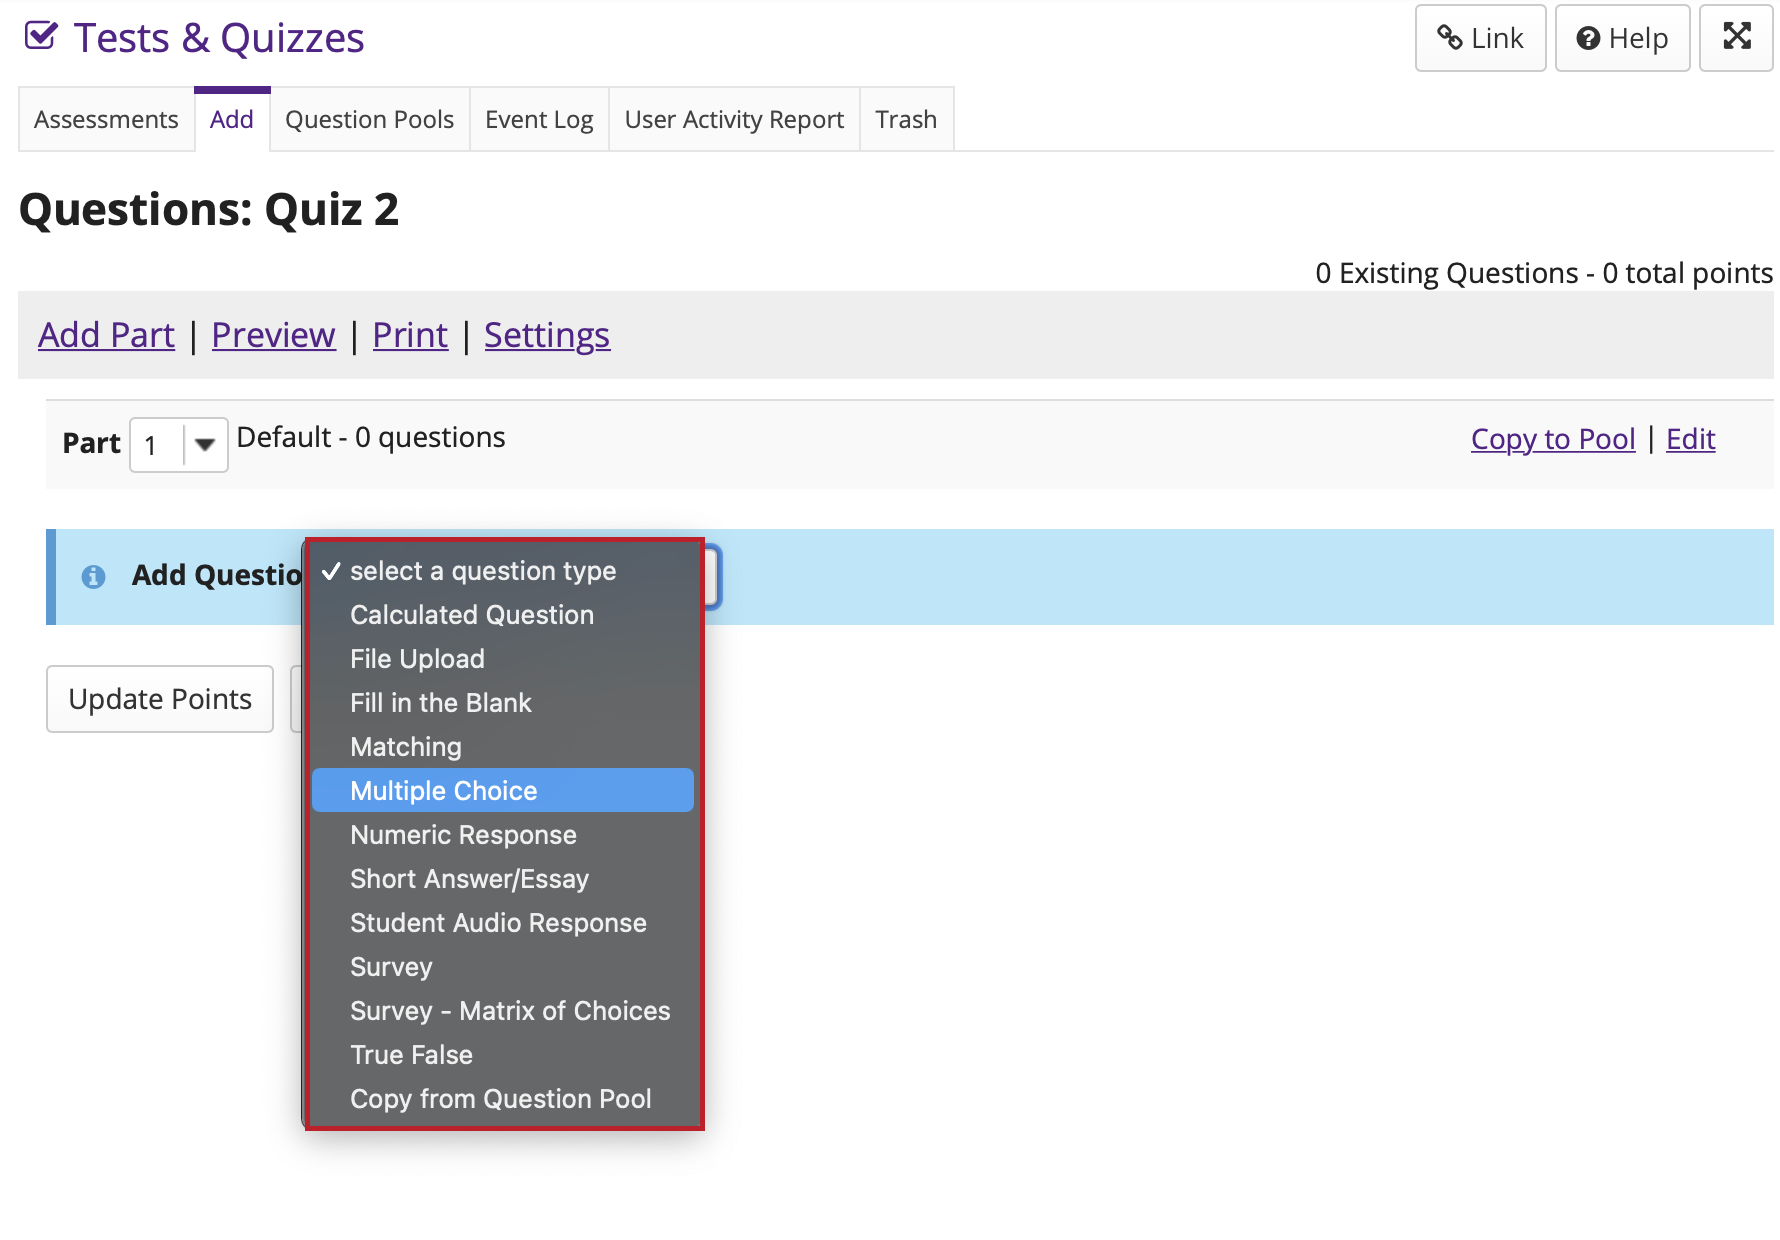
Add a question.
Select the type of question you would like to add from the drop-down menu. For more information about all the different question types, see Question Types.
-
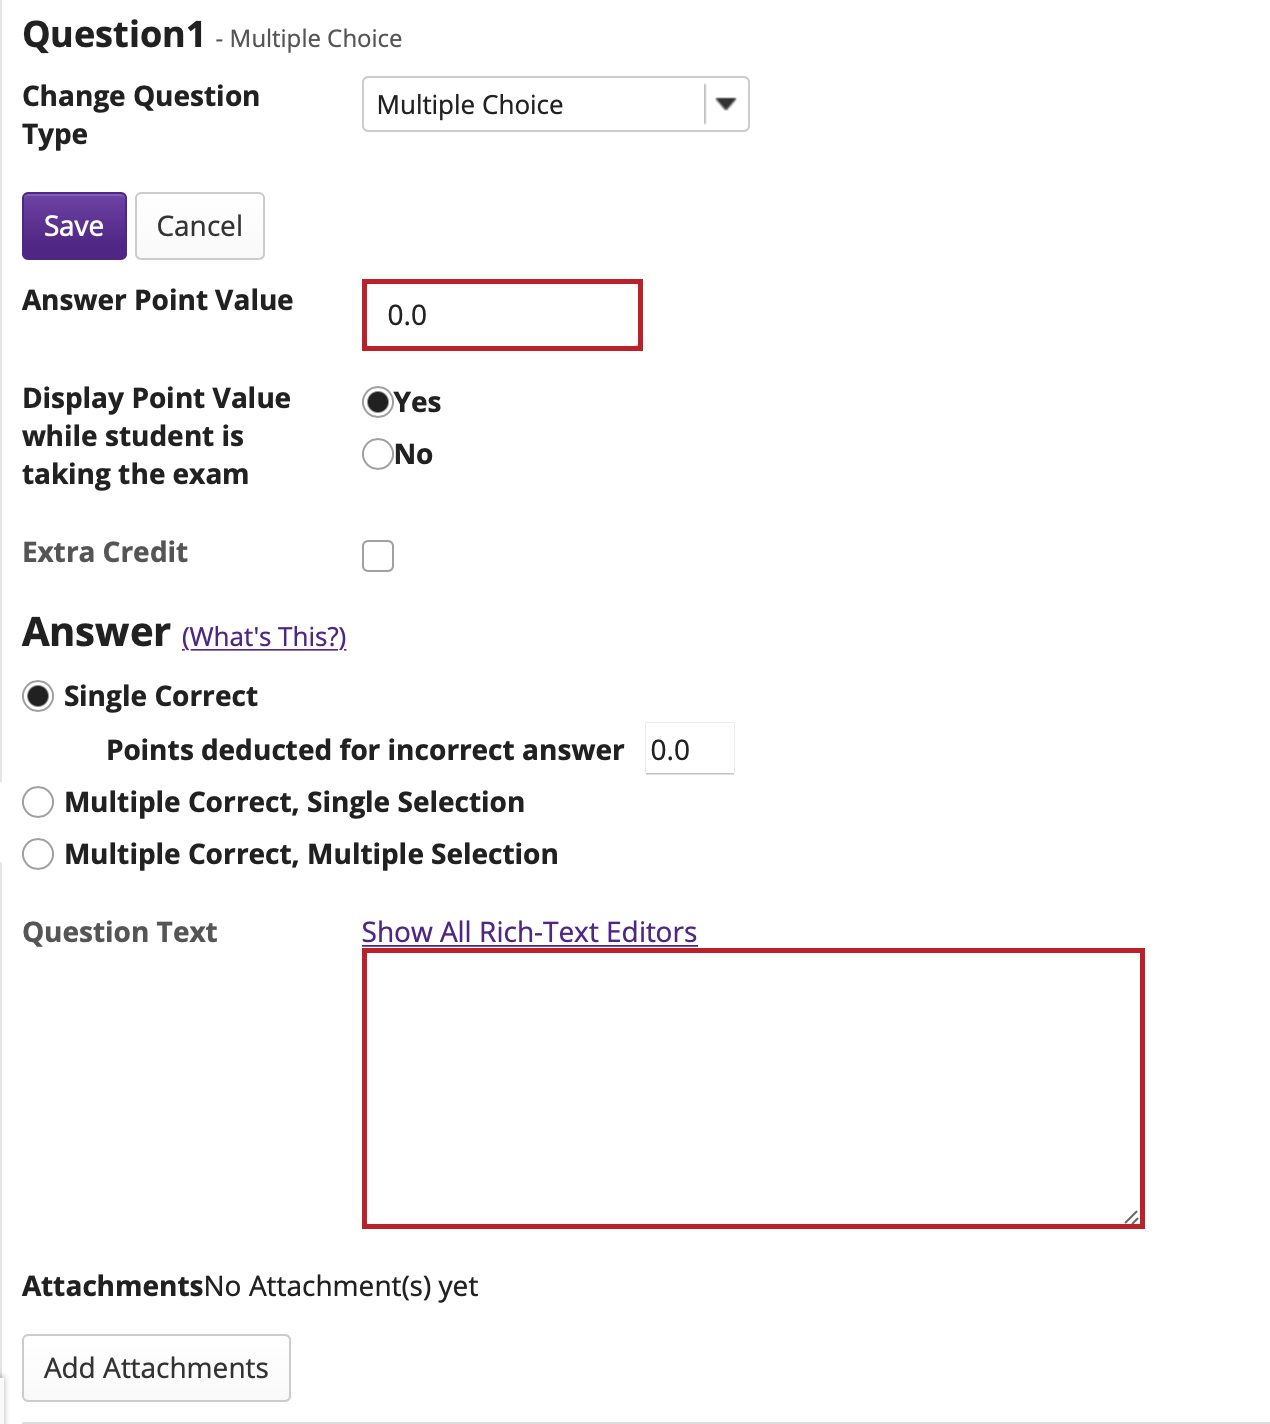
Set the general question options.
Enter Point Value
Questions may be worth any point value you choose.
Note: Keep in mind that the point value of all the questions will equal the total point value of the assessment. For example, if you want your assessment to be worth a total of 100 points, you should assign point values to your questions accordingly.
Display Point Value to Students
Select "Yes" if you would like to display the point value of the question to the student during the assessment, or "No" if otherwise.
Enter Question Text
Enter the text of your question into the text box provided. You may also click on the Show All Rich-Text Editors link in the top right corner, the rich-text editor allows you to format your question text and/or add images, links, or other resources.
Note: This section will vary depending on the type of question you are adding.
Add Attachments (Optional)
If you would like to attach a file to the question, you may click on the Add Attachments button to browse for and upload a file. For example, you could attach an audio file, a reference document, or other resource.
-
Add Additional Settings & Information
Assign to part.
If you have multiple parts in your assessment, you may assign the question to a different part. By default, questions are assigned to "Part 1". For more information on assessment parts, see Assessment Parts.

Assign to pool. (Optional)If you have an existing question pool and would like to copy this question to the pool, select the pool name here. For more information on question pools, see Question Pool.

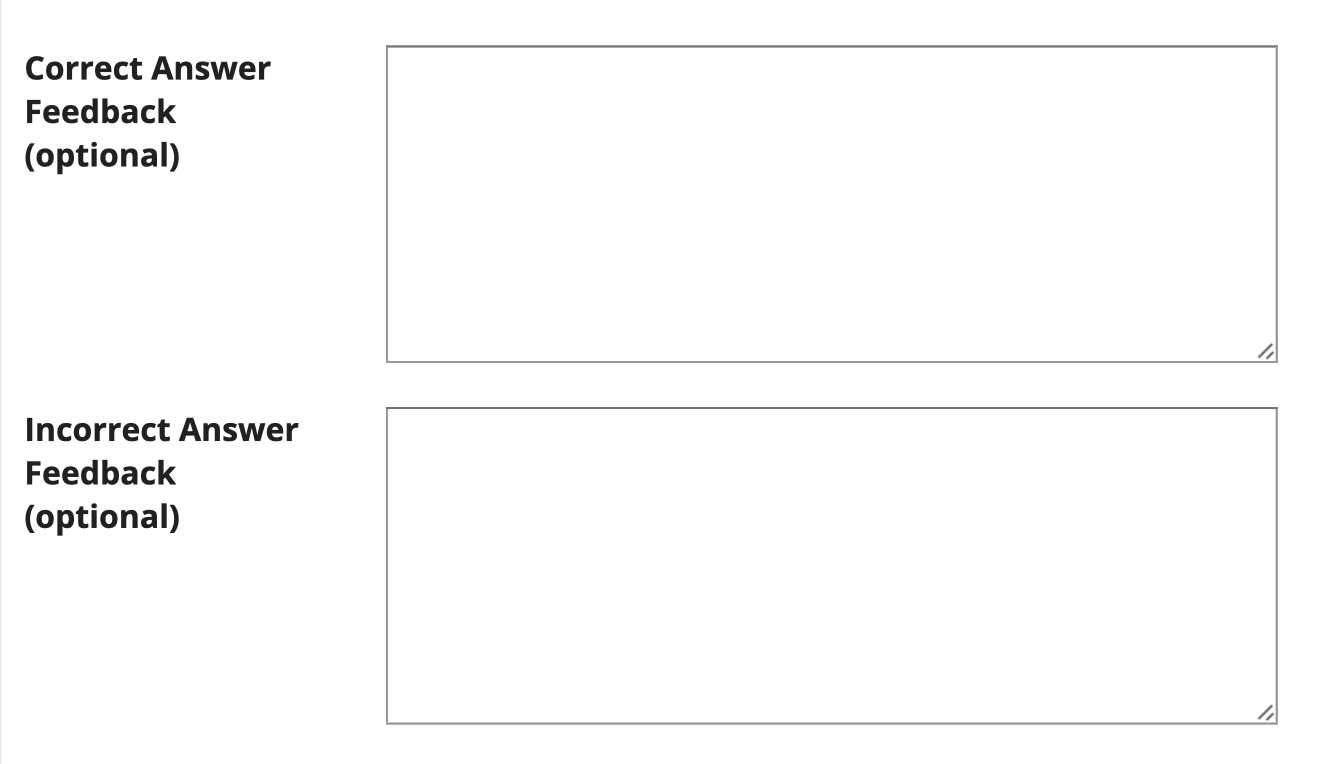
Provide answer feedback. (Optional)
If you would like to provide feedback for students based on if they answer the question correctly or incorrectly, enter your feedback here.
-
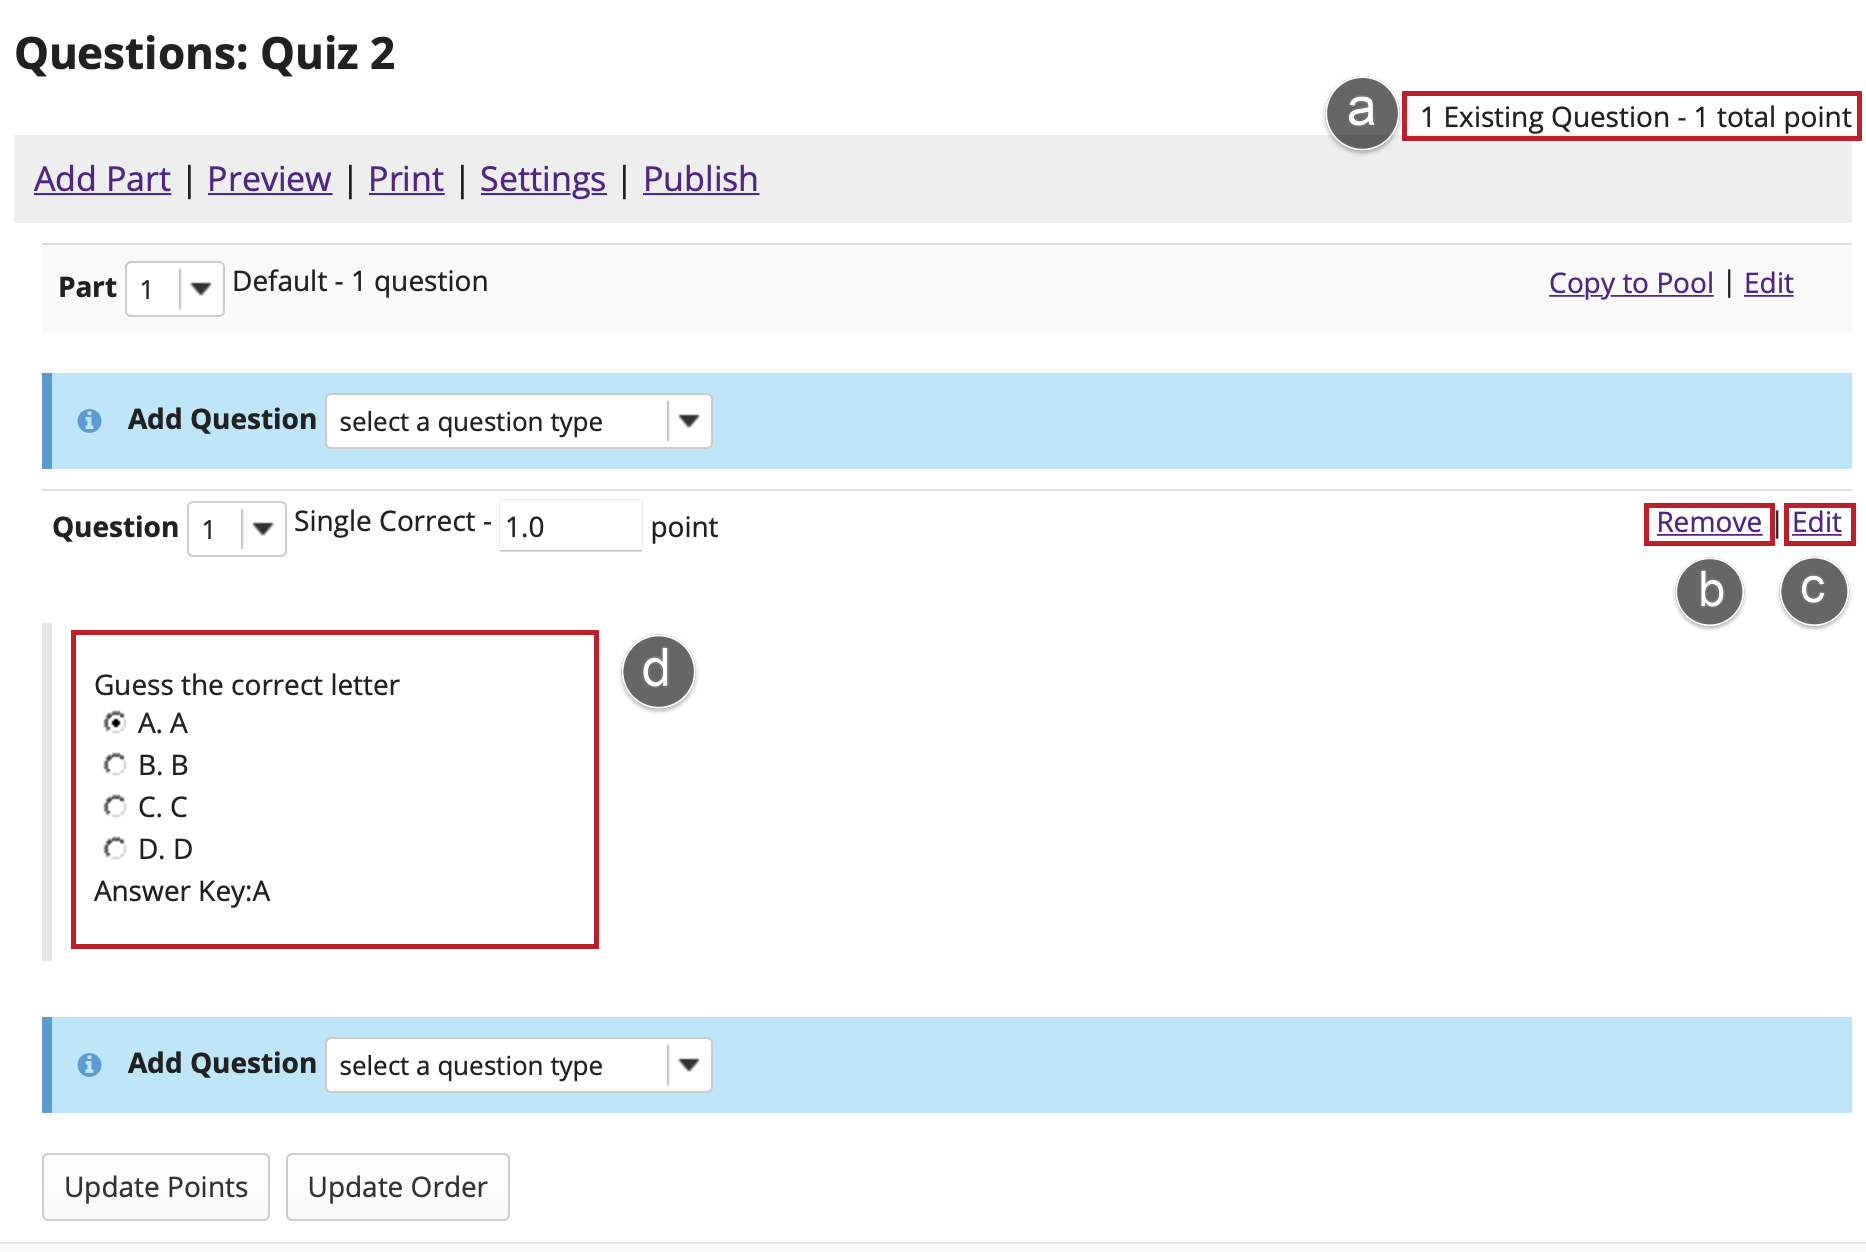
Once you have entered all of your question information, click Save to return to the edit assessment screen.

-
Continue adding questions.
Repeat the steps above to add additional questions to your assessment. As you add questions, note the following:
Note: An assessment must have at least one question and the question must be worth greater than zero in order to add the assessment to the Gradebook.
Note: Remember that you still need to publish your assessment before students can view and submit it.
Create an Assessment - Using Markup Text
Creating an assessment through markup text allows you to build an assessment quickly without having to go through OWL's assessment builder. It is not recommended for instructors to create assessments through this method because you need prior knowledge about markup text languages.
-
Create your assessment.

-
Enter your question(s).
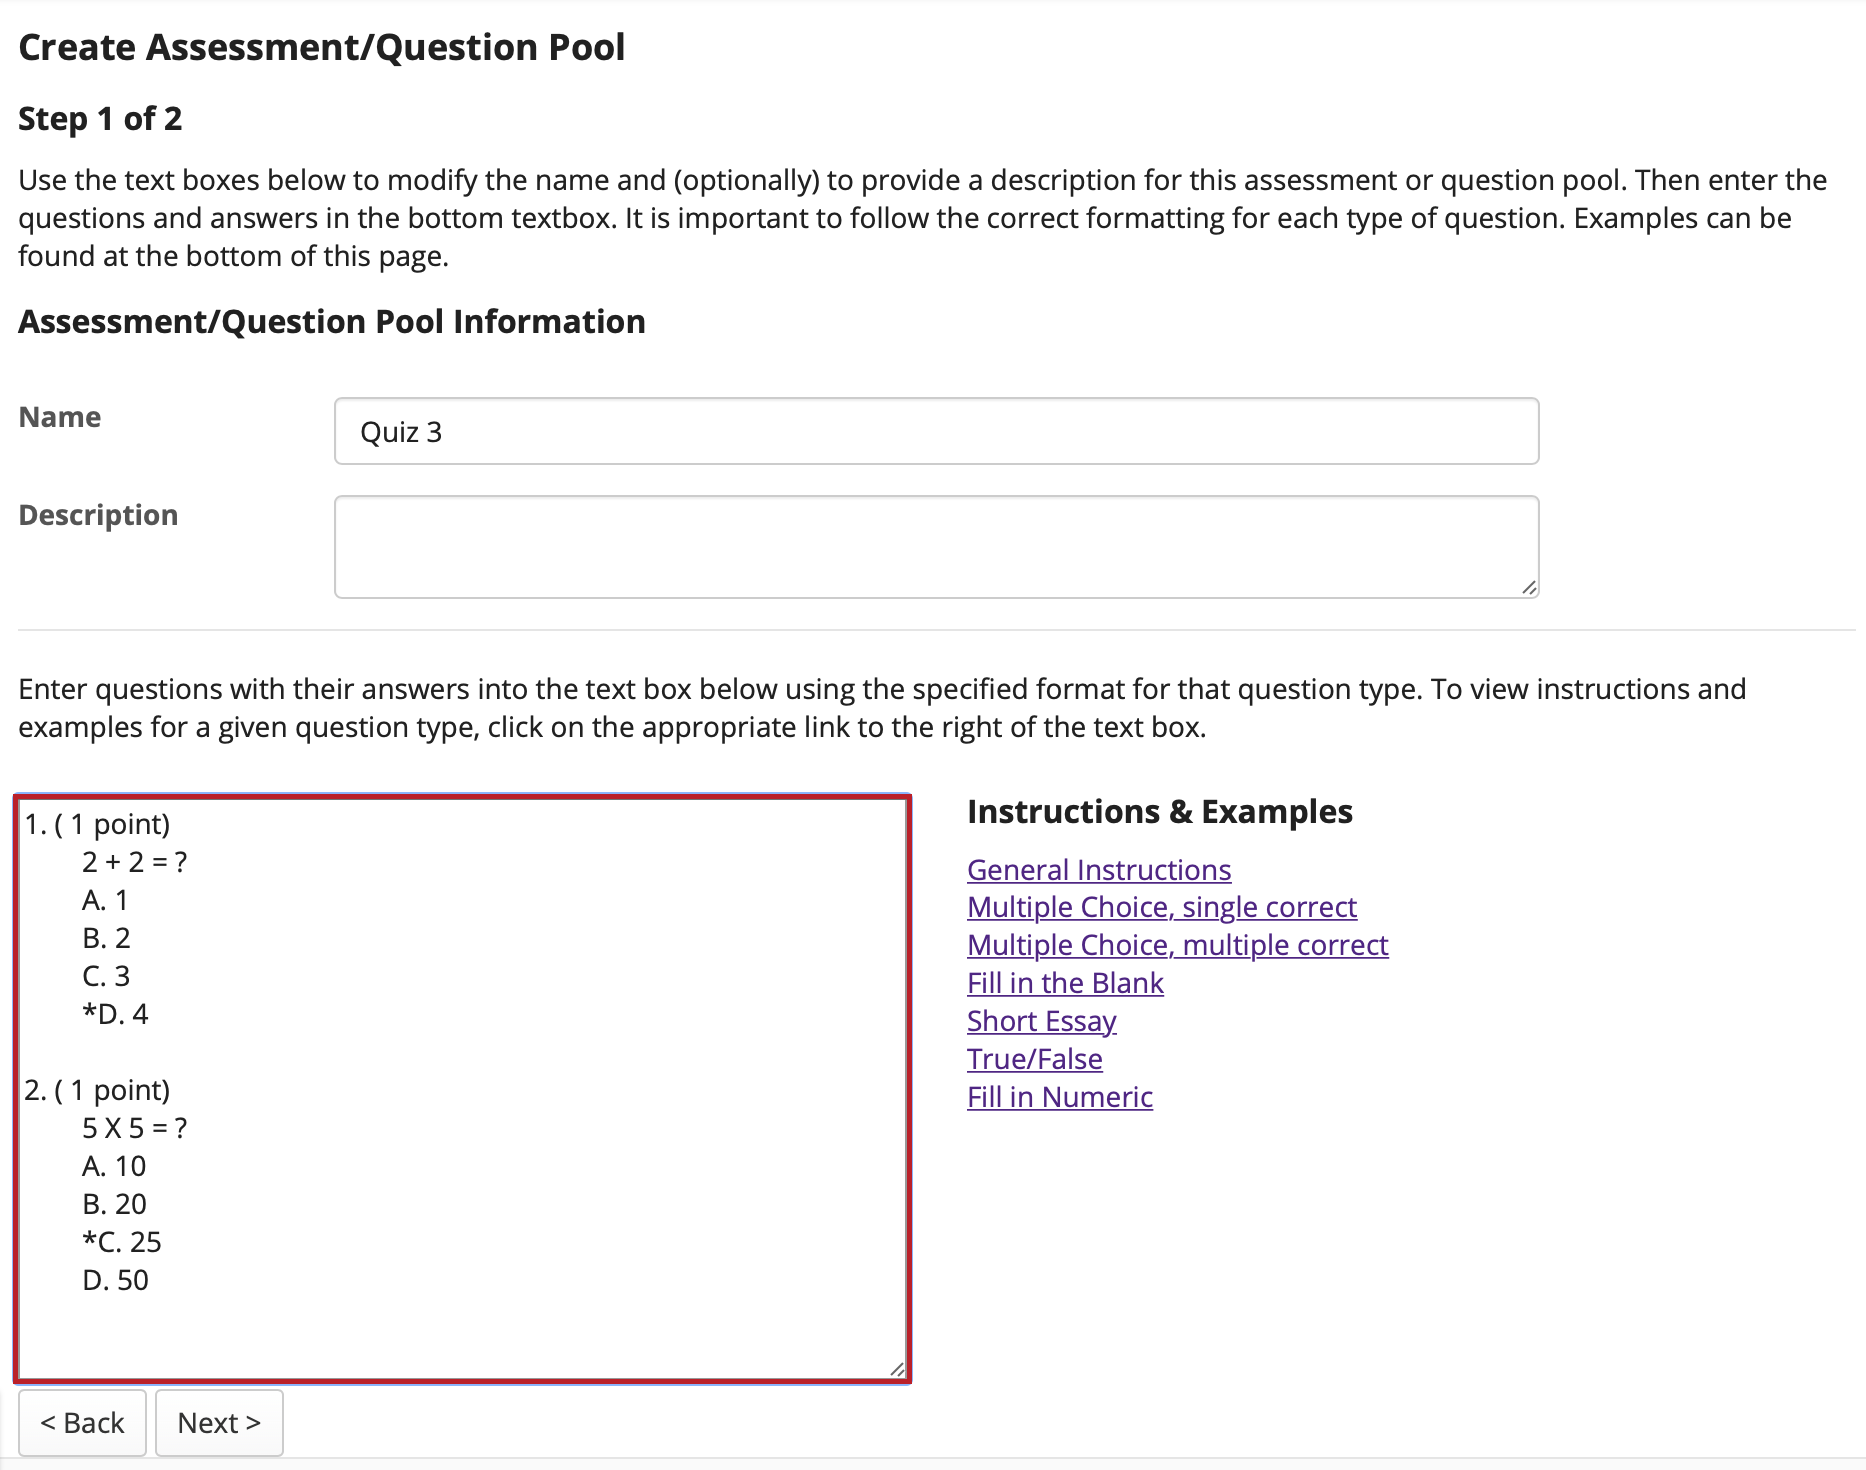
In this screen, you will see fields for the name and description of the your assessment, and for the questions. Write you questions in the Questions window and click Next when finished. You might find it helpful to write out your questions beforehand and copy and paste them into the question area.
Note: Your questions must be written in a specific format. Refer to the "Instructions and Examples" shown on this screen for the correct format.
-
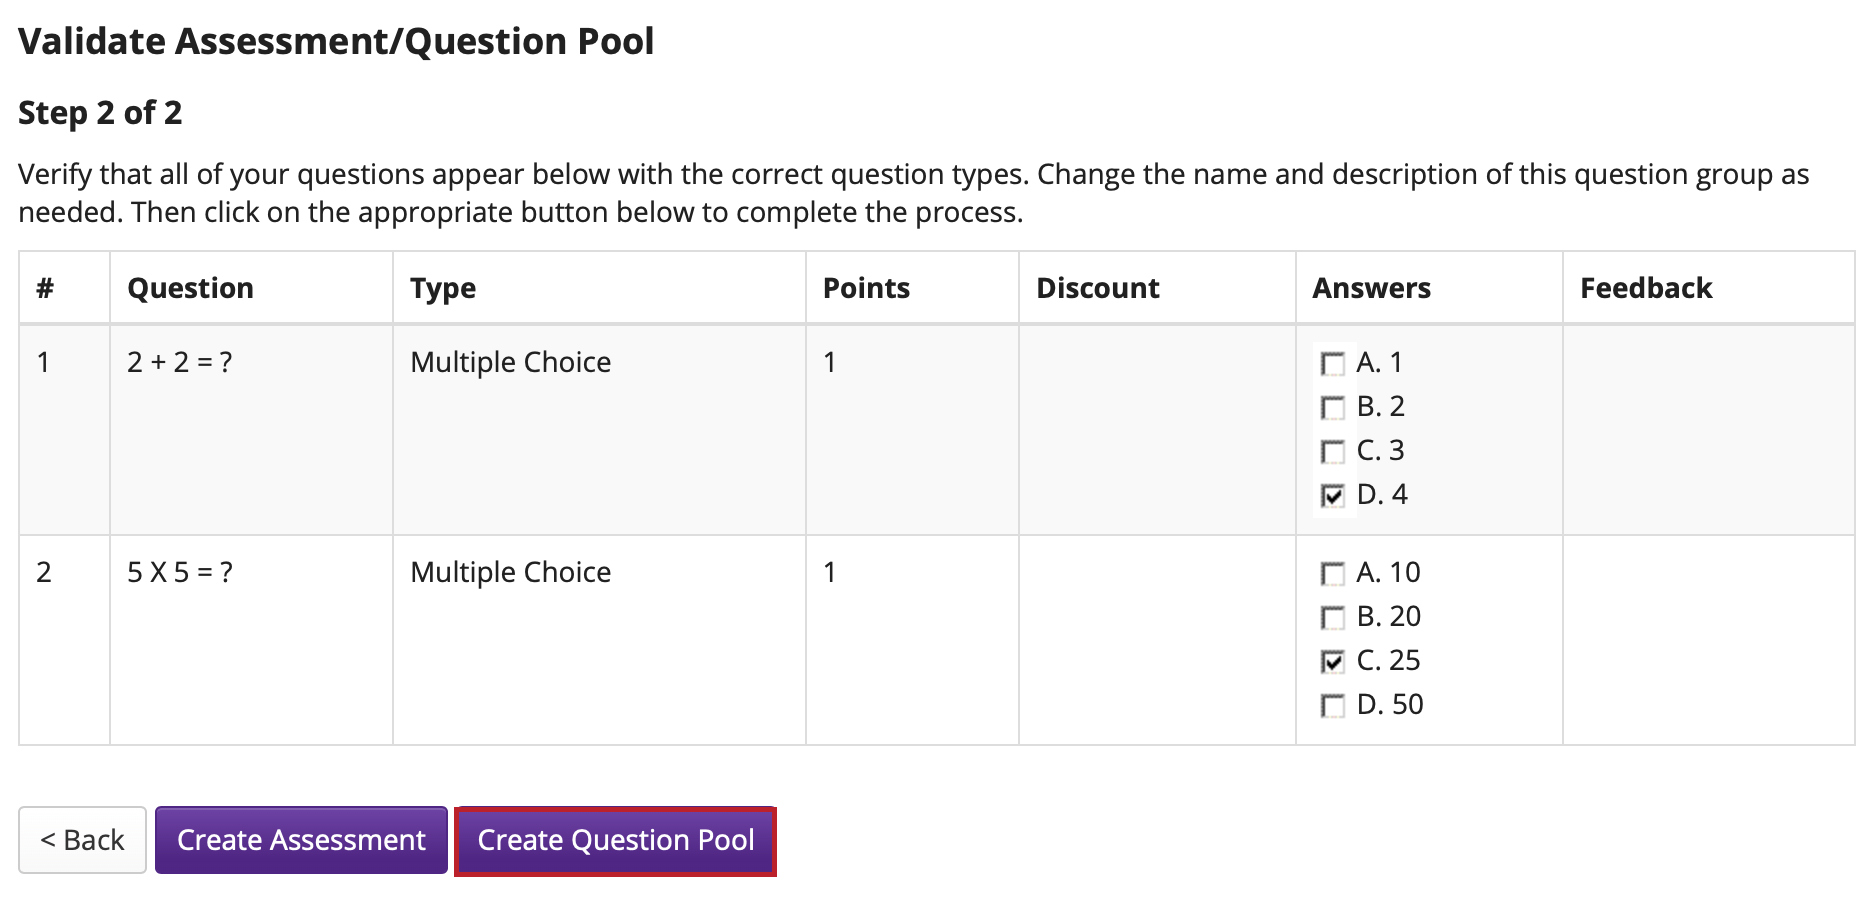
Review your questions.
Alternately, you may click Create Question Pool to create a new question pool instead of a new assessment.
You can click Back to make more edits.
-
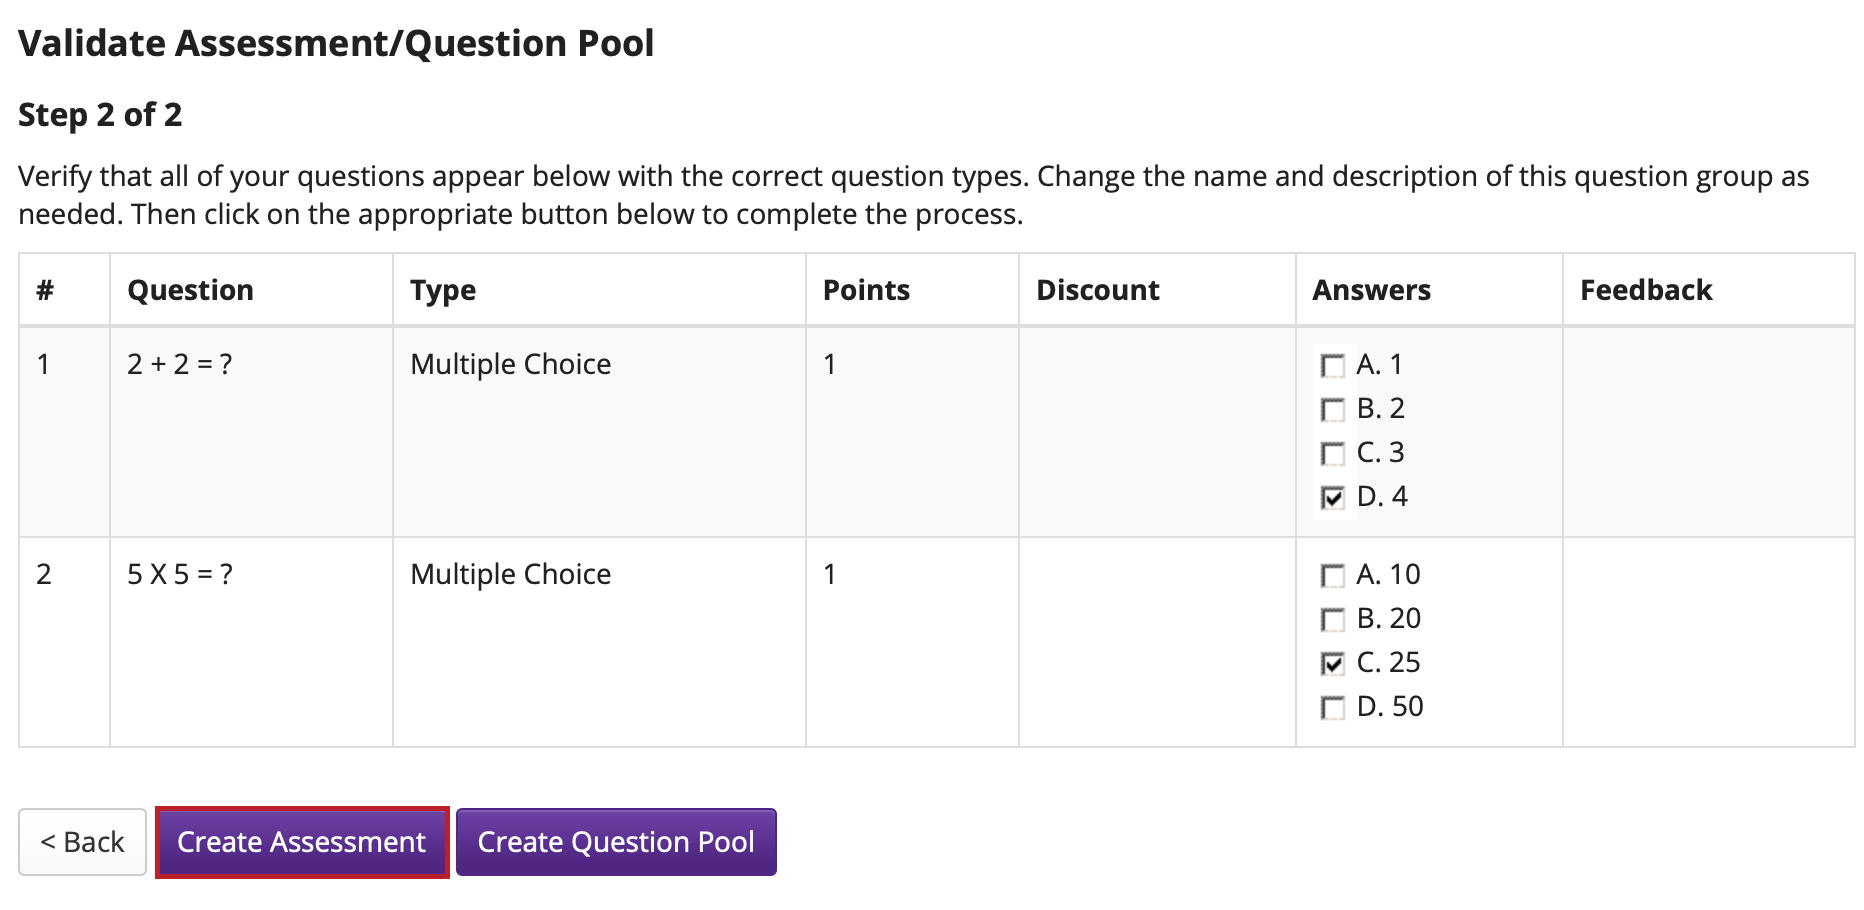
After reviewing your questions, click Create Assessment to create a new assessment.
Note: Remember that you still need to publish your assessment before students can view and submit it.
Import/Export Assessments
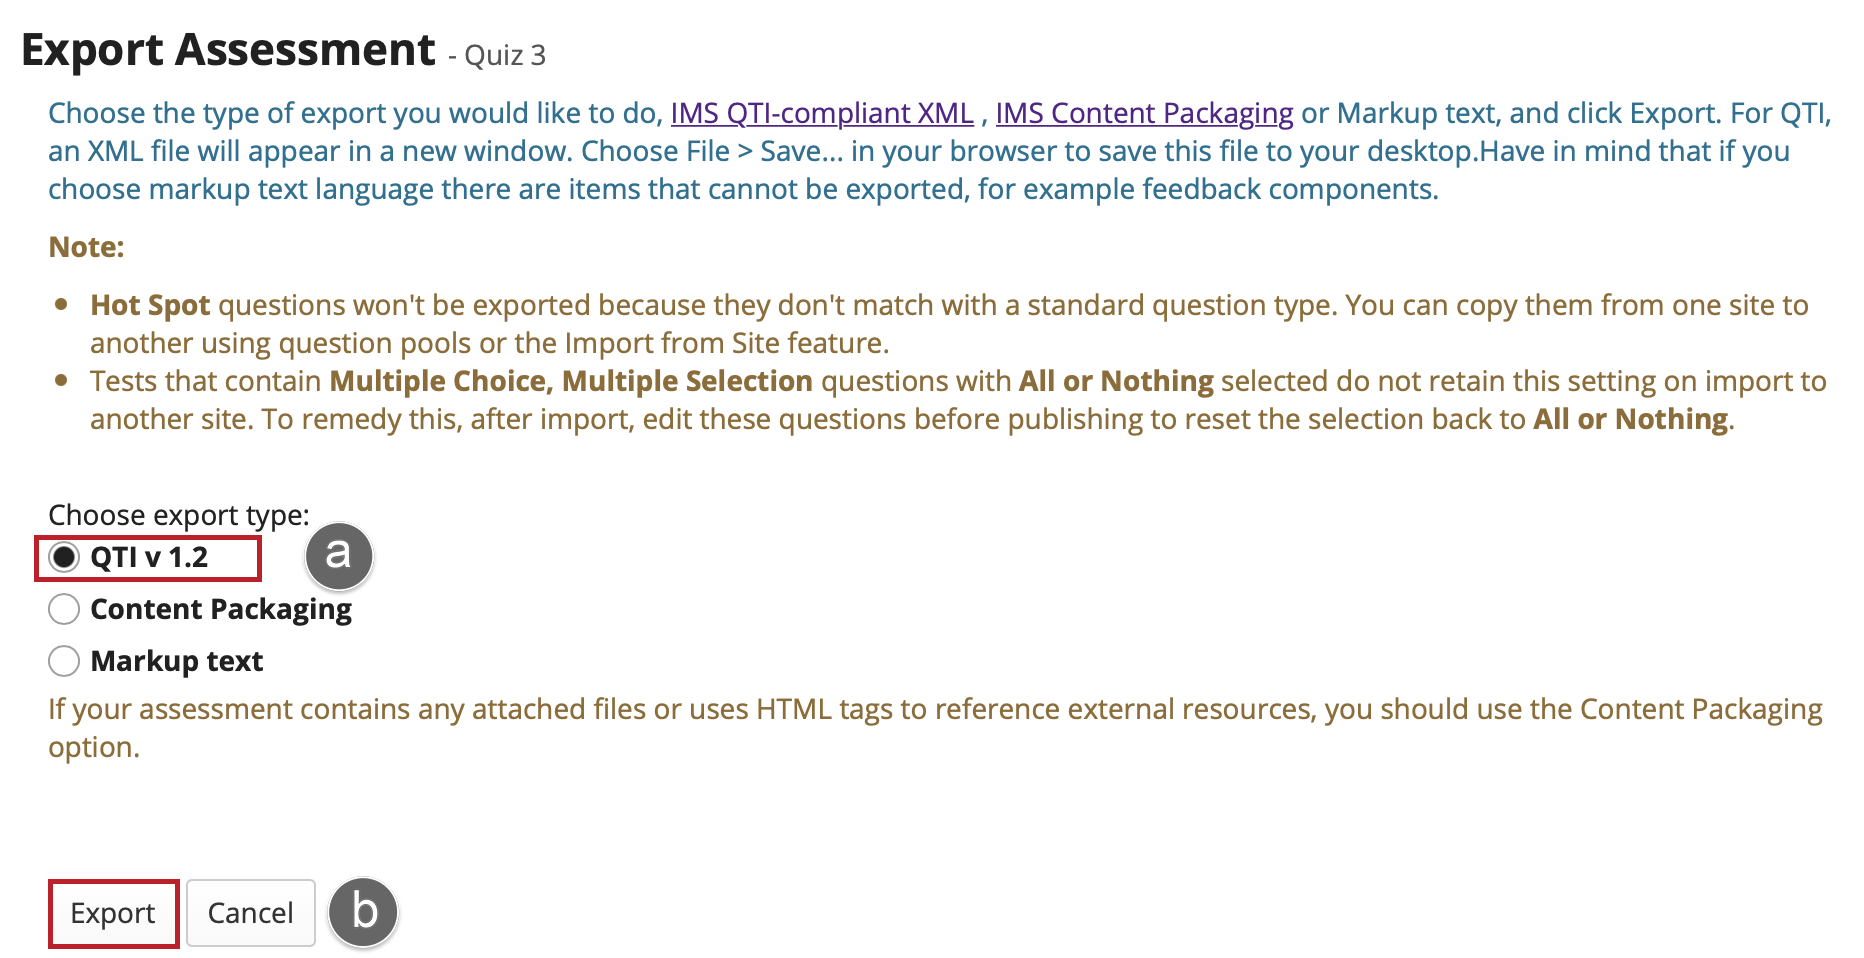
The import and export operations allow you to download an assessment or question pool created in the Tests & Quizzes tool into an external file, and to upload from such an external file, or a format-compliant file obtained elsewhere, into an assessment or question pool. The file comprises the entire assessment, including its title, settings, questions, and other options.
Two export formats are available, IMS QTI 1.2 and IMS Content Packaging. Content Packaging will capture links and attachments in your questions and package the file as a .zip file; you must transfer links and attachments yourself if you use IMS QTI. Both formats create an XML file of your questions with all the components labeled according to the IMS standards.
Note: Many publishers provide test bank cartridges in IMS format. You may want to use this option if you are importing questions provided by your textbook publisher.
-
To import an assessment, click Import.
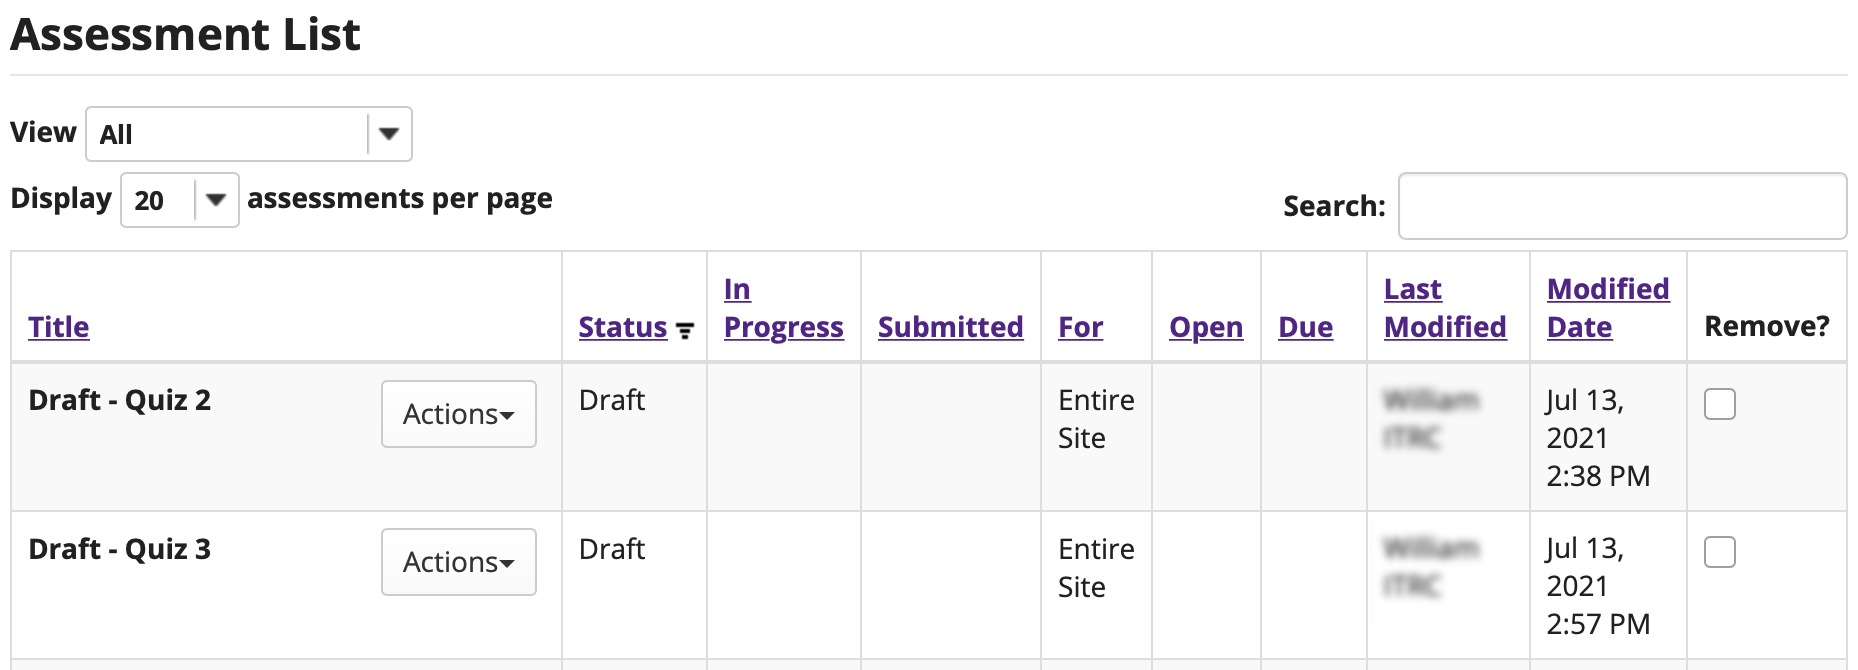
In the lower area of Tests & Quizzes, you will see a new assessment. It will have the title of the downloaded assessment, not a title from your external file name. You may now edit the assessment questions, or select Settings to change the title and other settings.
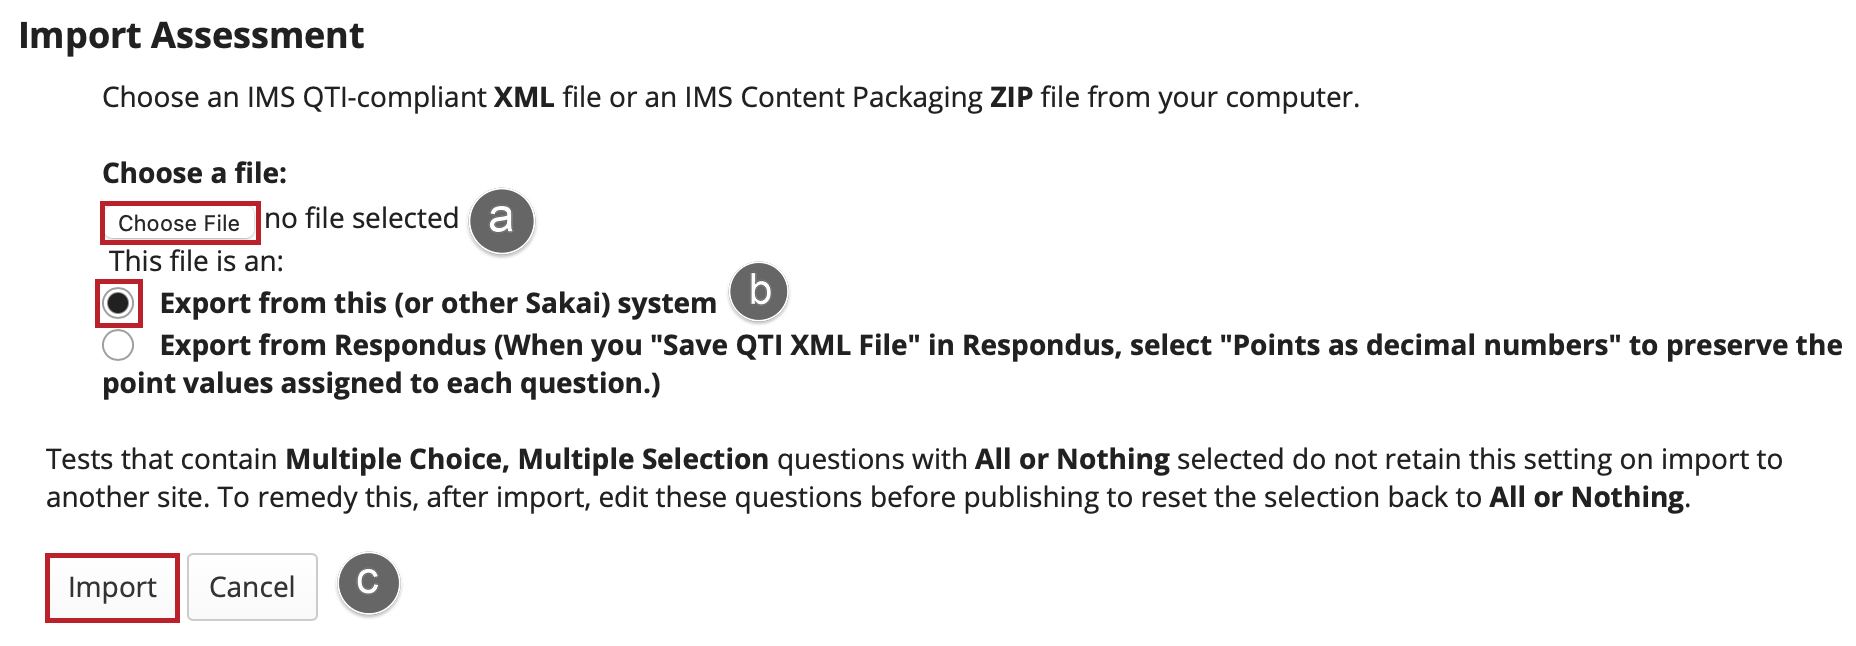
To import an assessment, click Import.

Select your file and click Import.
View your assessment.
-
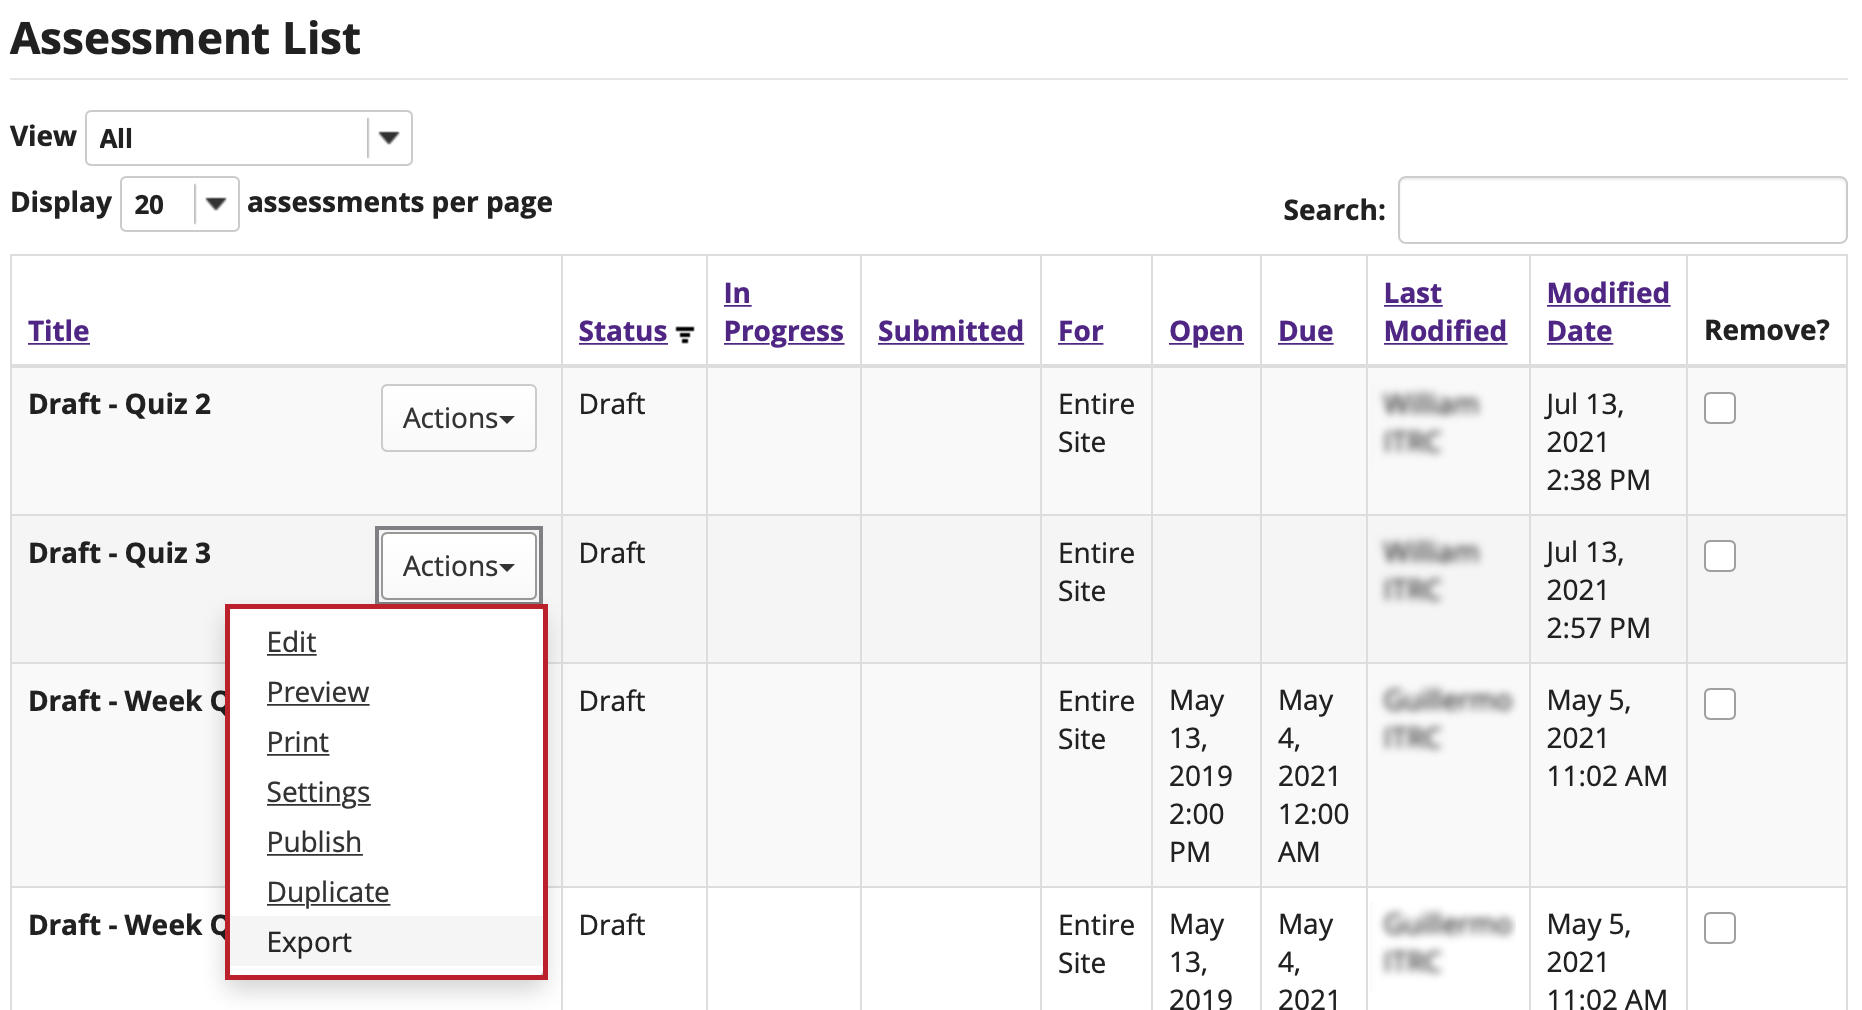
Export an assessment.
The export will create a new file on your system, suitable for saving for further use or porting to another IMS-compliant system.
Choose the export type and export.
Save (download) the file to your own system.
